From Tile Installation to Final Touches
Revamp your bathroom with expert craftsmanship and attention to detail. From the initial stages of preparing the tile base to the final installation of faucets and showerheads, witness the journey of this stunning bathroom renovation. Whether you’re looking for inspiration or expert tips, this post covers every step of the process, ensuring a functional and stylish finish.

Transformation at a Glance – Before, During, and After

Before the Renovation - A Fresh Start
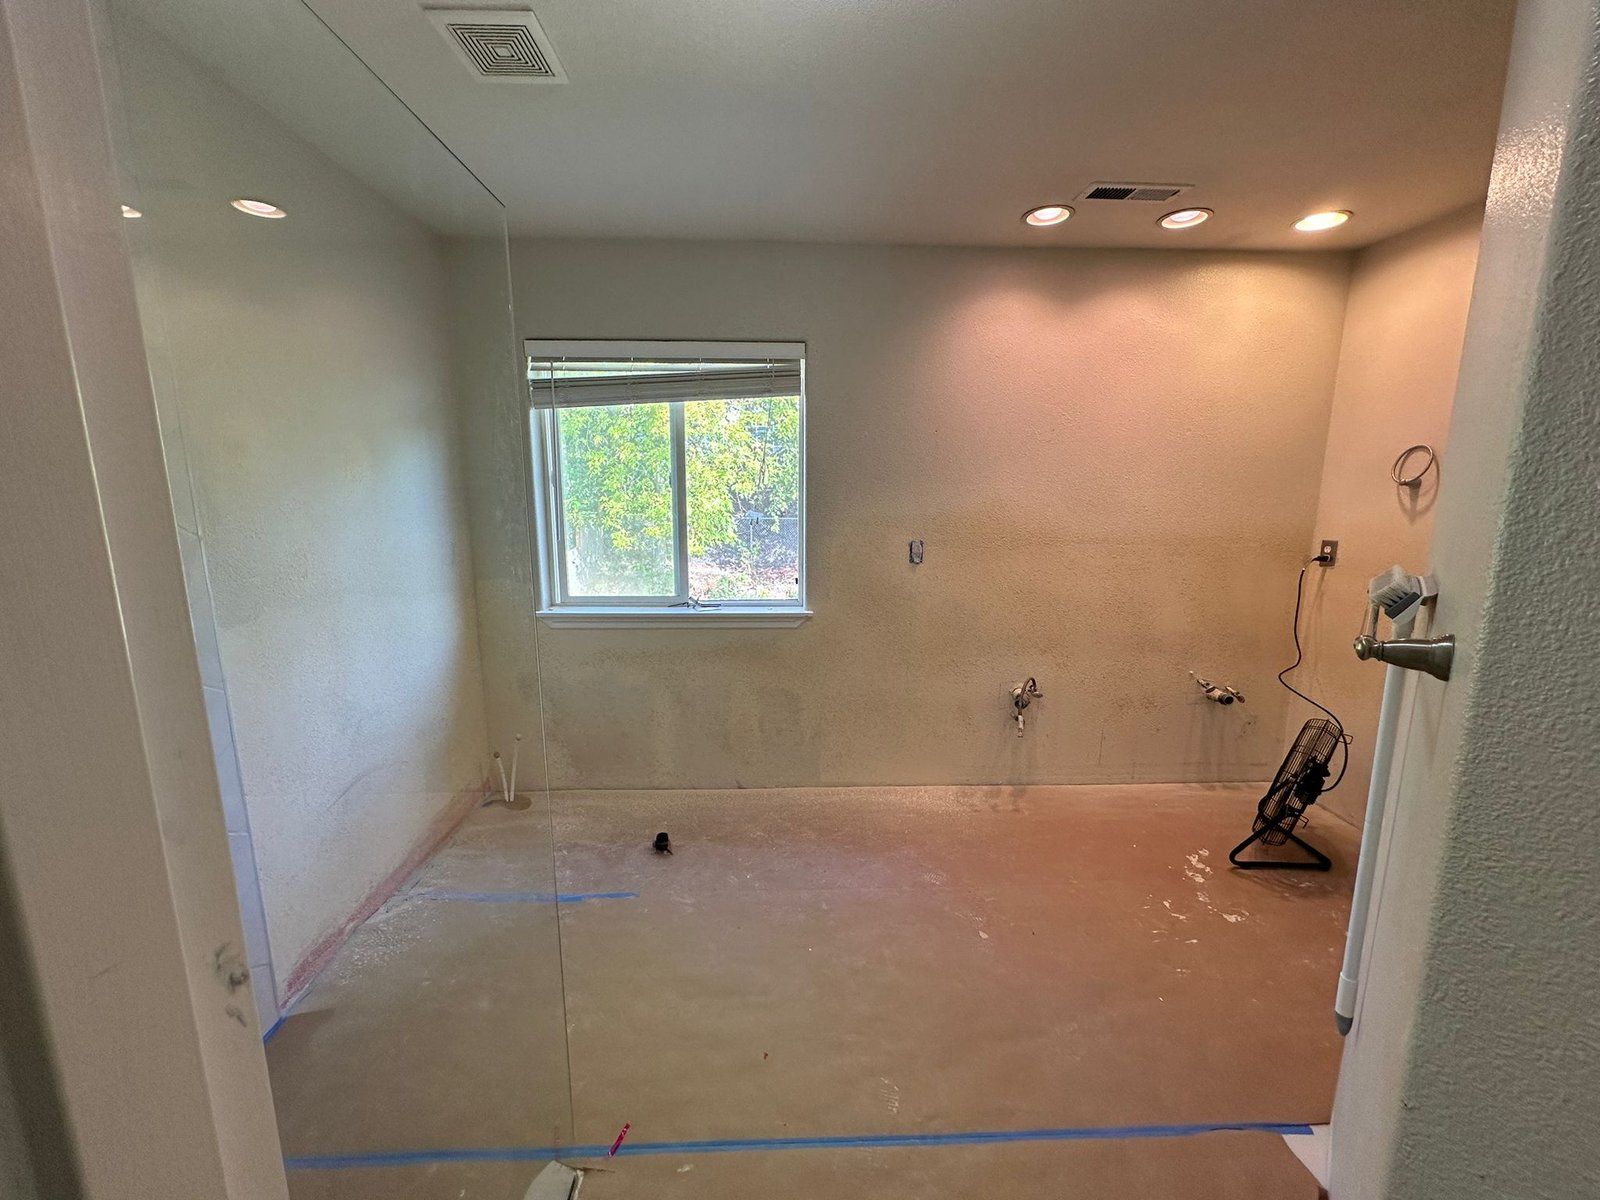
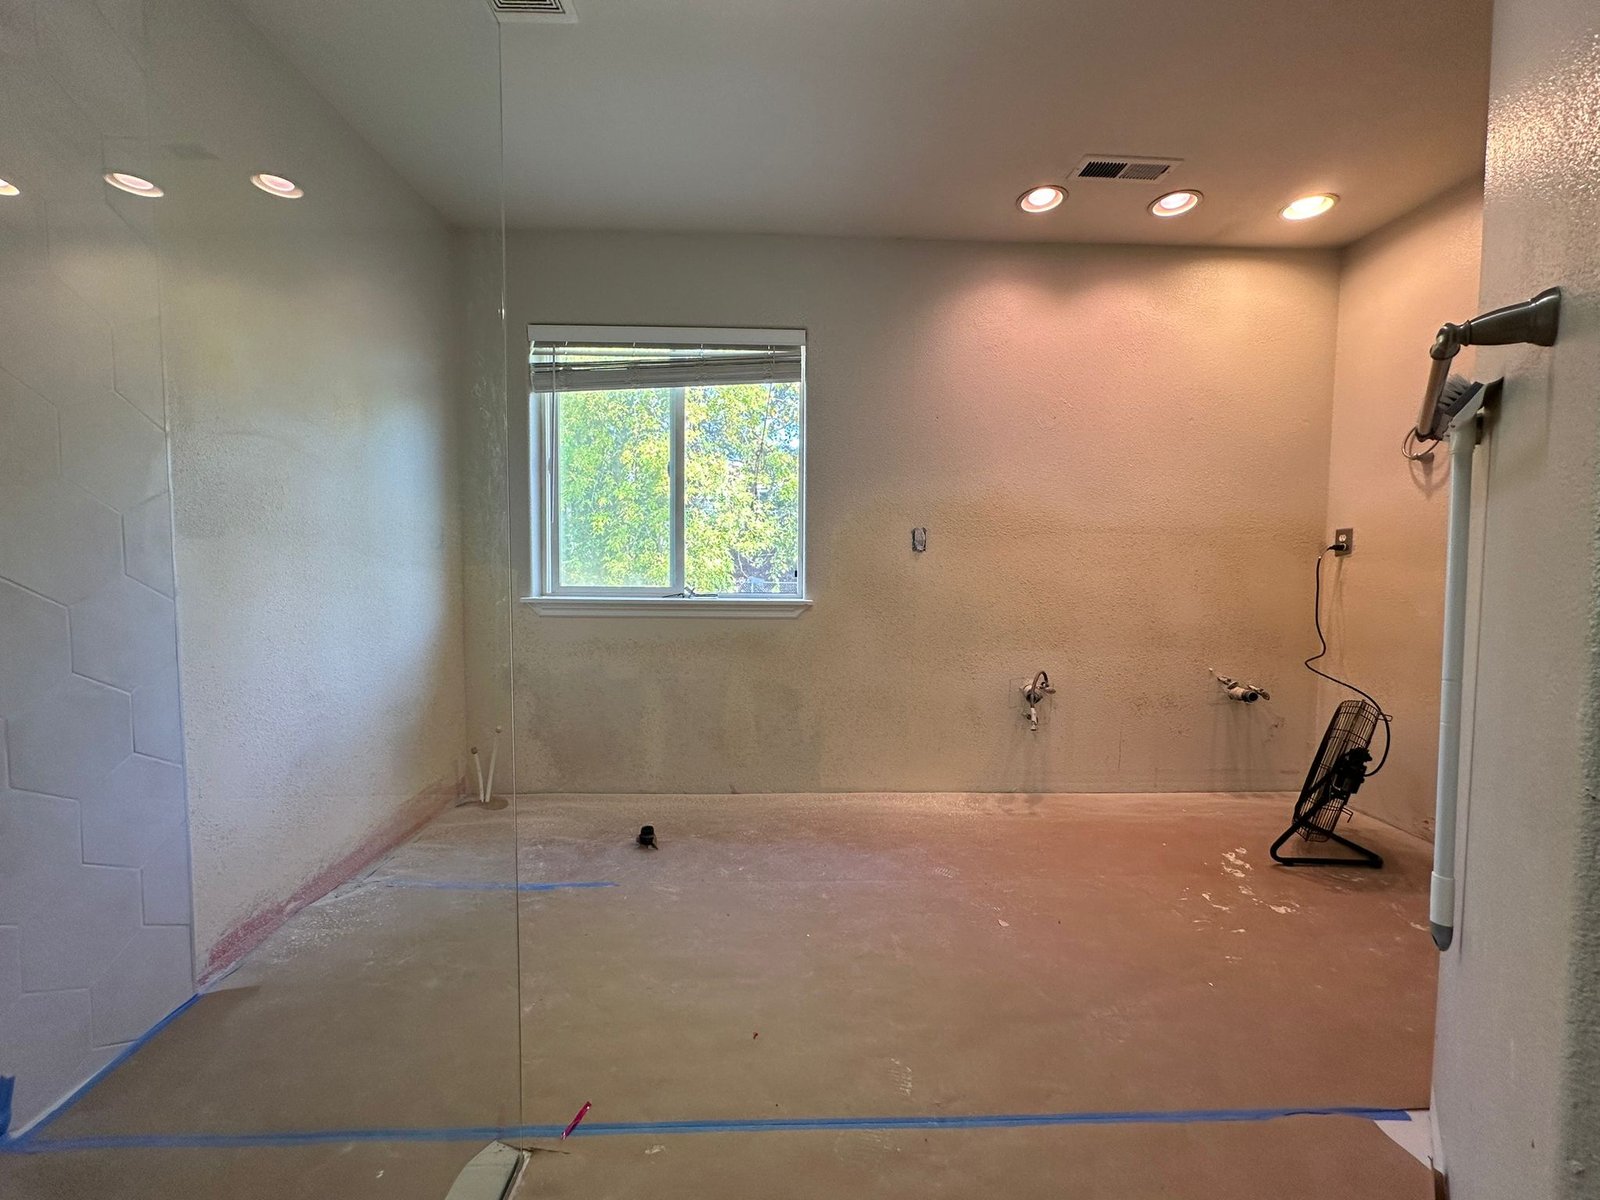
Explore the "before" stage of this bathroom renovation. The space was functional but lacked the modern appeal and clean lines the client desired. From outdated tiles to a layout that needed optimization, this gallery showcases the potential waiting to be unlocked.
")
During the Process - Transforming the Vision
Dive into the transformation process with this gallery, showing the critical stages of the renovation. From prepping the surfaces, installing hexagonal tiles, to leveling and grouting, each step brings the bathroom closer to its modernized, stylish design. Witness the craftsmanship in action as the space begins to take shape.

Semi-Finals and Final Touches - The Finished Look
The finishing touches are just as important as the initial stages. This gallery highlights the near-complete and final stages of the renovation, from grout application to the installation of faucets and fixtures. See how meticulous attention to detail creates a polished, professional finish ready for everyday use.

Comprehensive Bathroom Renovation Progress: From Tile Installation to Final Touches
At Frank's Handyman Services, we are excited to share the latest updates from one of our recent bathroom renovation projects. In this comprehensive post, we take you through the various stages of this transformation, from tile installation to wall repairs and the fitting of essential fixtures like showerheads and faucets. Through a combination of detailed planning and expert craftsmanship, we aim to deliver spaces that are both functional and stylish. Below, we’ll dive into the specific steps of this renovation, along with videos from our YouTube channel where you can watch the process in action.

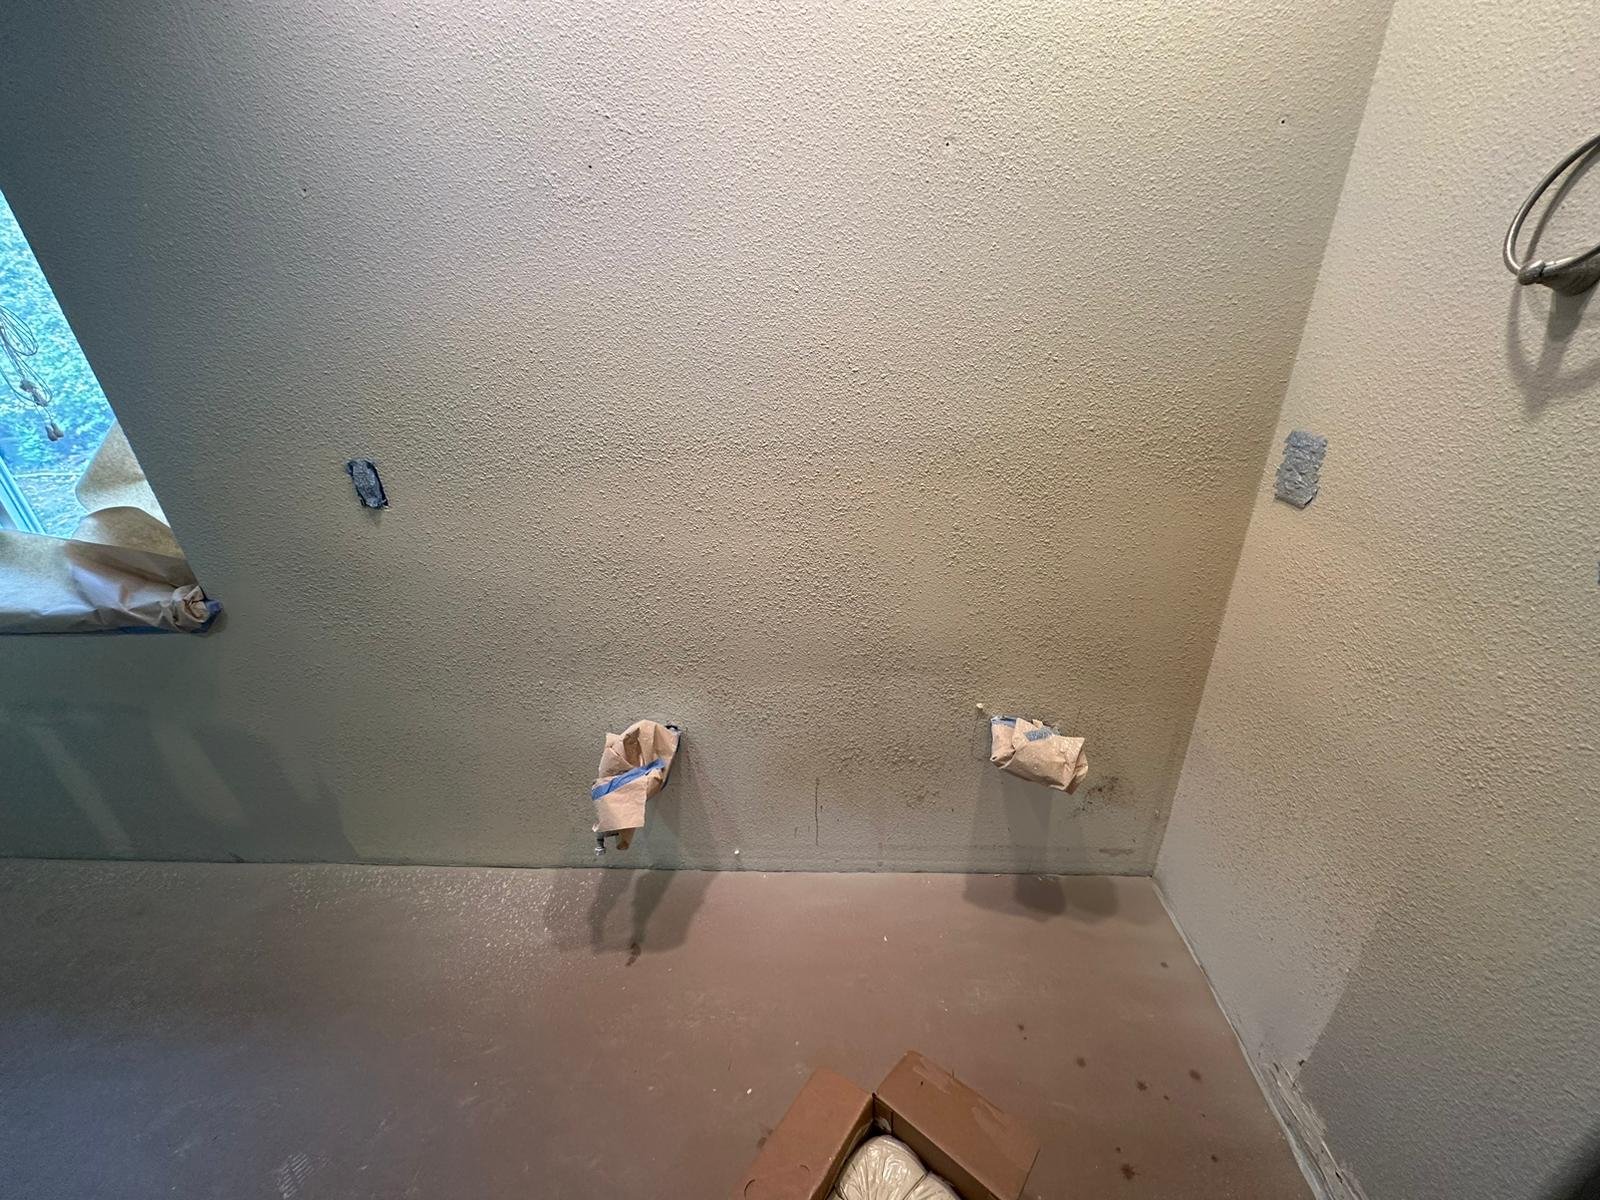
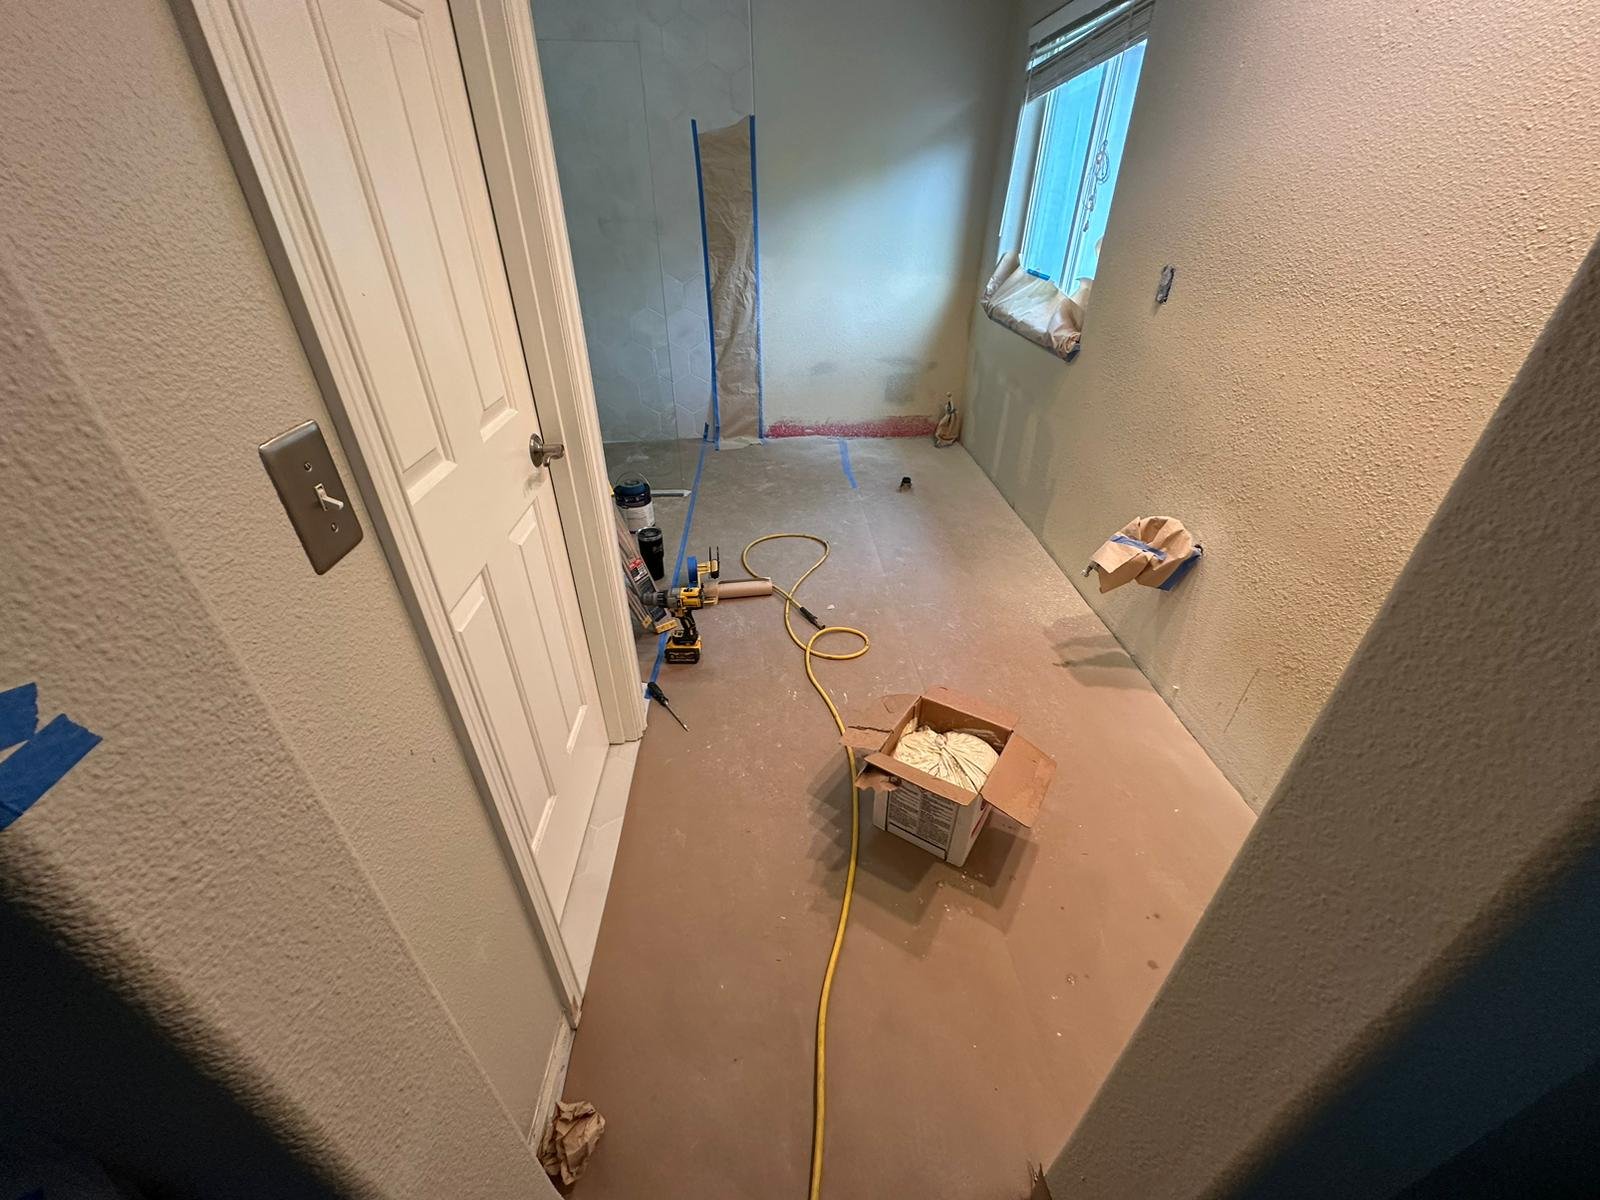
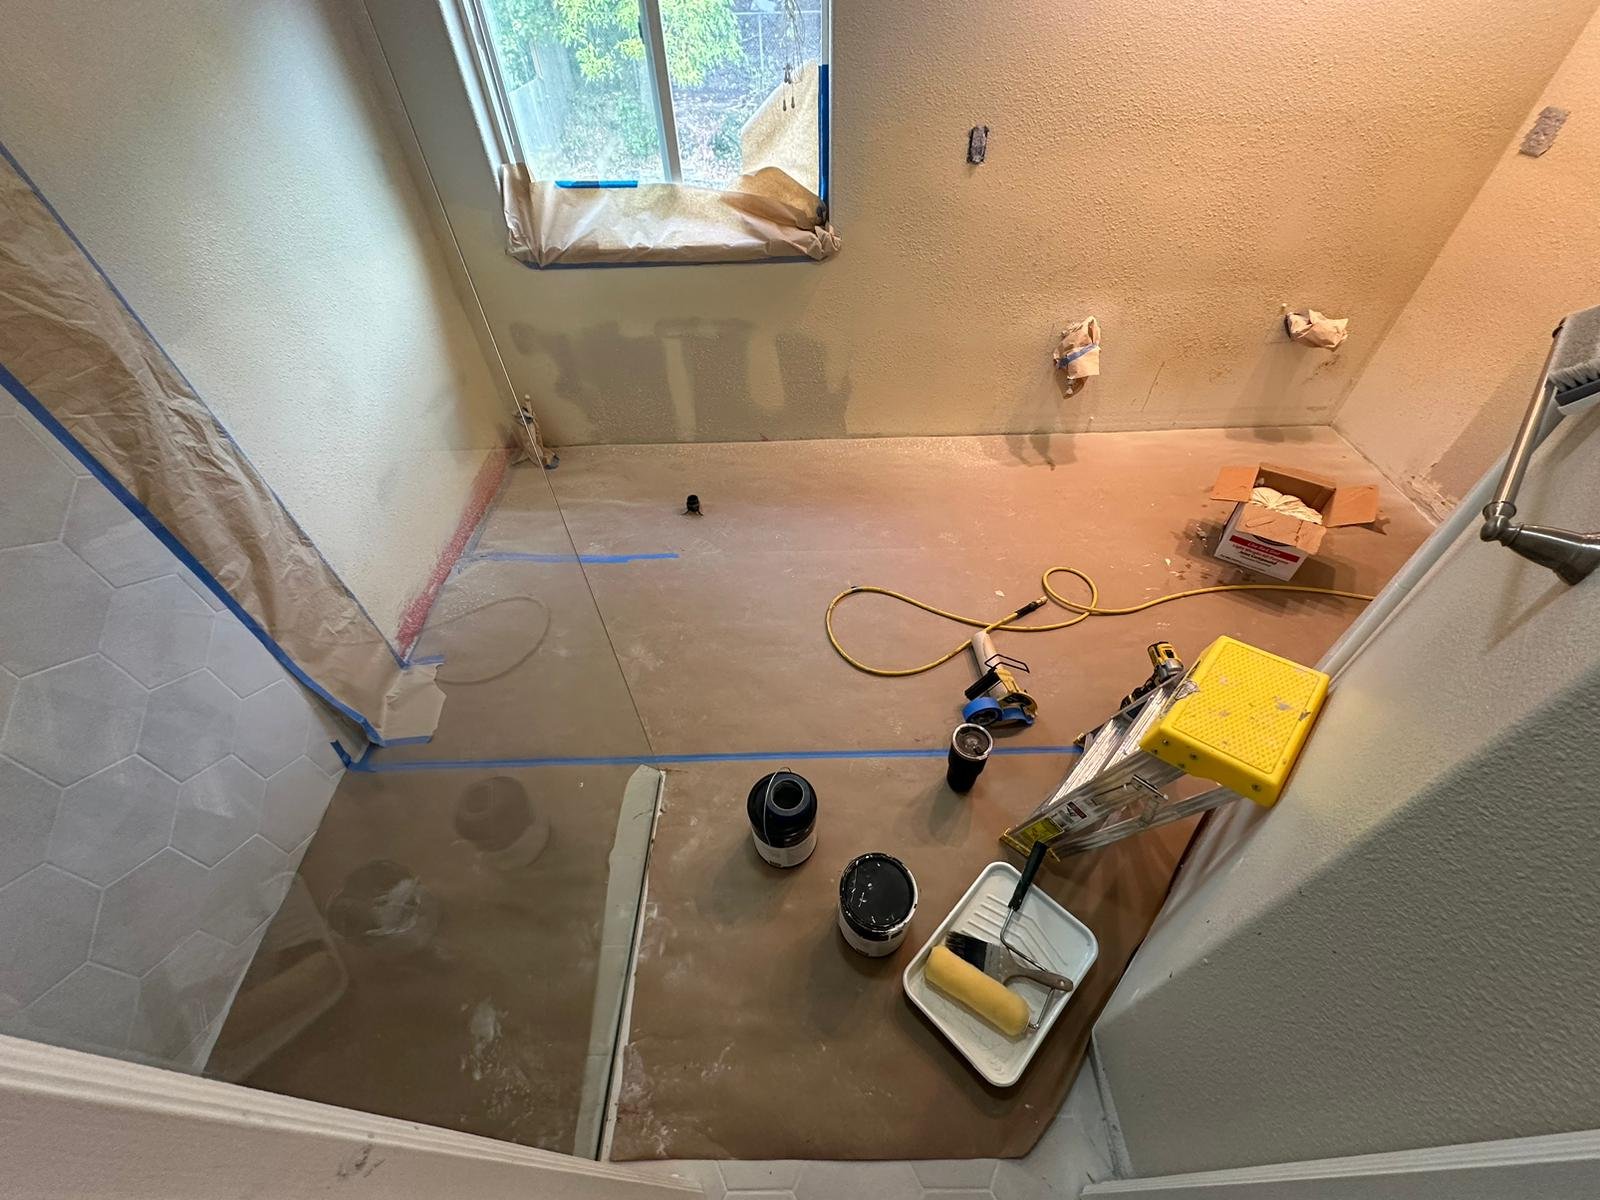
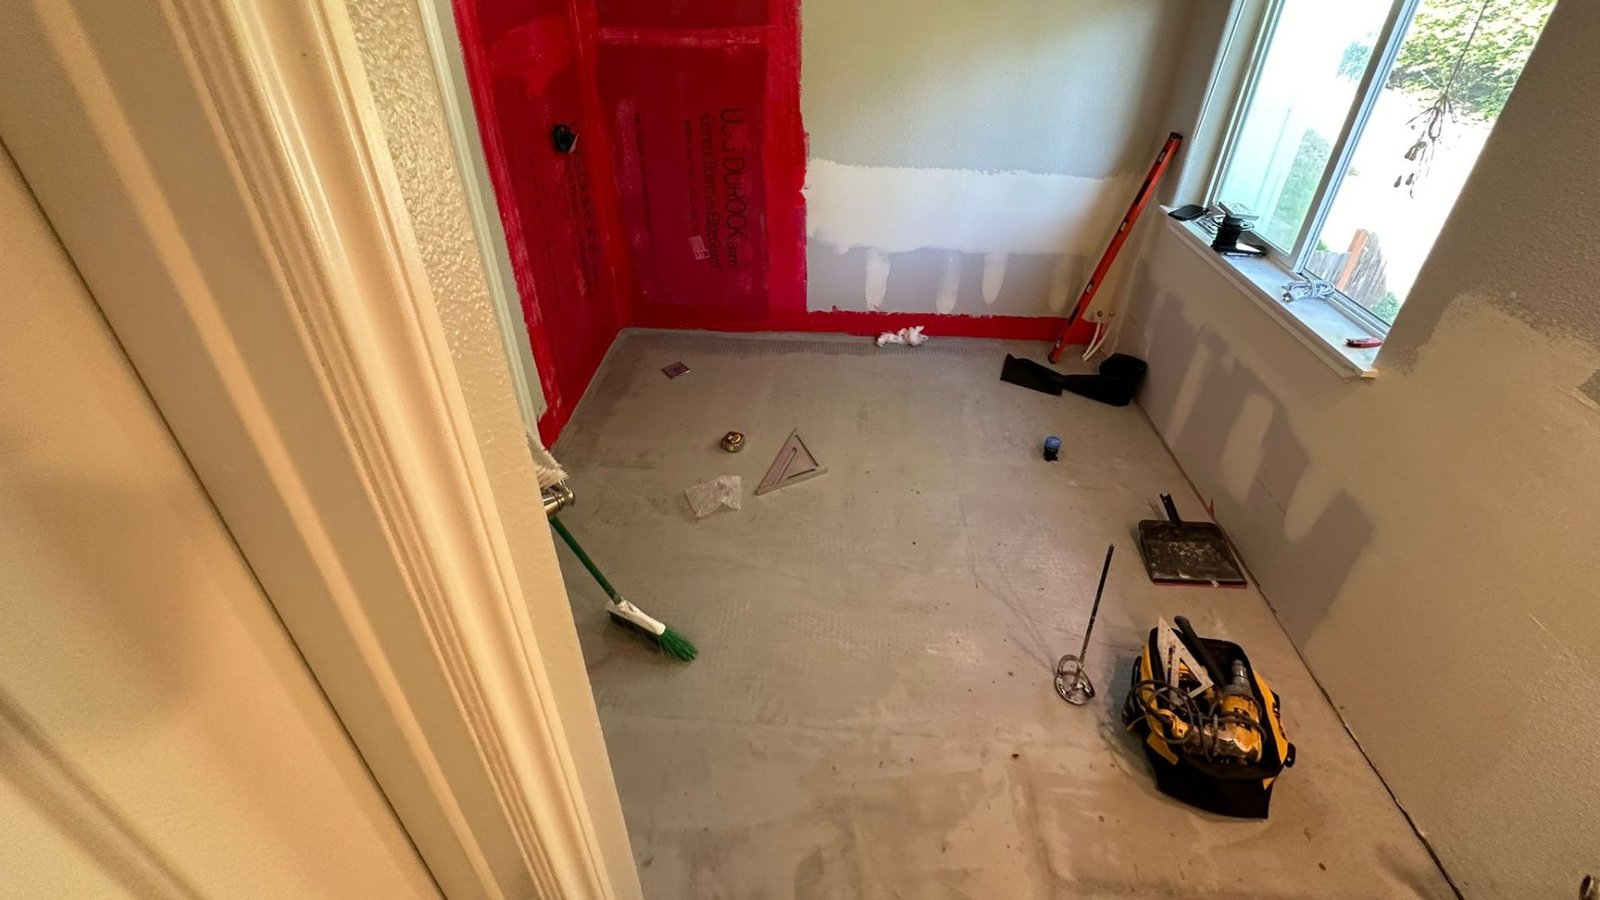
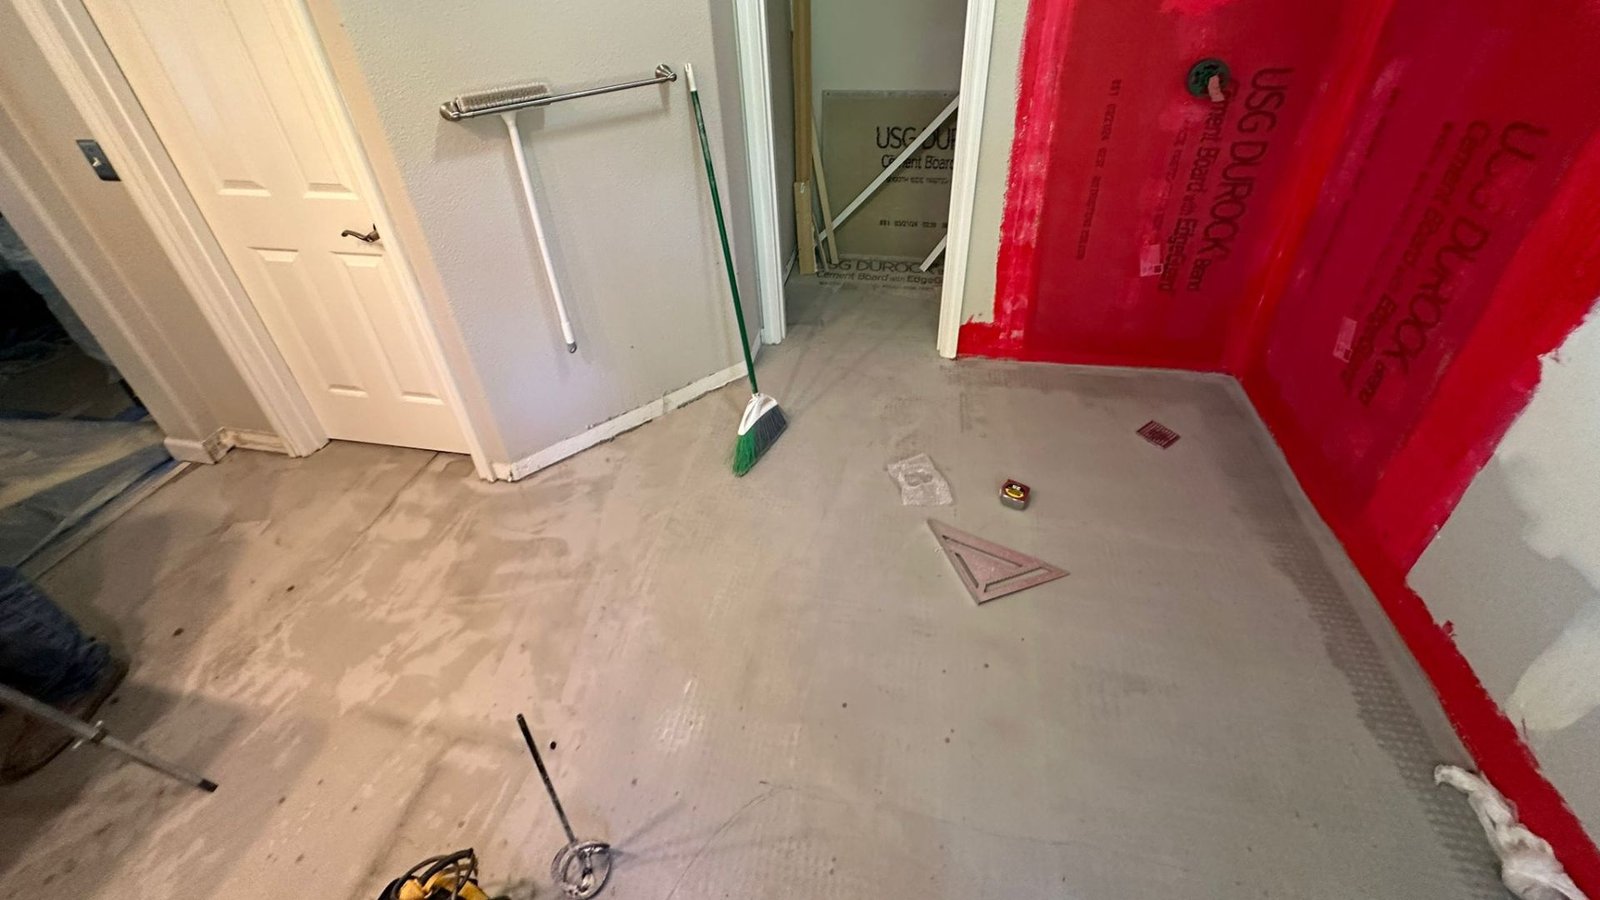
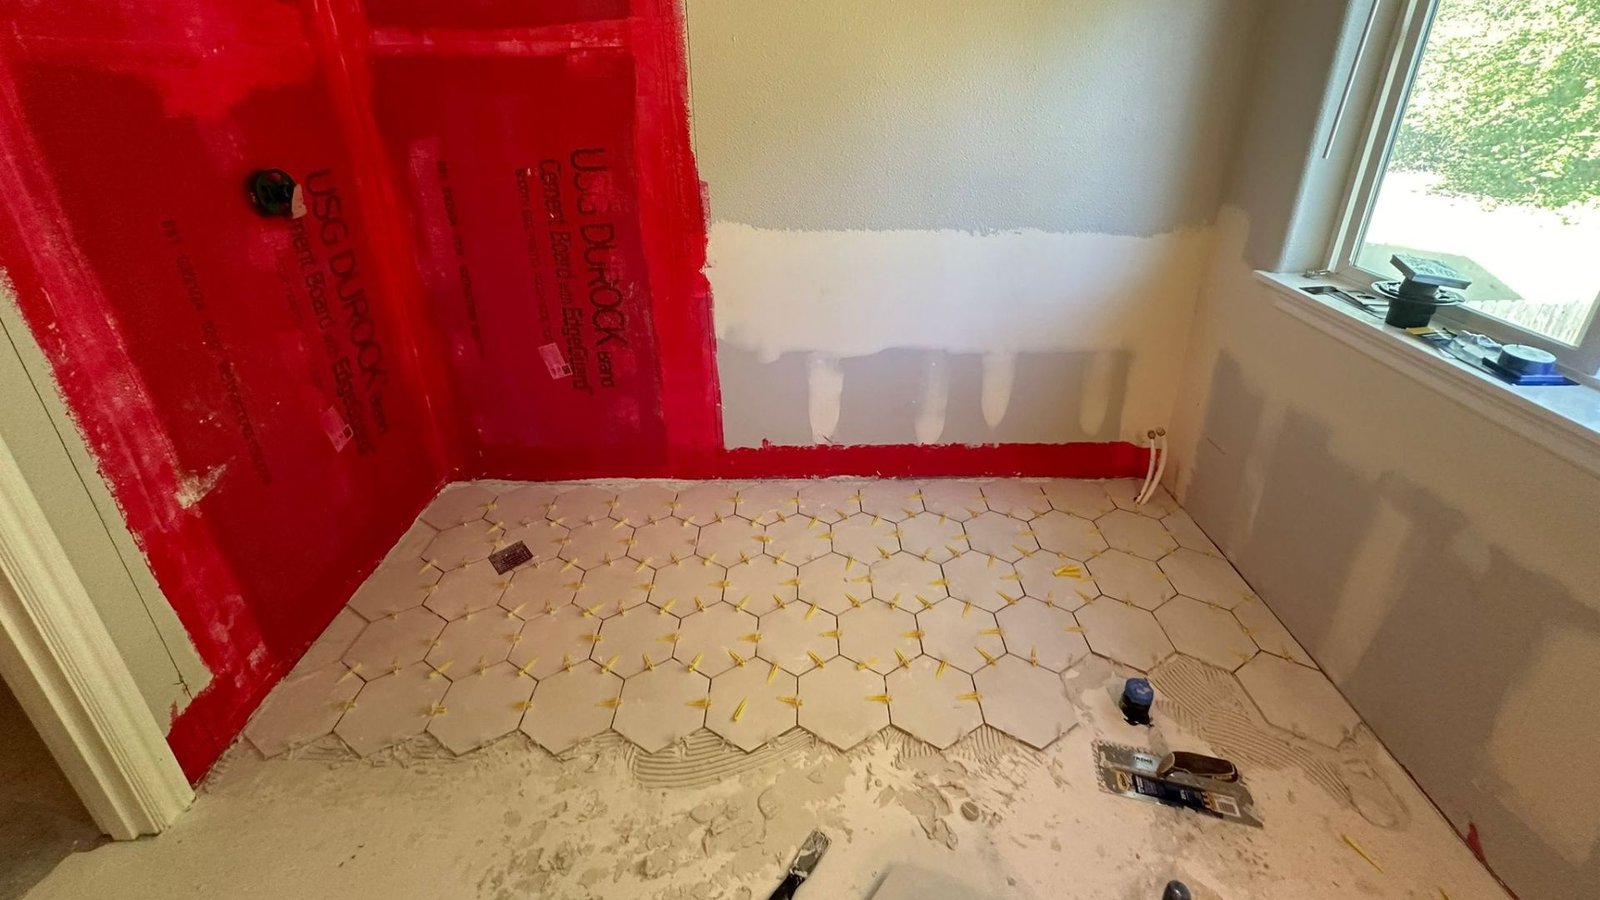
Section 1: Preparing the Tile Base for Installation
In any bathroom renovation, preparing the base for tile installation is a crucial first step. At Frank's Handyman, we ensure that the base is leveled, prepped, and ready for a seamless tile application. Watch our detailed video where we walk you through the process of preparing the tile base using a mix of thin-set mortar and versabond.
🛠️ Bathroom Renovation: Preparing the Tile Base 🚿
Key Steps:
- Covering the work area to prevent mess
- Measuring and marking tile placement
- Mixing thin-set mortar and applying it to the floor and walls
- Ensuring proper leveling to allow water drainage
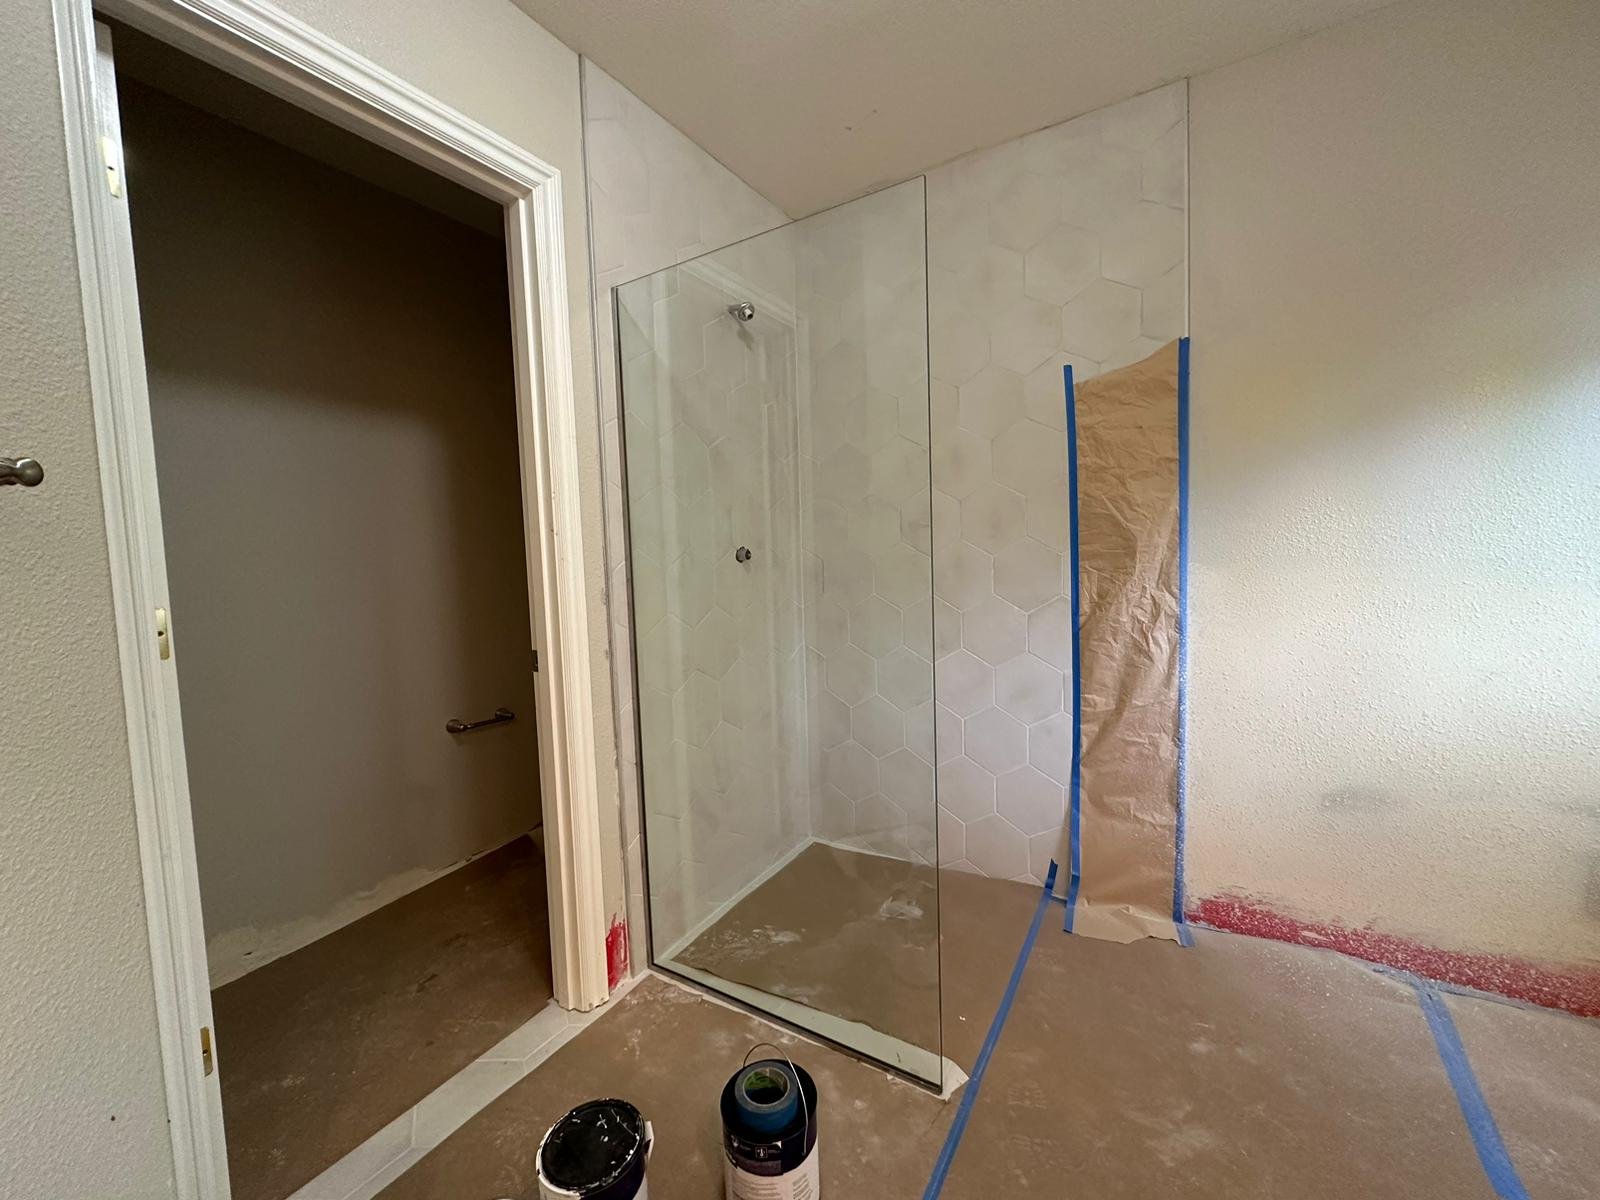
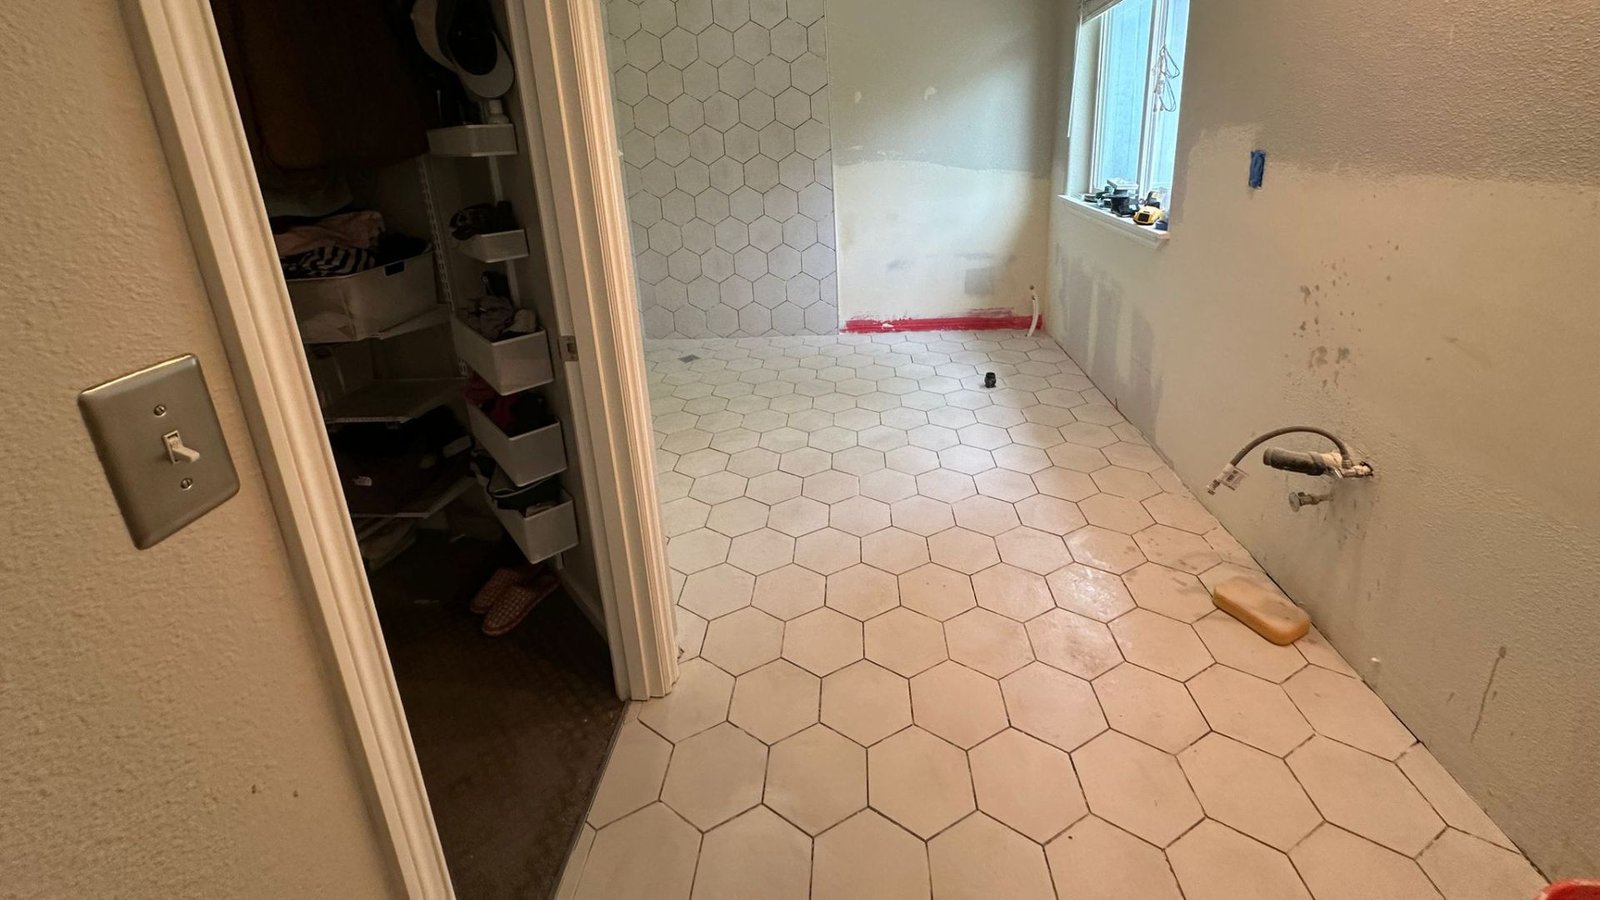
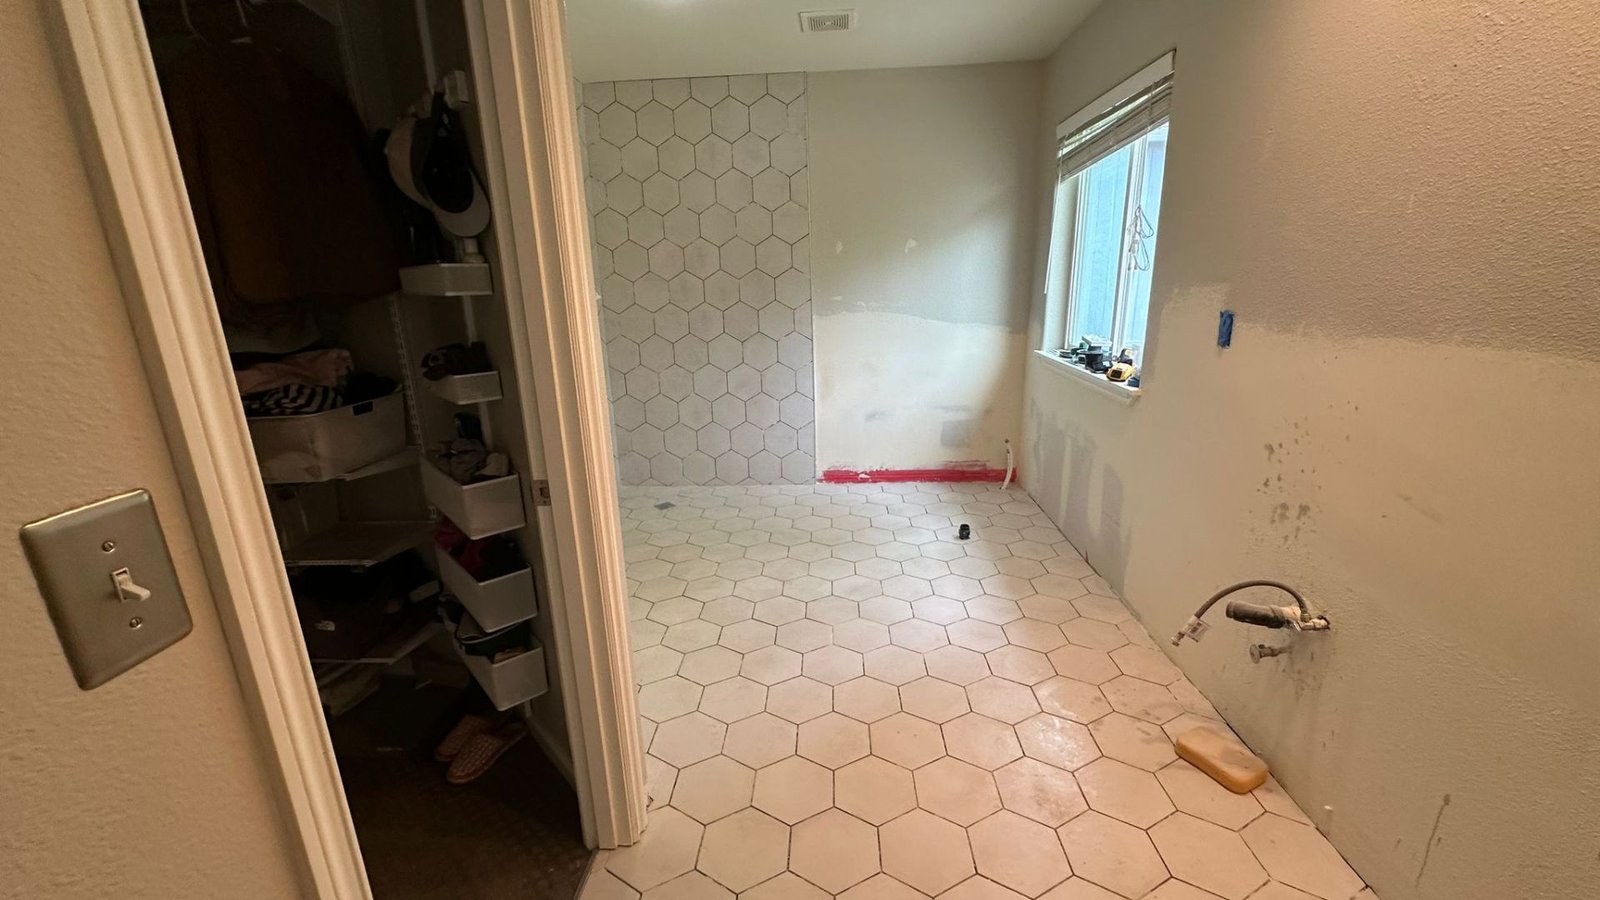
Gallery 1: Initial stages of preparing the tile base and marking spots for tile placement.
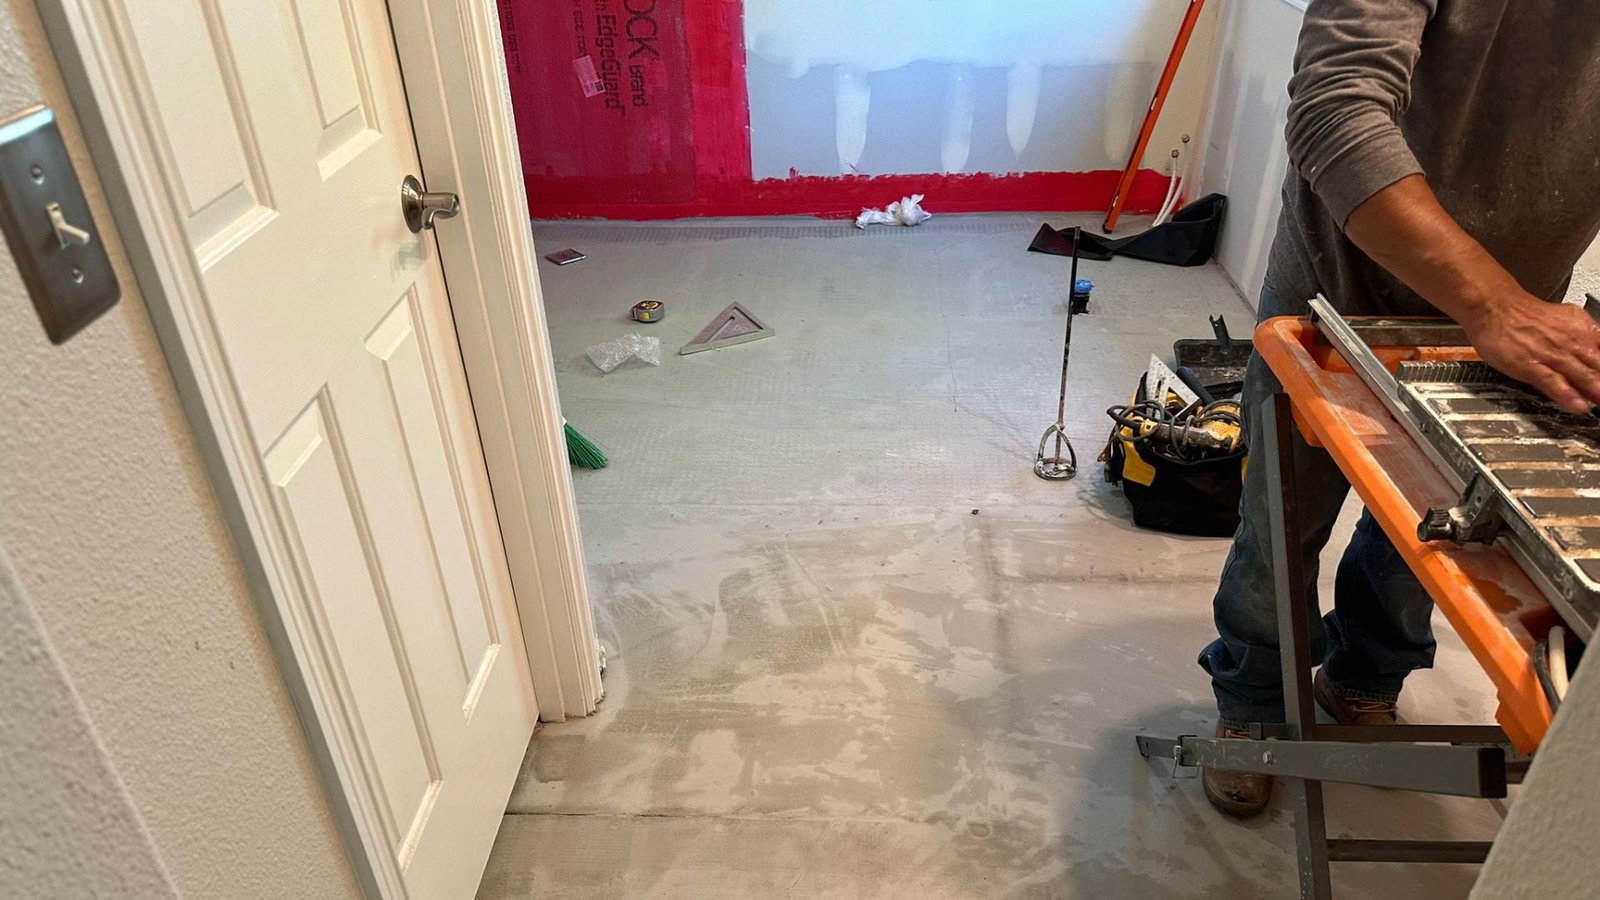

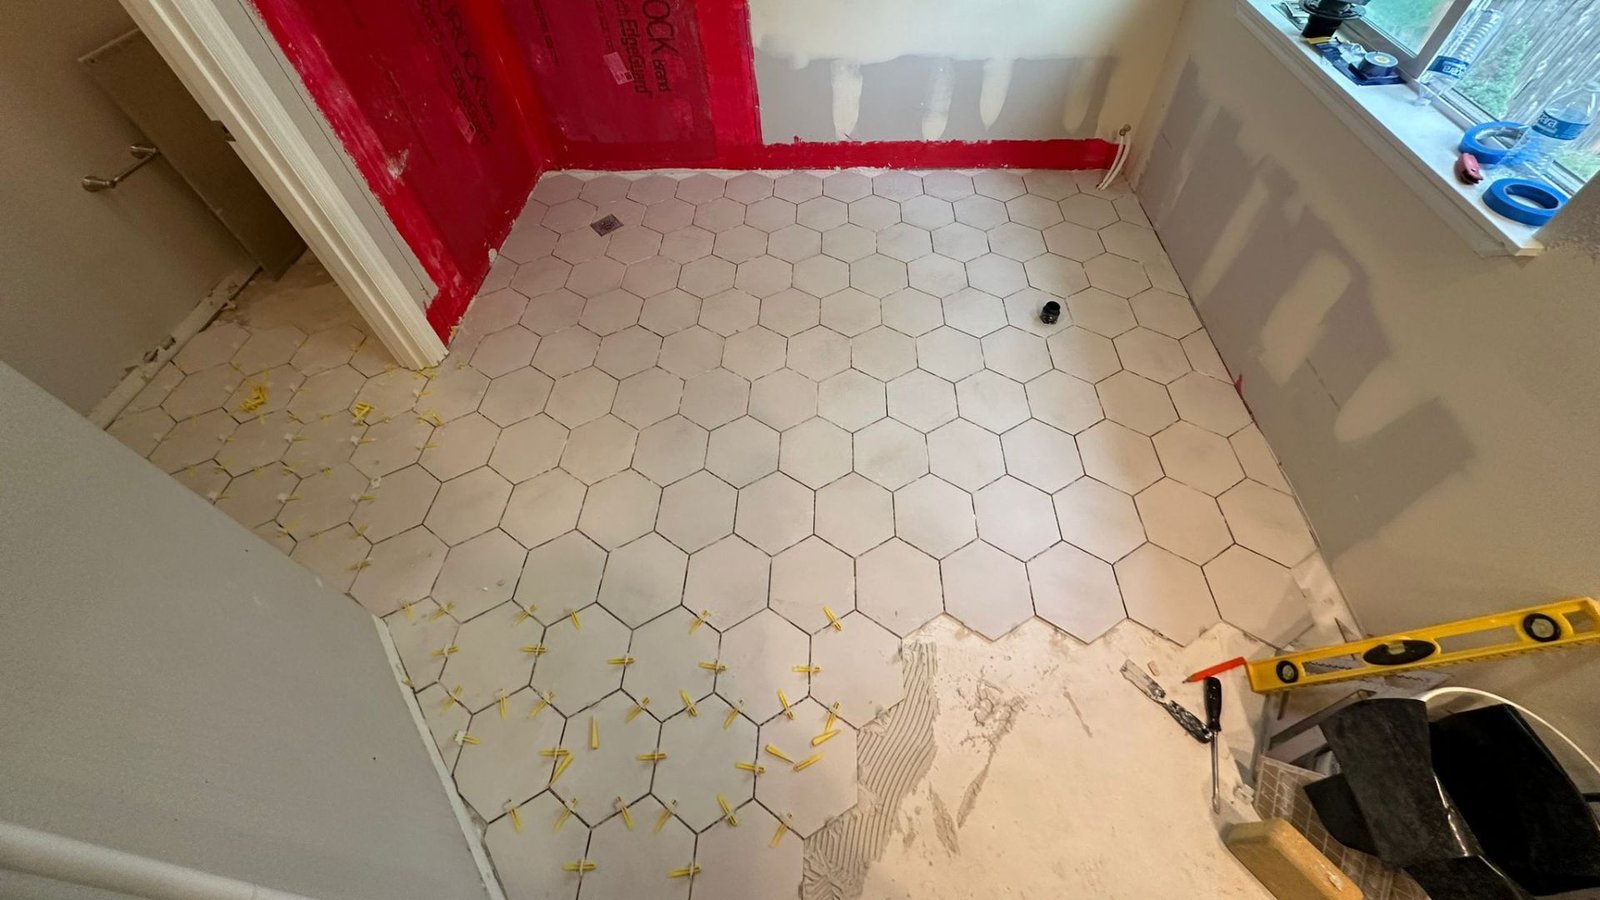
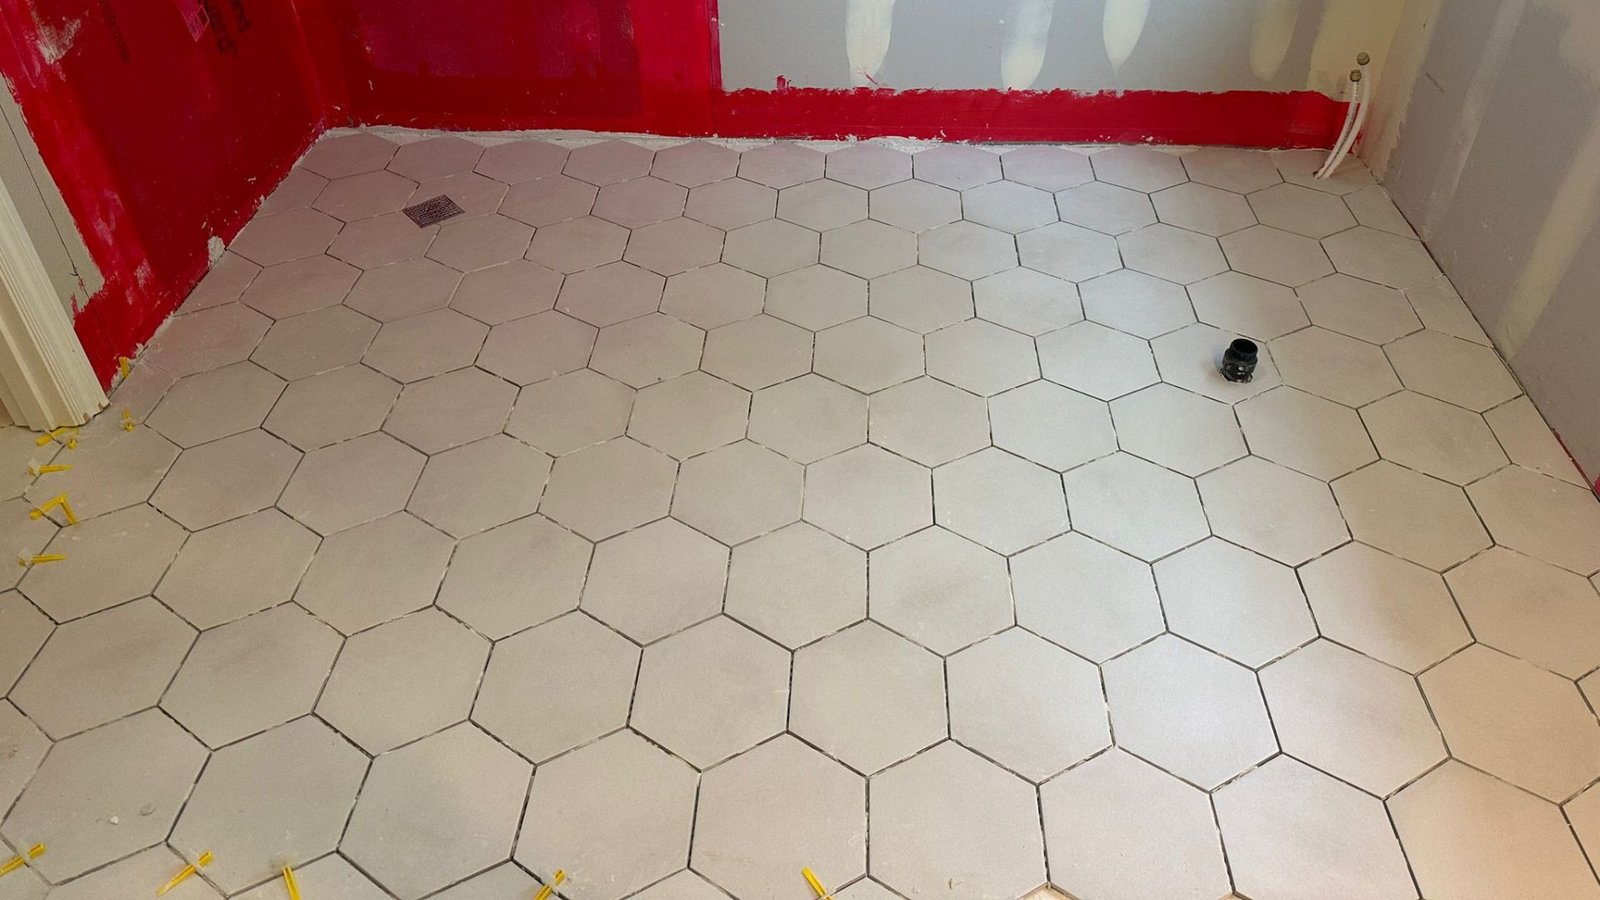
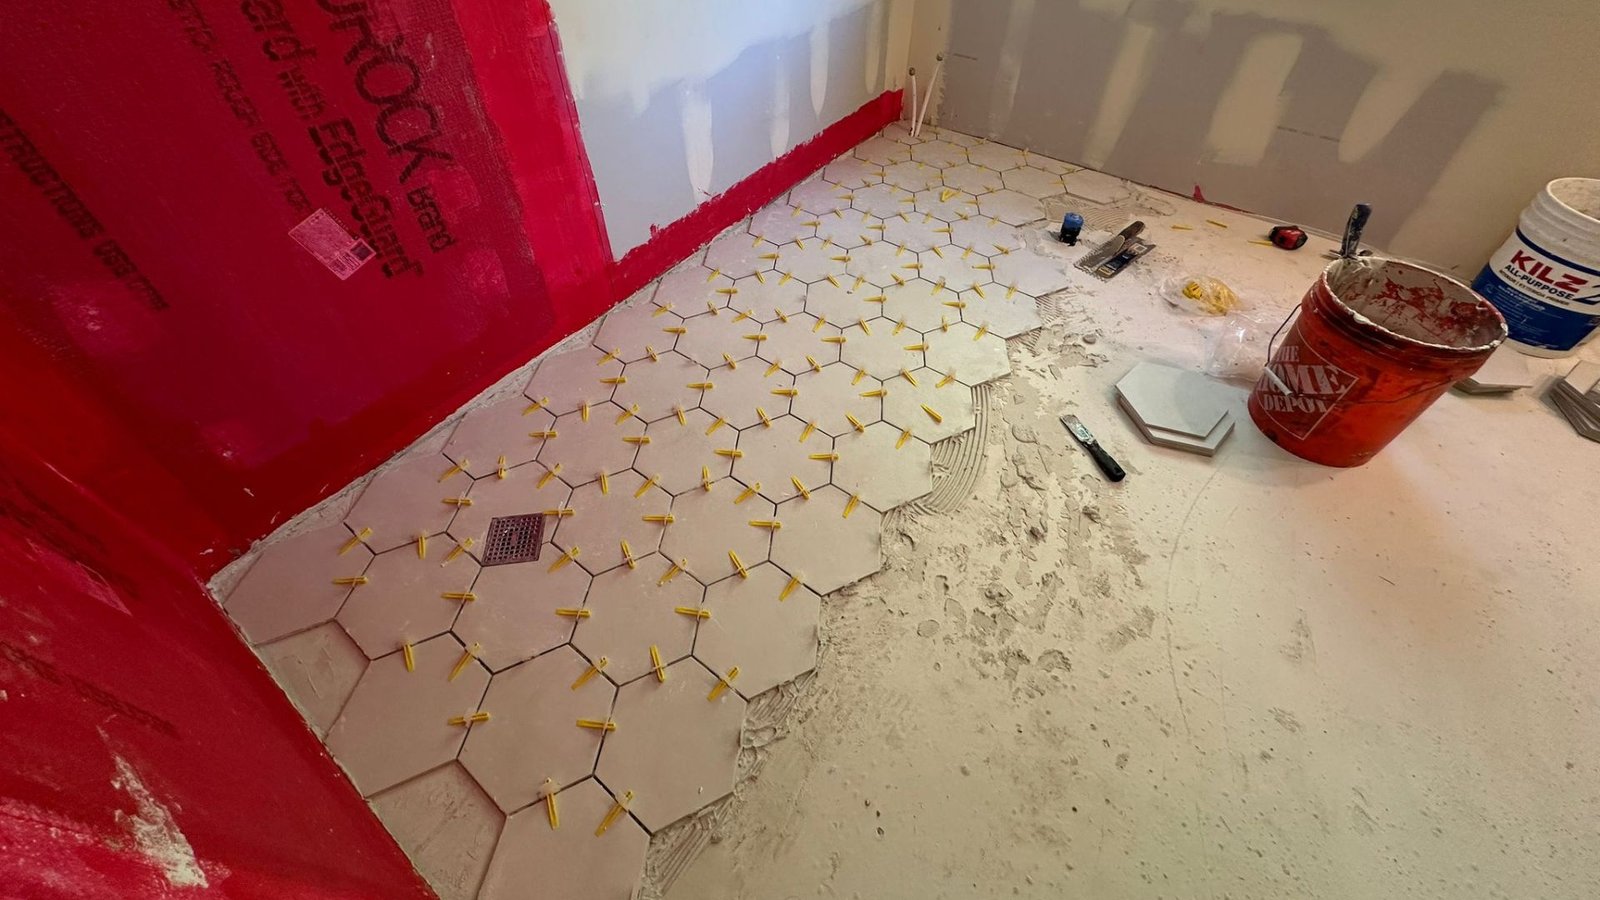
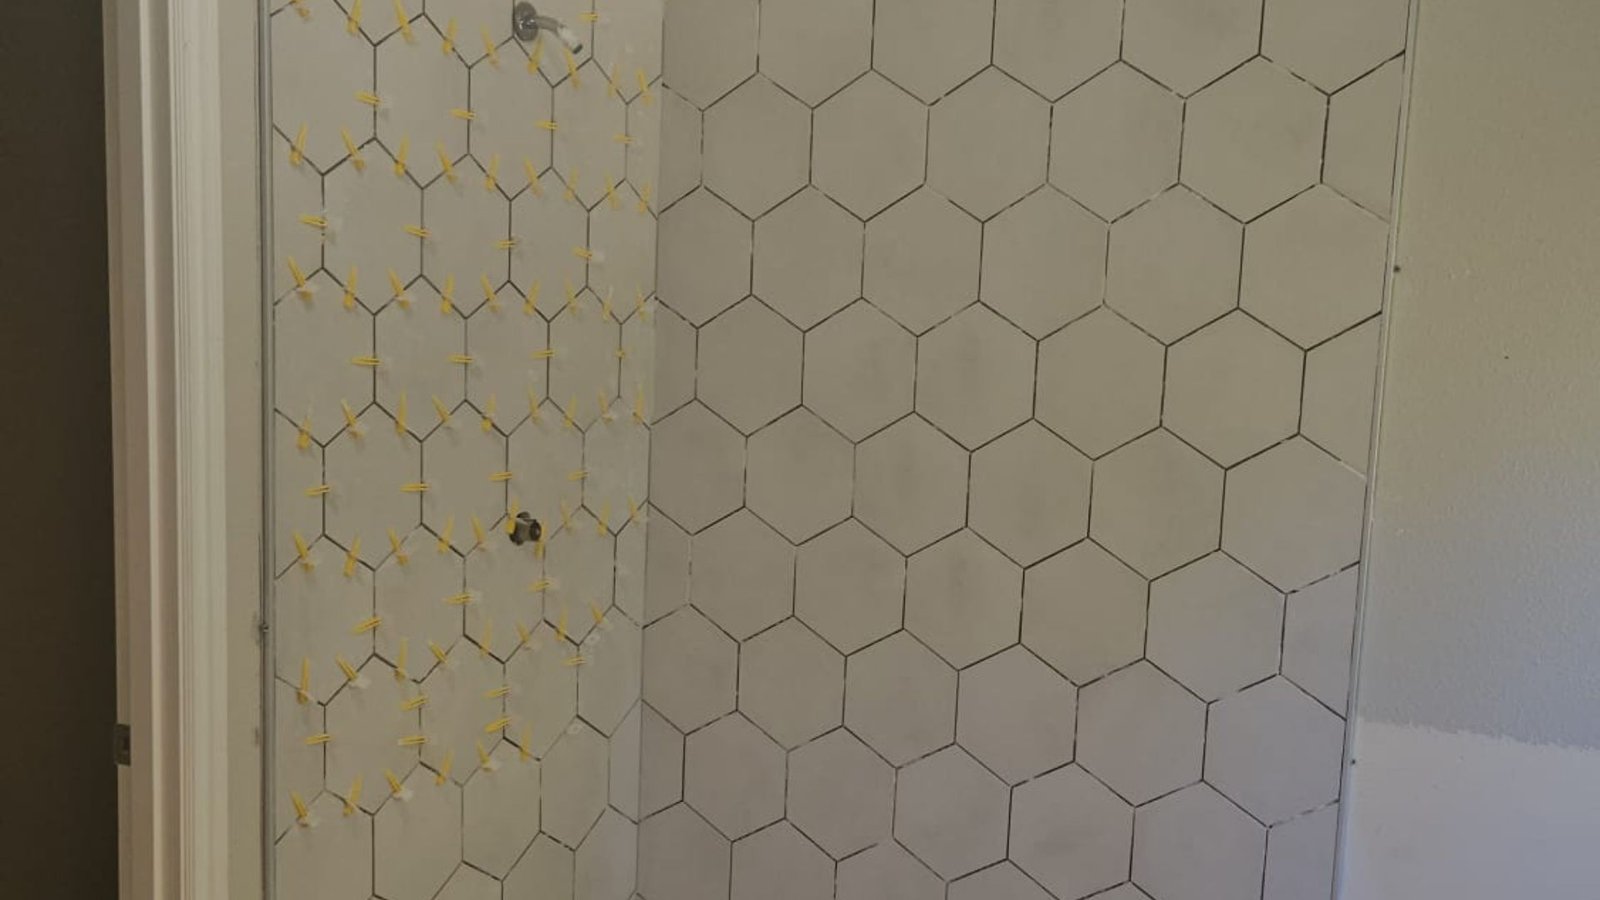
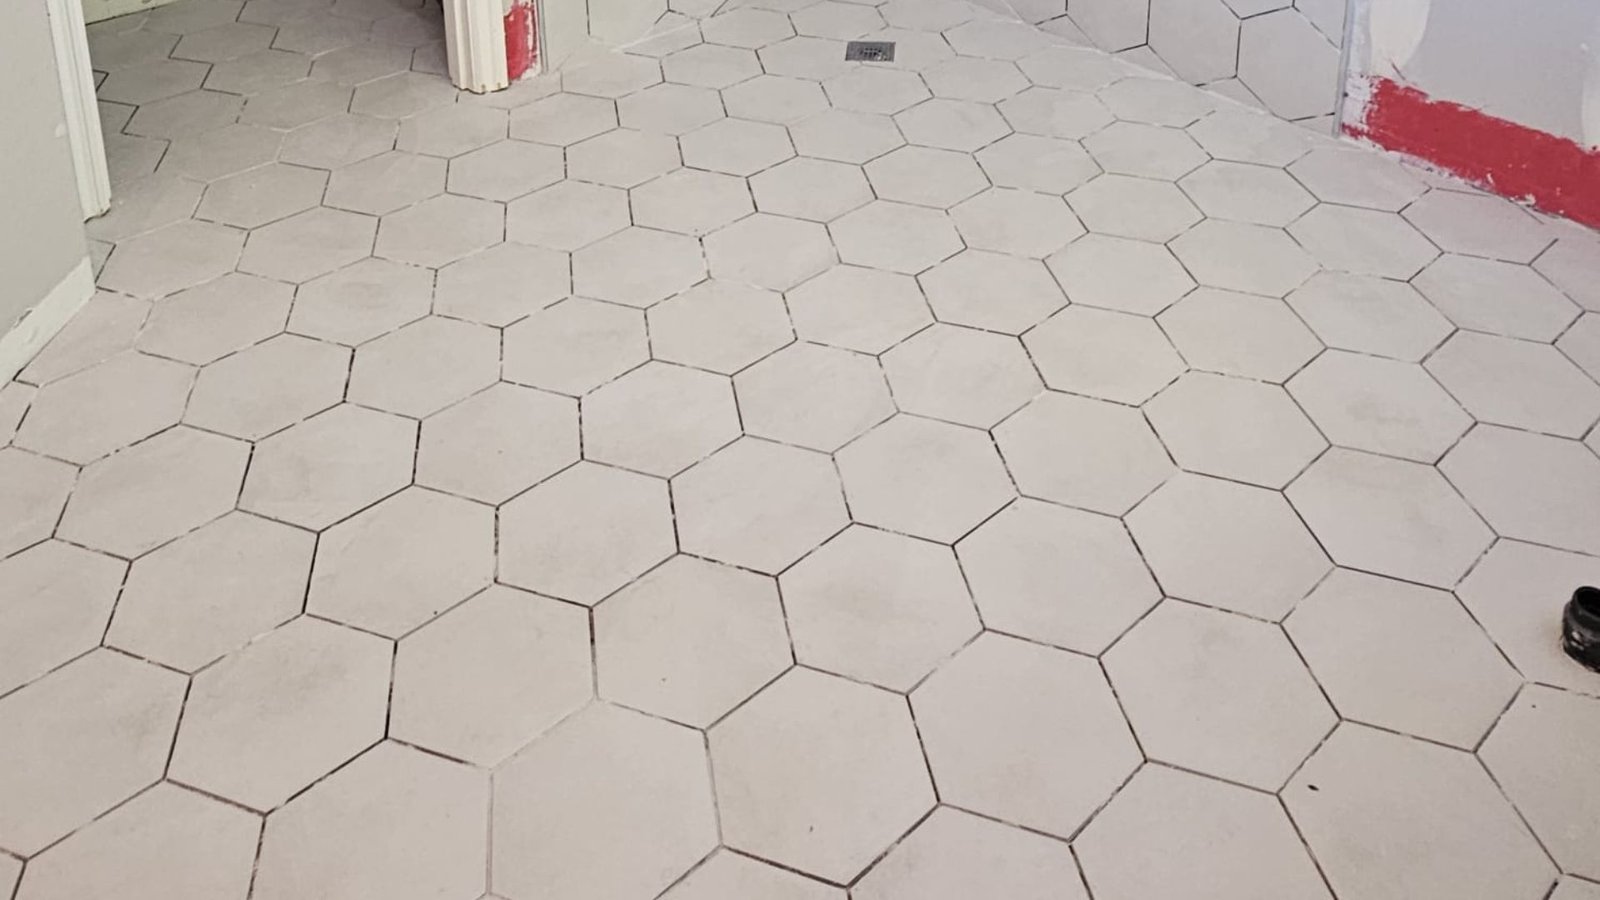
Section 2: Installing the Hexagon Tiles
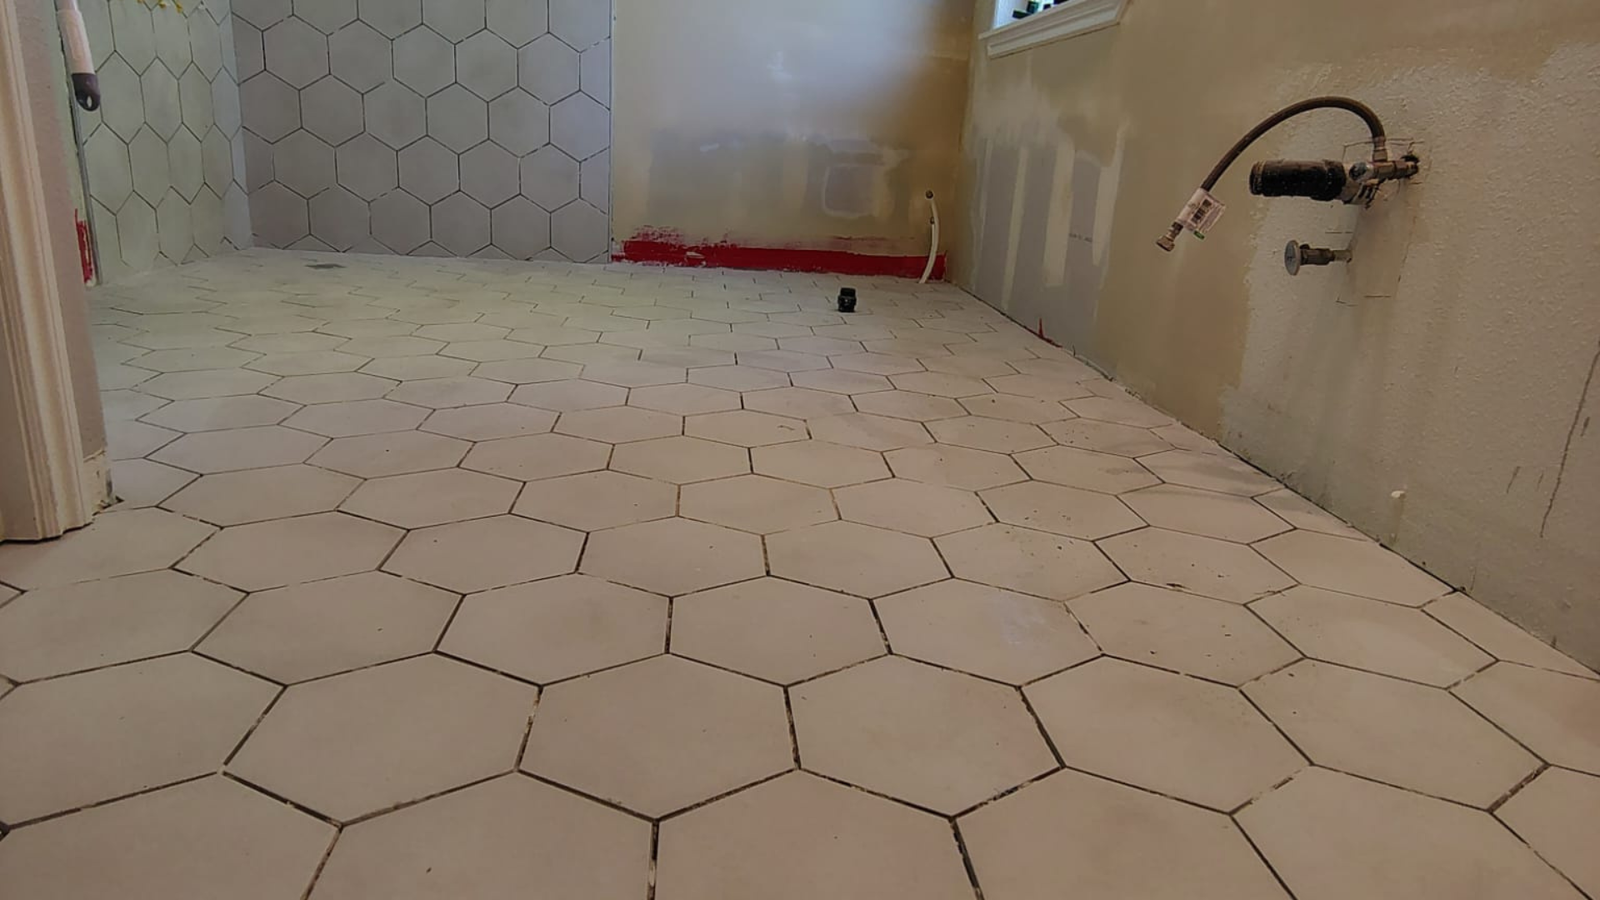
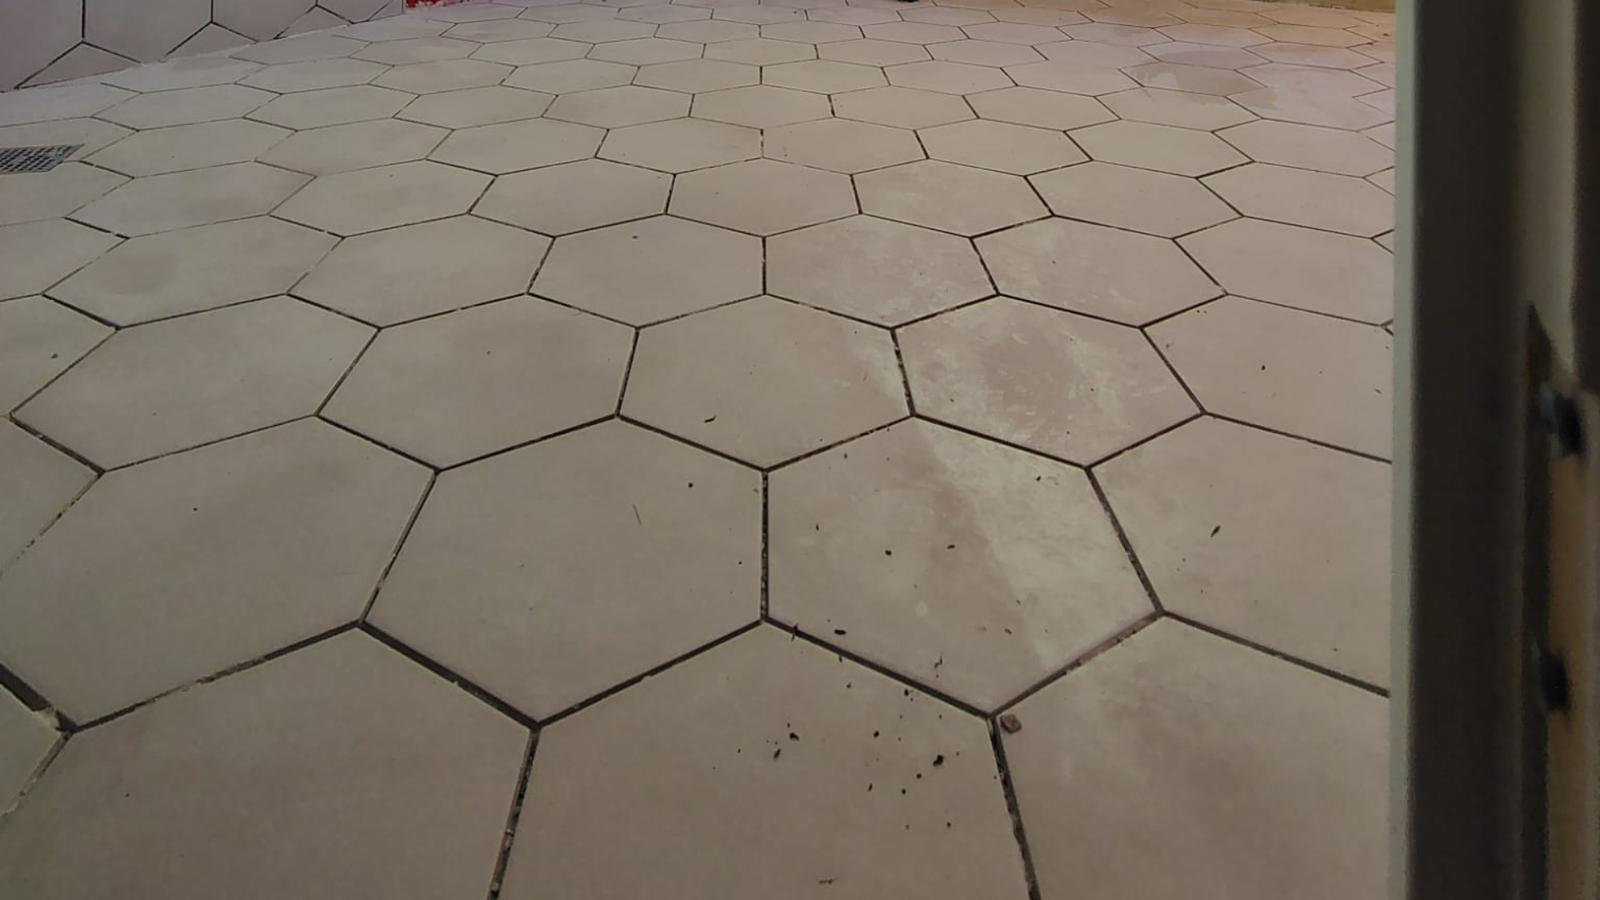
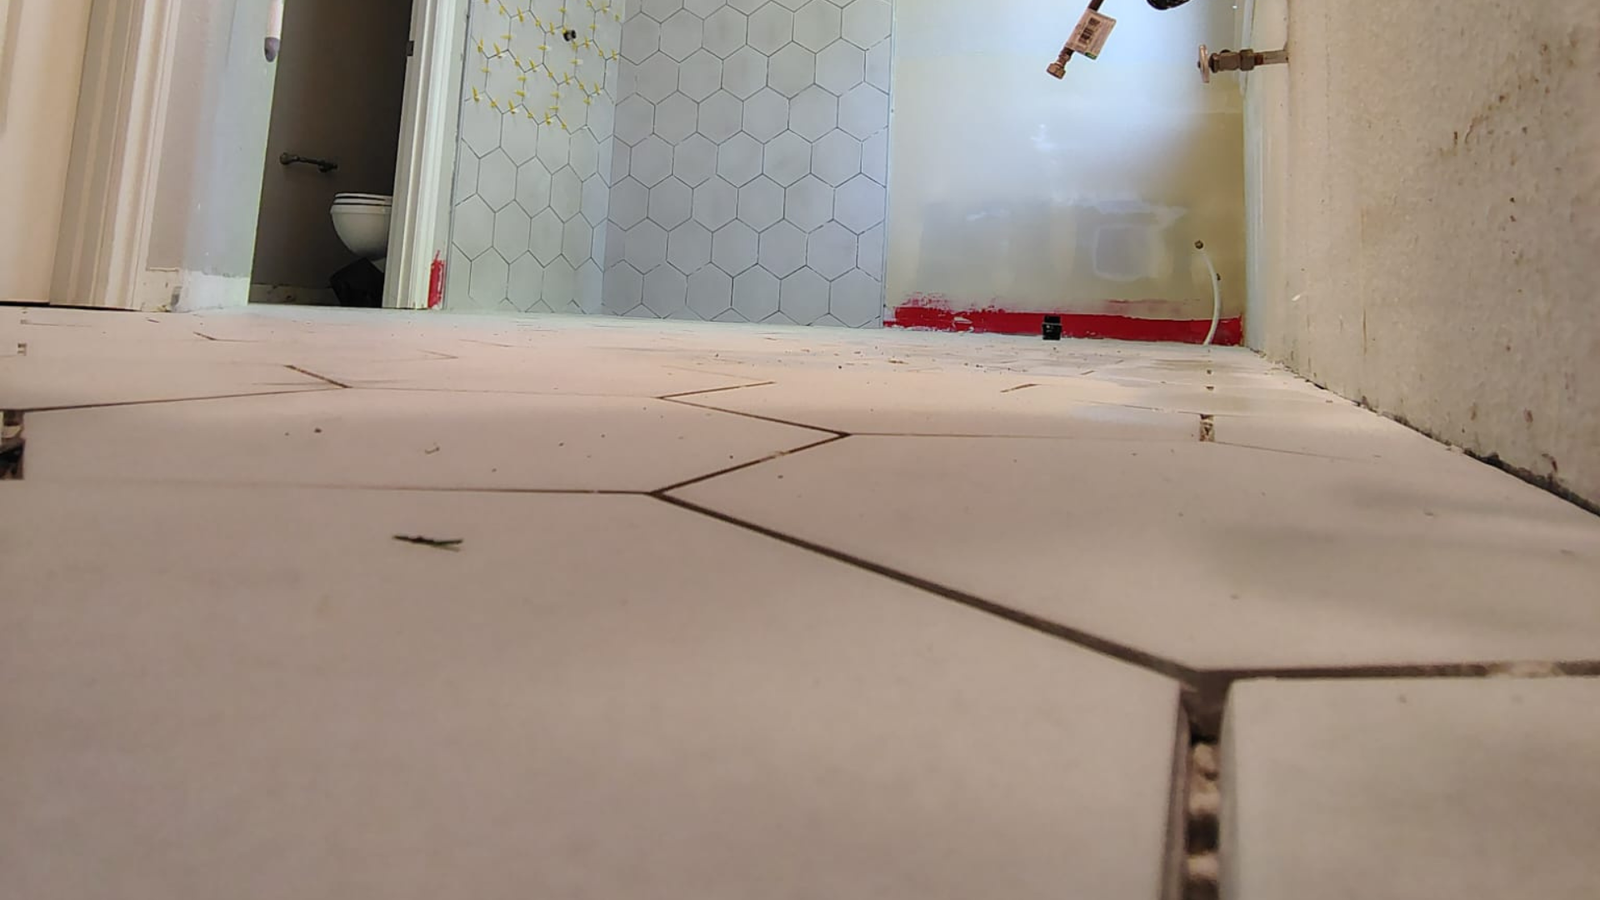
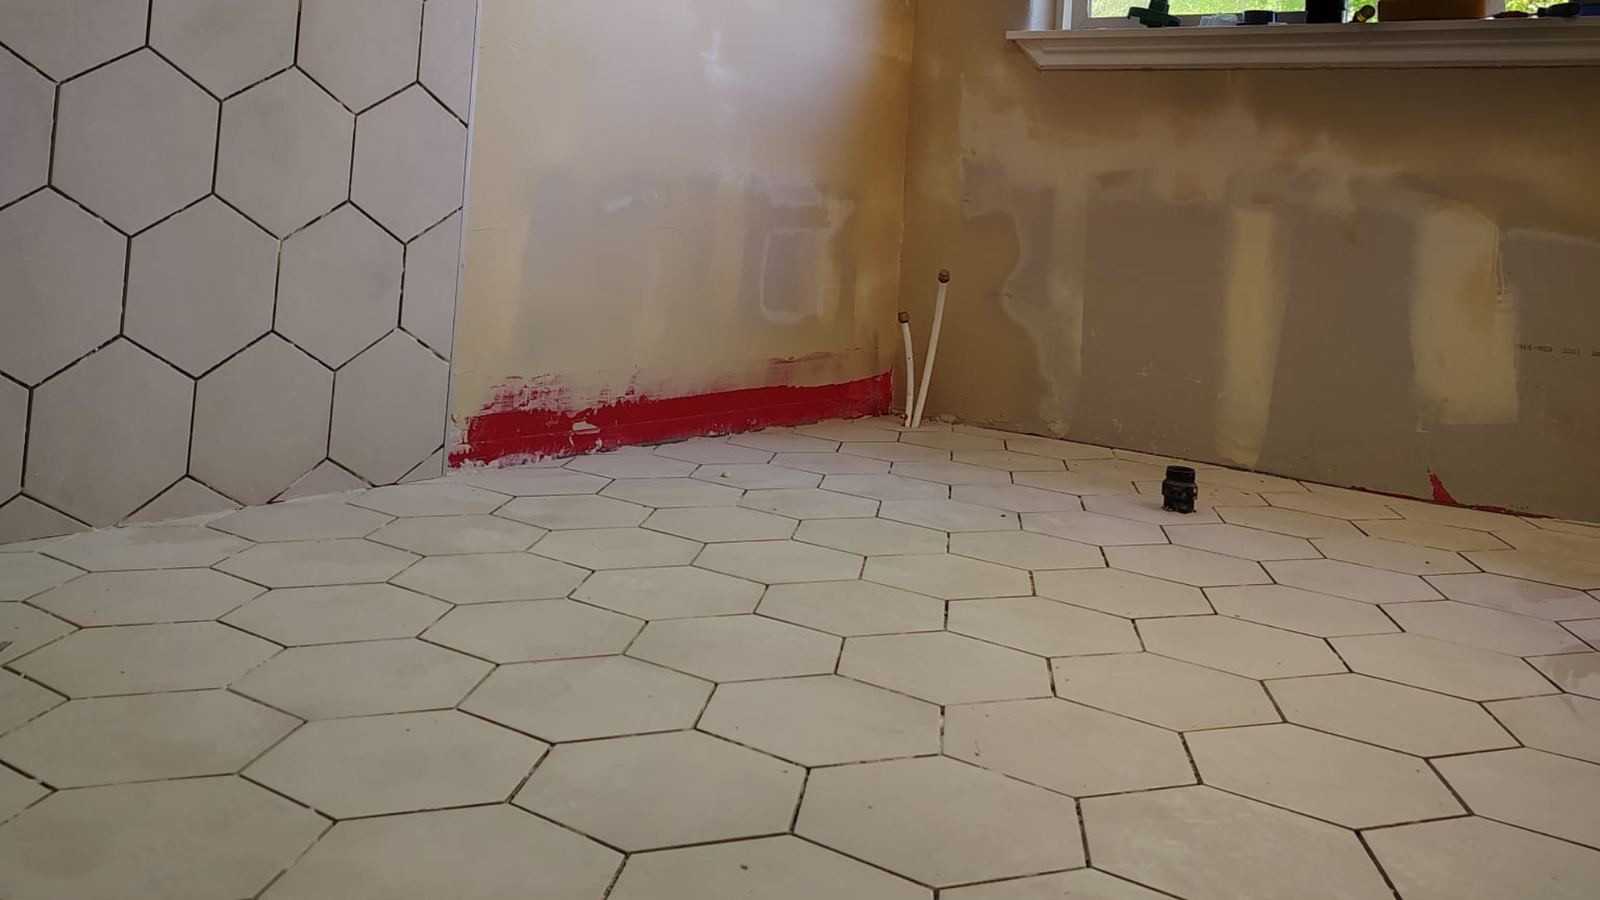
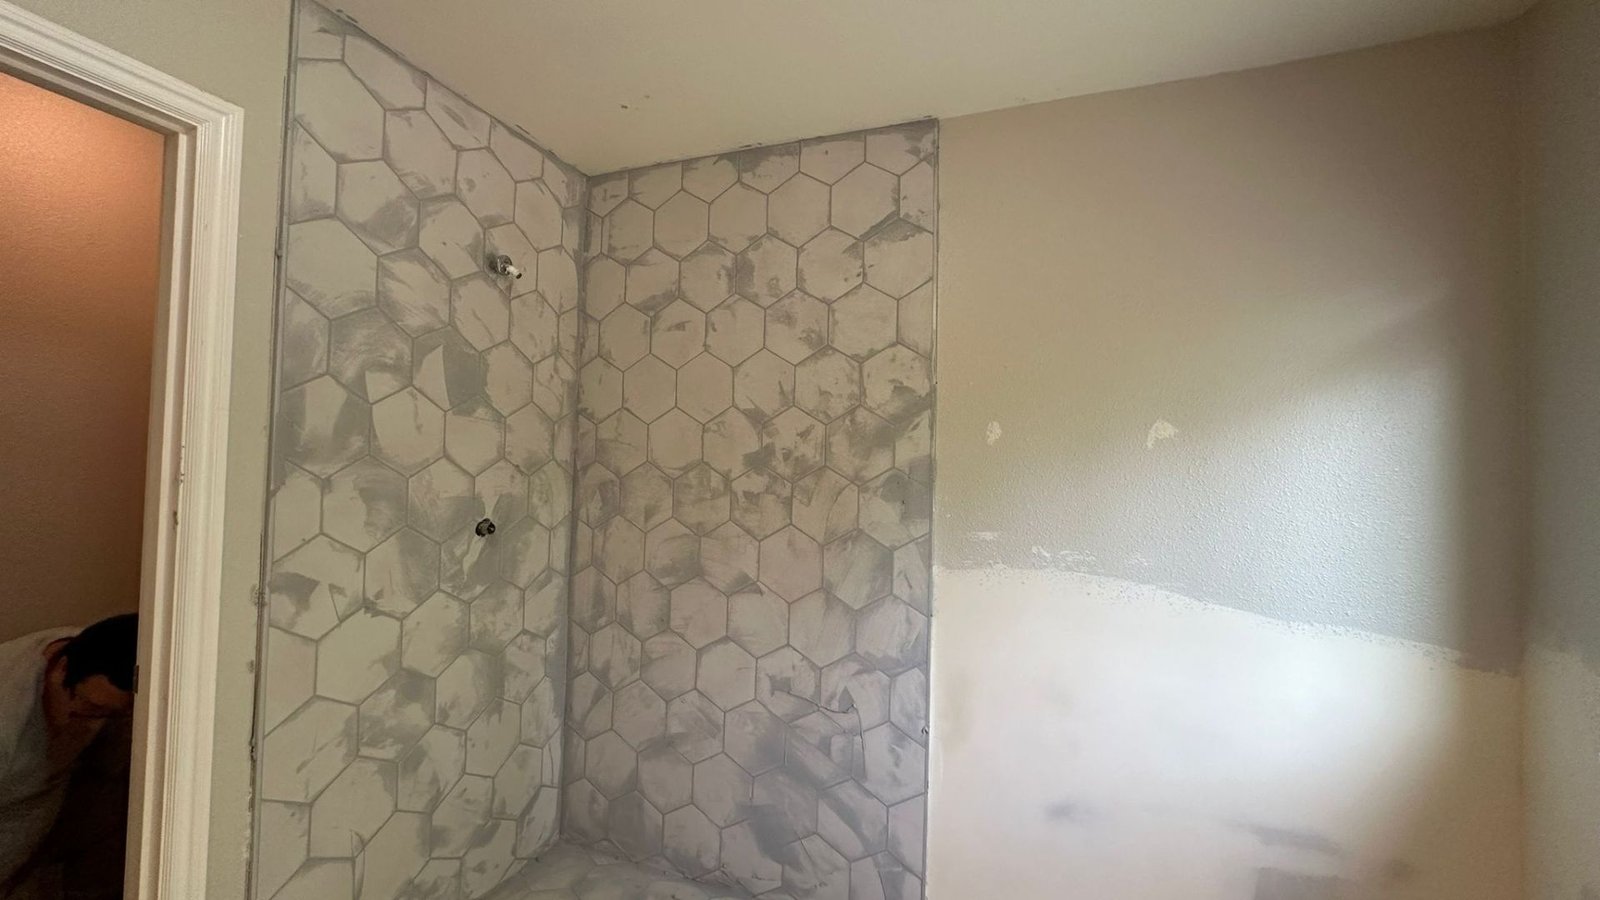
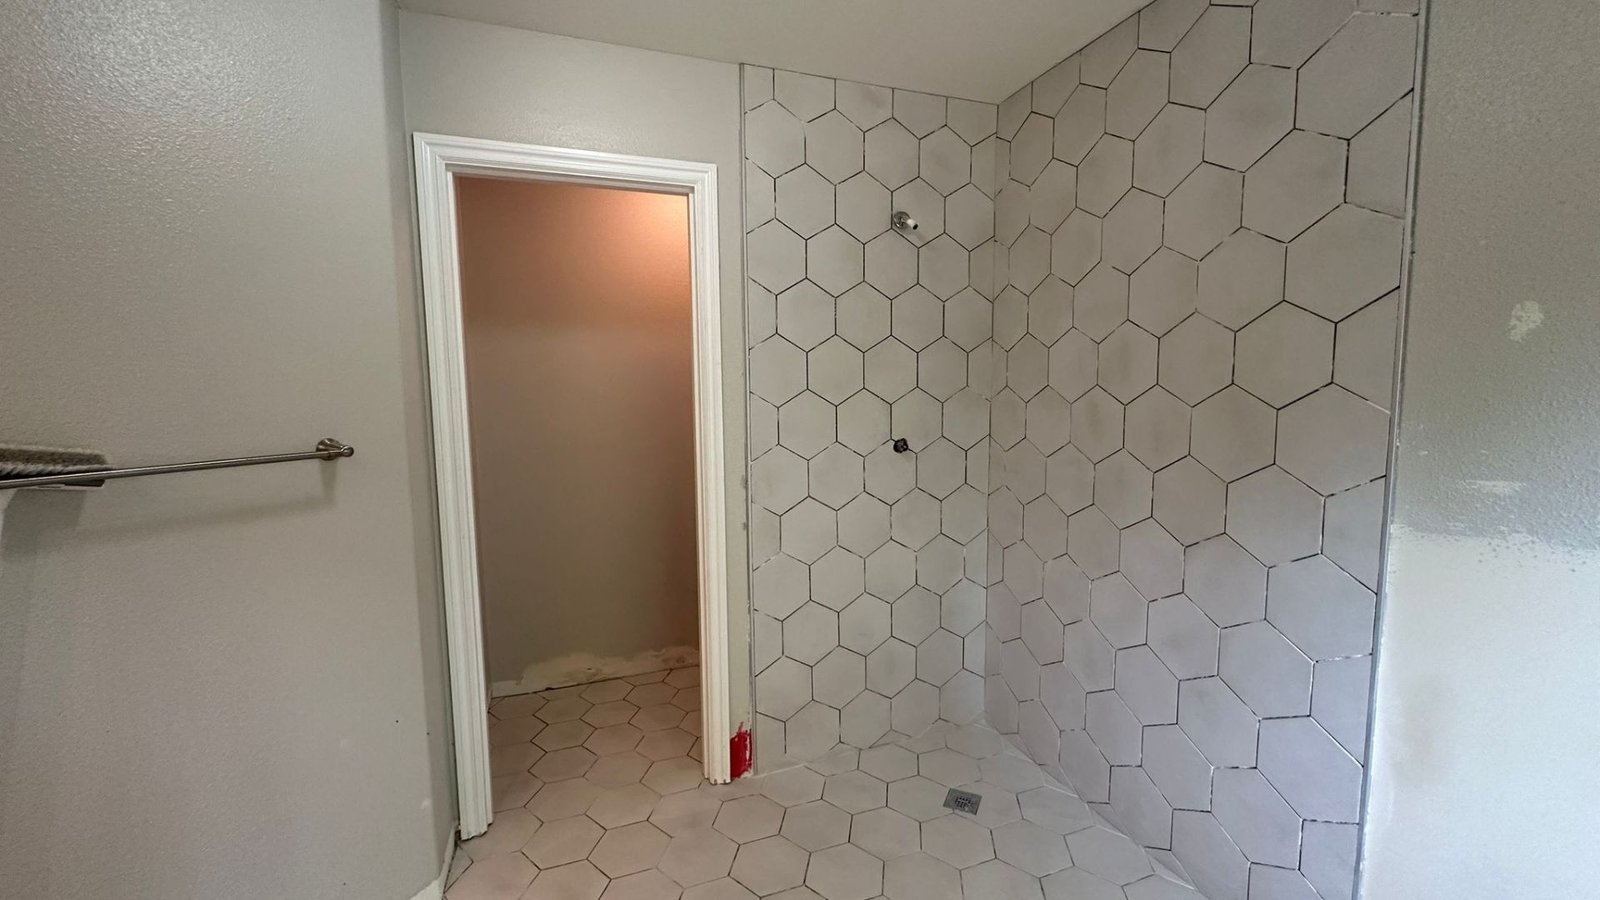
Our choice for this bathroom was the sleek and contemporary hexagon tile, which adds a modern touch to the overall design. The process involved precision and care to ensure that the tiles were evenly placed and aligned. Take a look at how we tackled this part of the project:
Gallery 2: The hexagon tile installation process as the tiles are placed on the floor and walls.
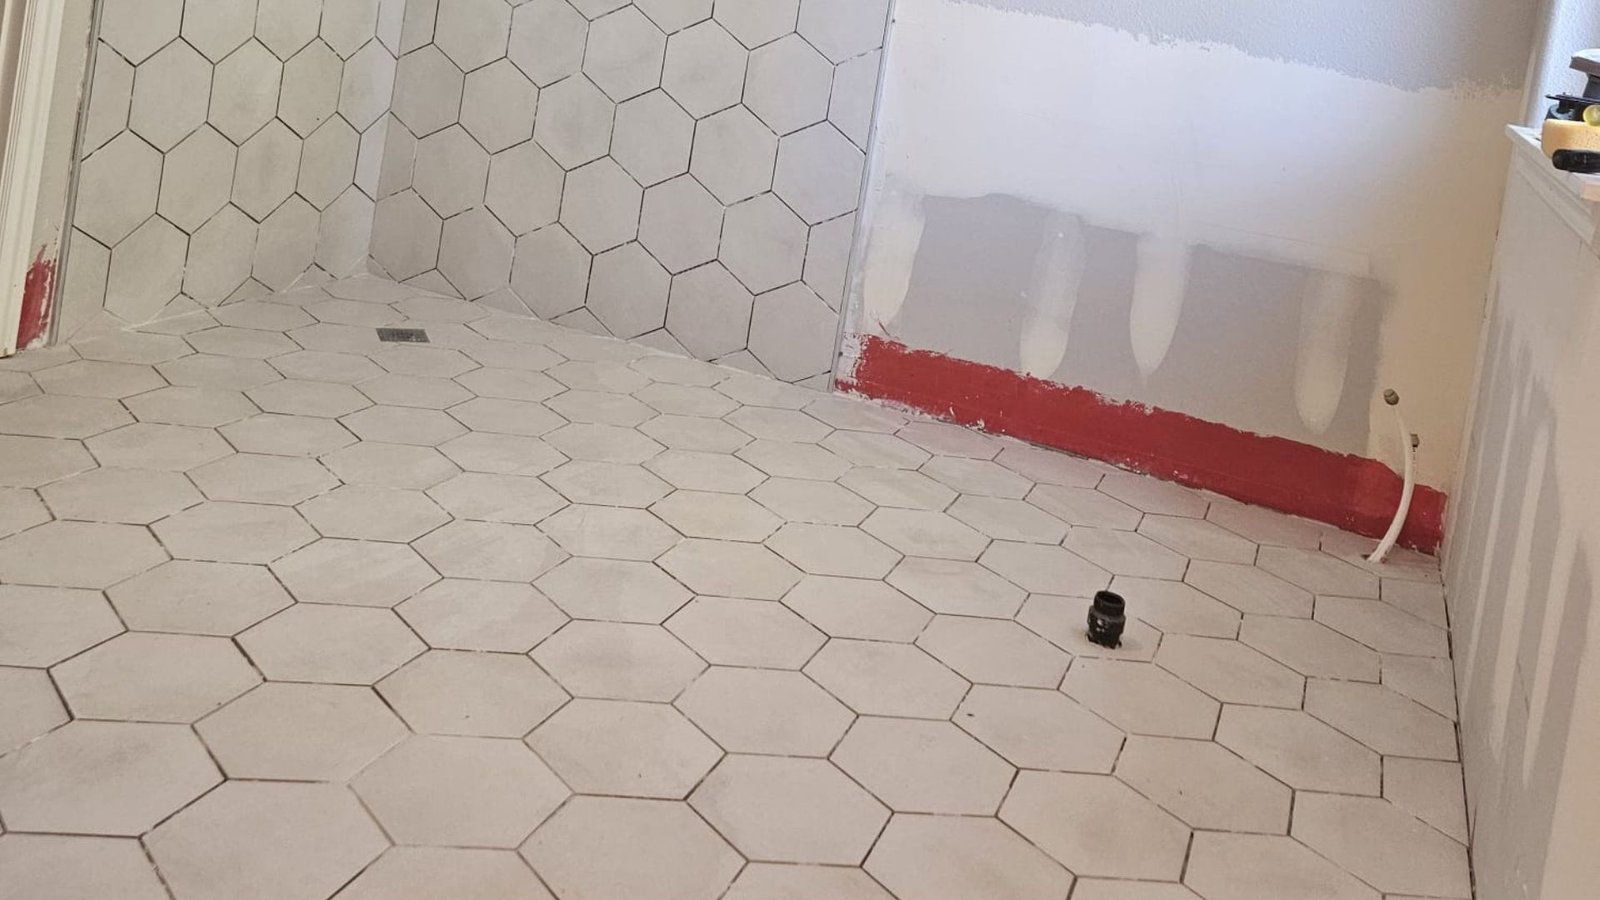
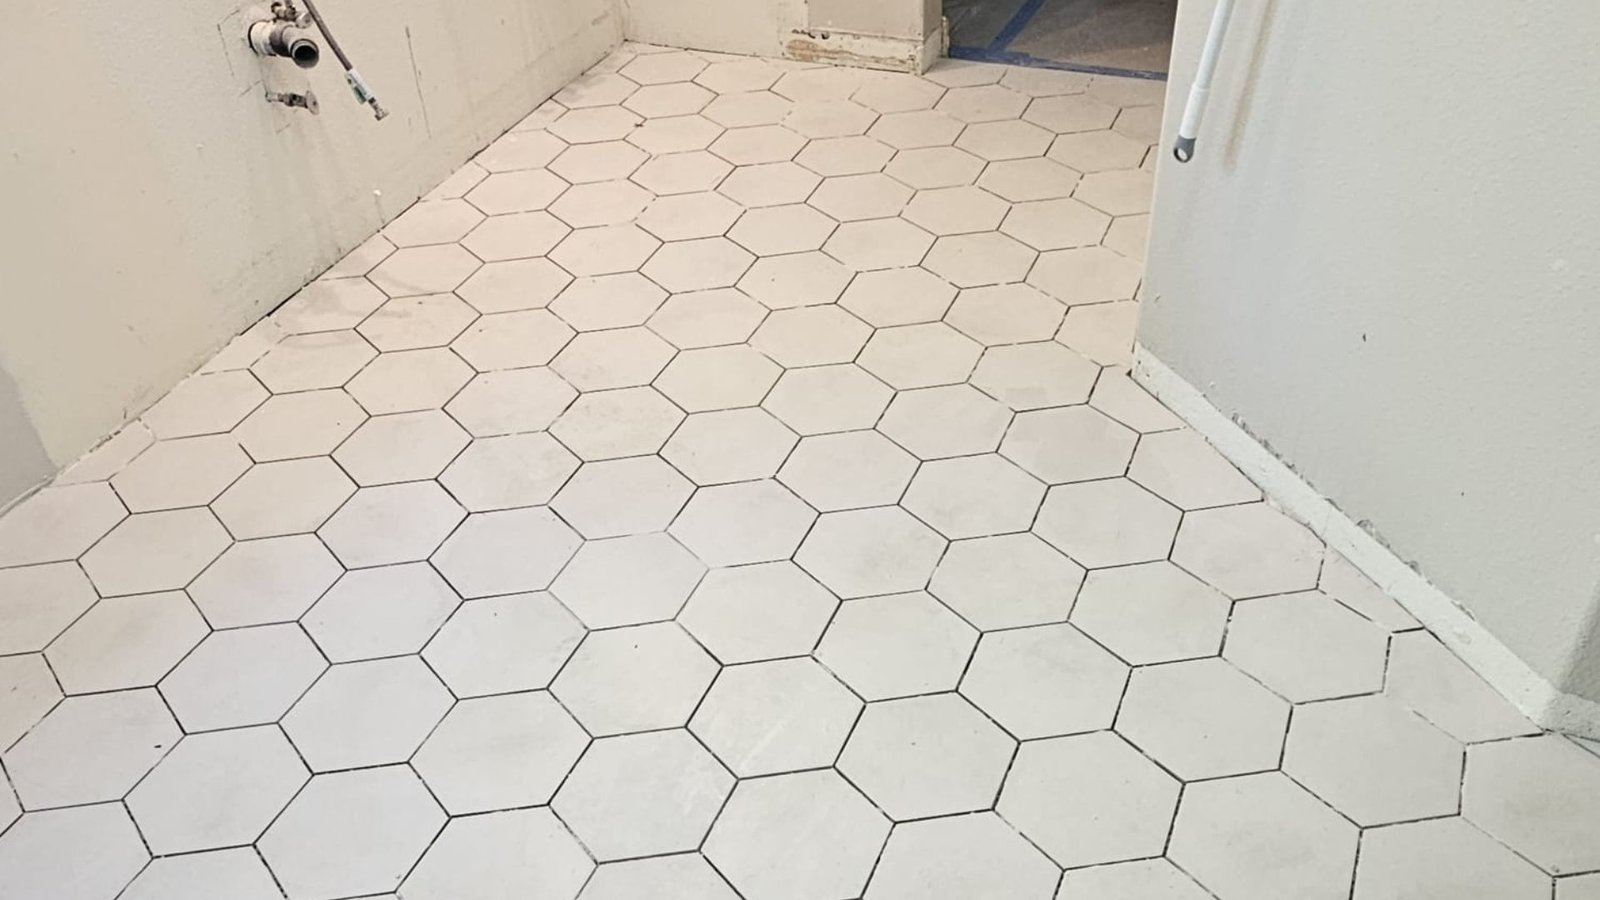


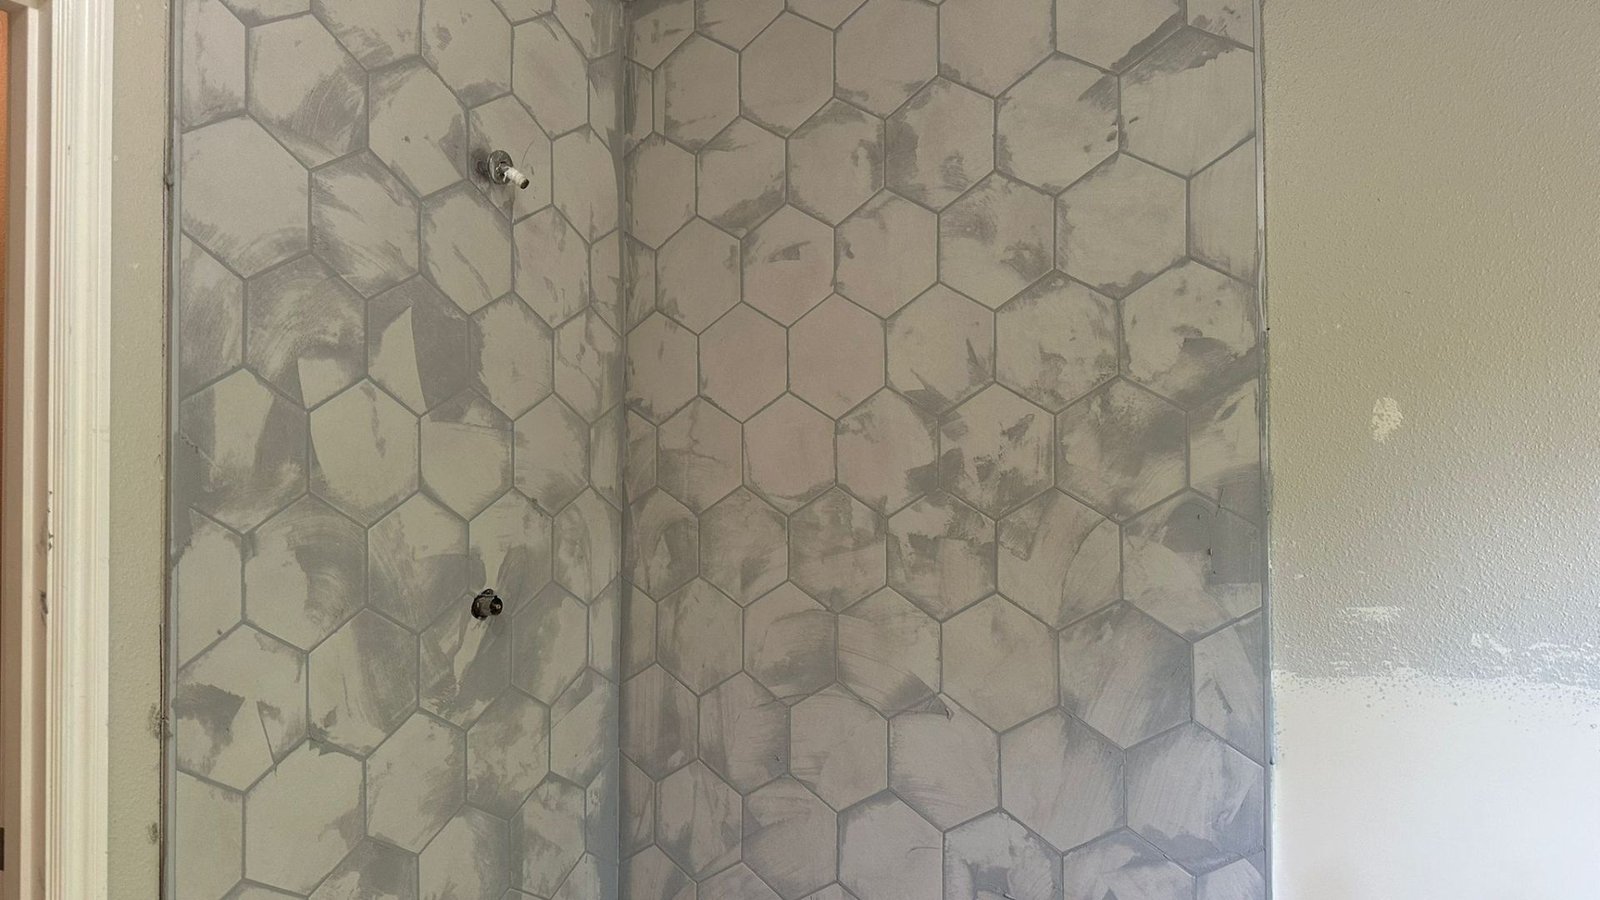
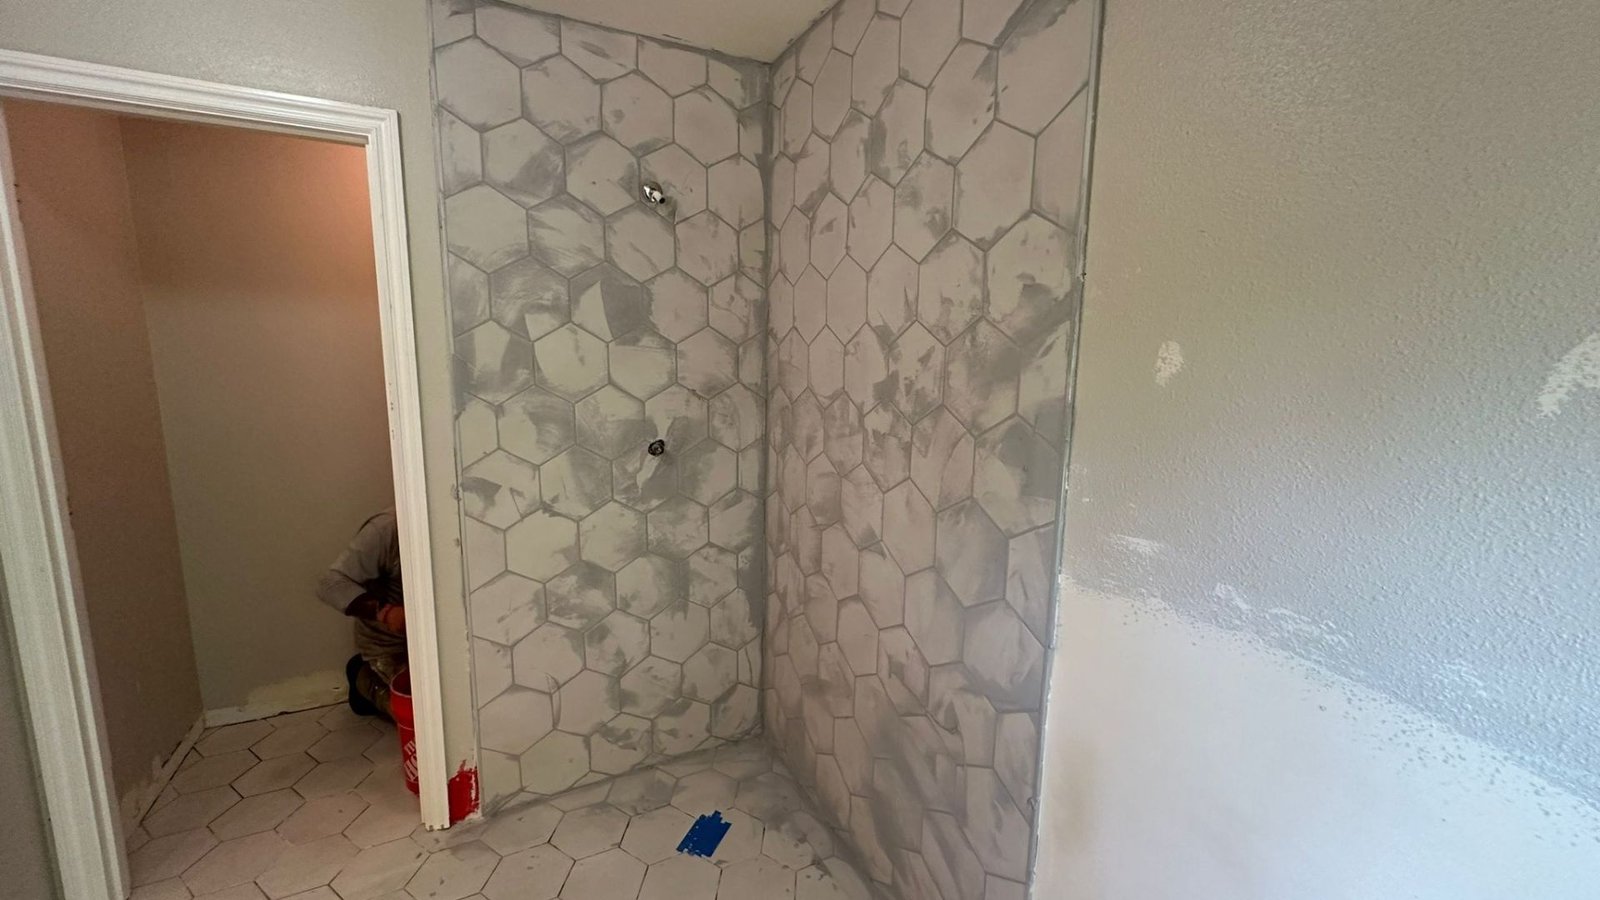
Section 3: Applying Grout for a Polished Finish
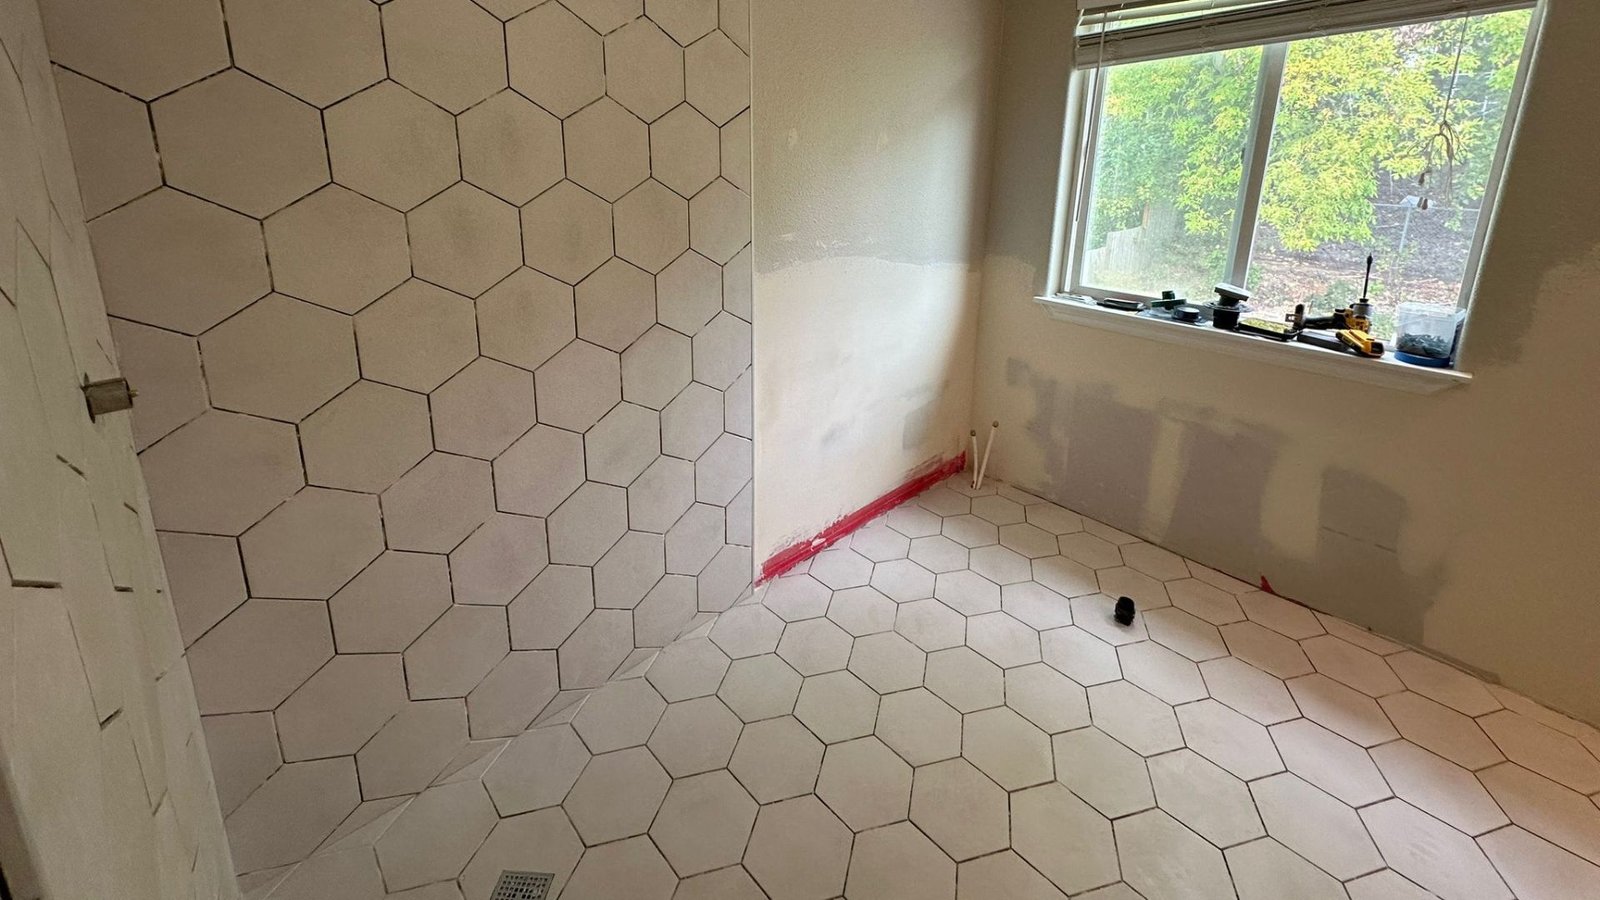
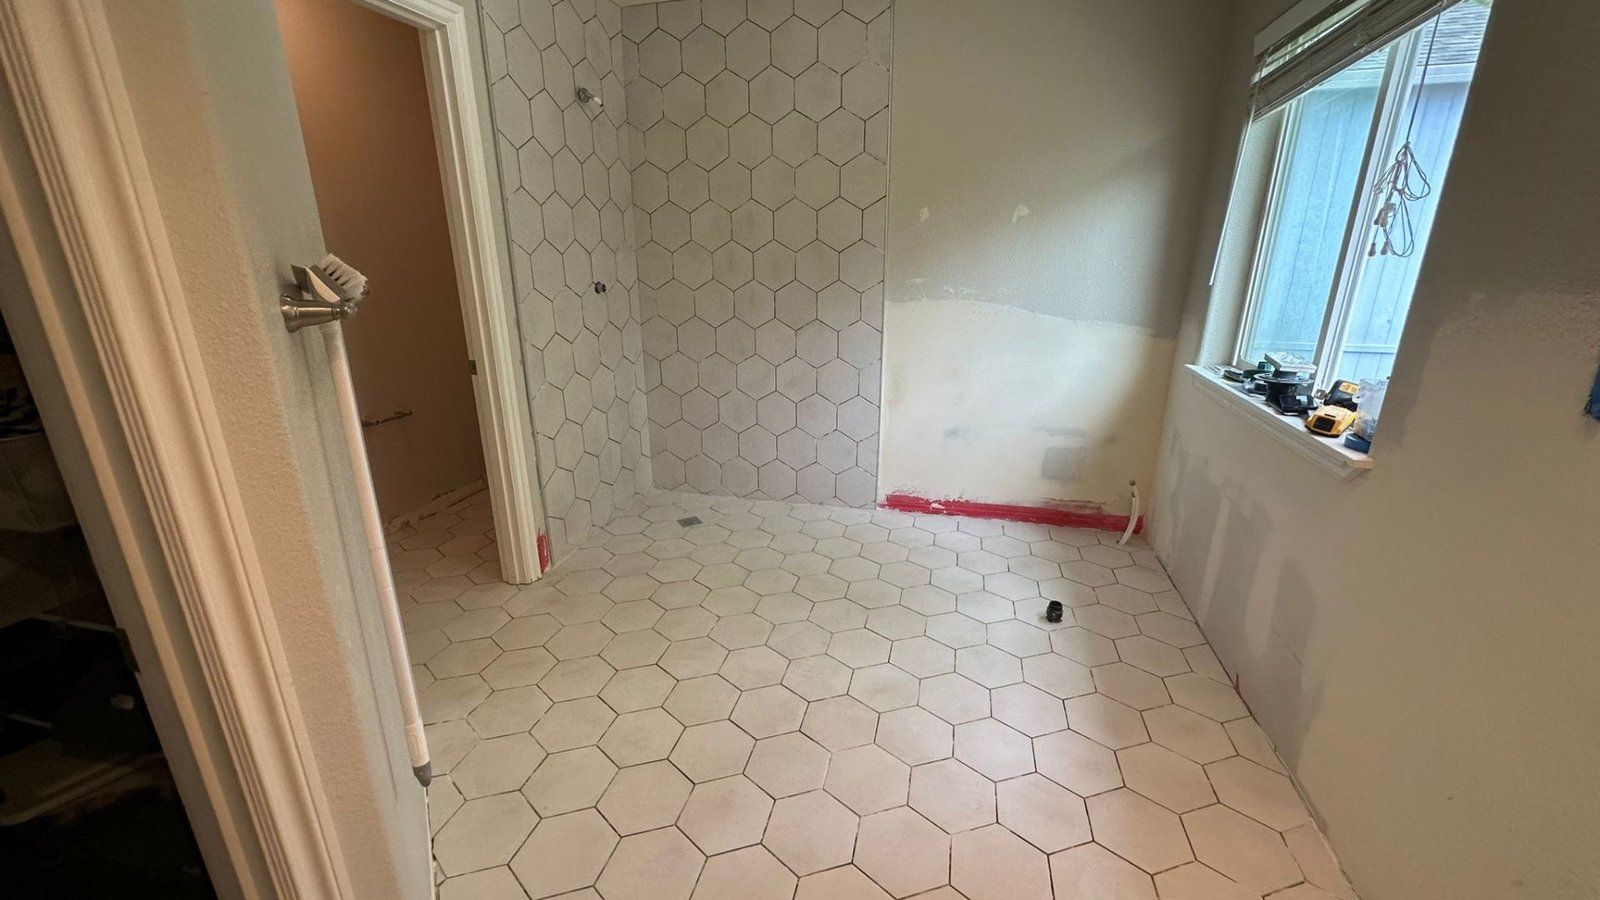
Once the tiles were securely placed, the next step was to apply grout to seal the spaces between them. This not only reinforces the durability of the installation but also gives the bathroom a polished, cohesive appearance. In our video, we explain how to correctly apply grout and offer tips for achieving a clean, professional finish.
🚿 How to Apply Grout in the Shower and Floor 🧽
Key Tips:
- Scraping off excess grout for a clean finish
- Using a sponge to remove grout without damaging the tiles
- Allowing sufficient drying time before cleaning
Gallery 3: Post-grout application showing the clean and polished finish after grouting the tiles.

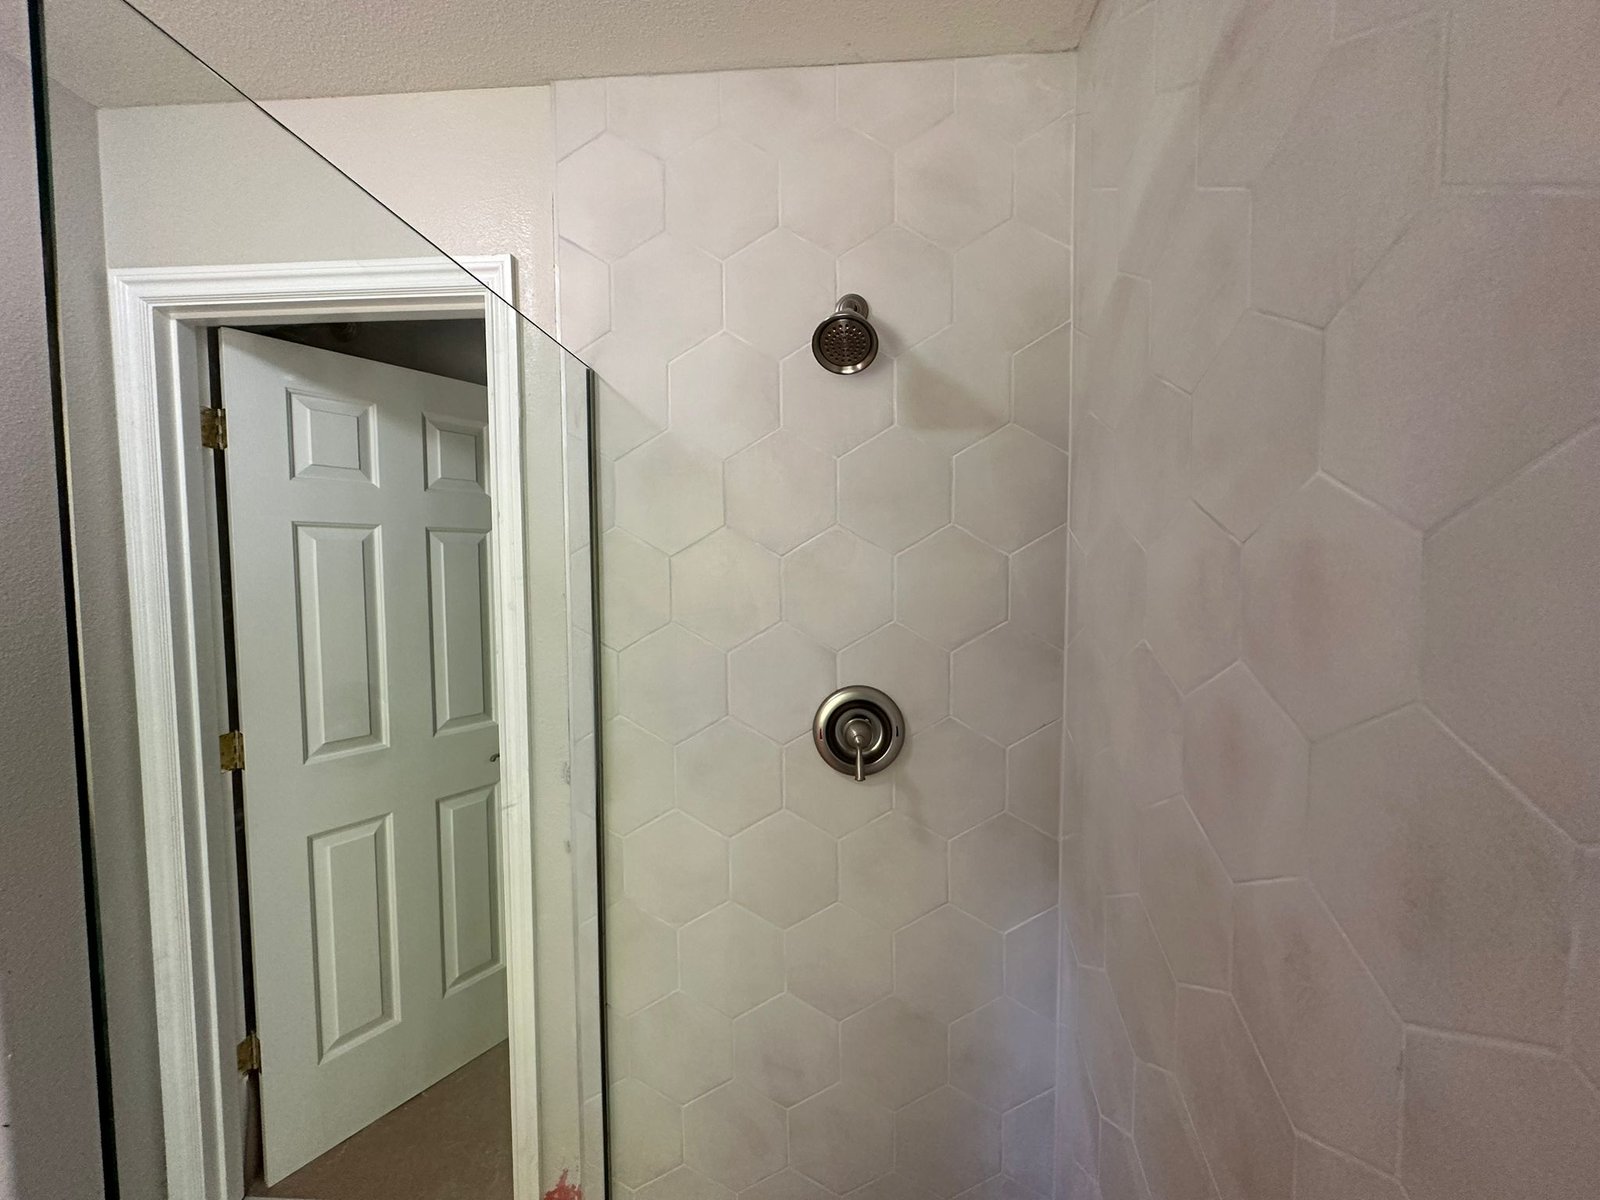
Section 4: Installing the Showerhead and Faucets
As we neared the final stages of the project, we installed sleek, modern fixtures, including the showerhead and faucets, to complete the transformation. Installing these essential components is not just about aesthetics; it’s also about ensuring the plumbing is functional and leak-free. Check out the step-by-step process in our video.
🛁 How to Install Faucets and Showerhead in a Remodeled Bathroom 🚿
This bathroom renovation project is an excellent example of how attention to detail, careful planning, and skilled execution come together to create a beautiful, functional space. From the base preparation to the finishing touches, each step was carried out with precision and care. We invite you to follow along with our YouTube videos to see the entire process in action and get tips for your own DIY projects or renovations.
Stay tuned for more updates as we continue to bring life to homes through our professional services!
Call to Action:
For more renovation tips, DIY guides, and professional services, subscribe to Frank's Handyman YouTube Channel. If you need expert help with your home renovation, contact us today for a free consultation.