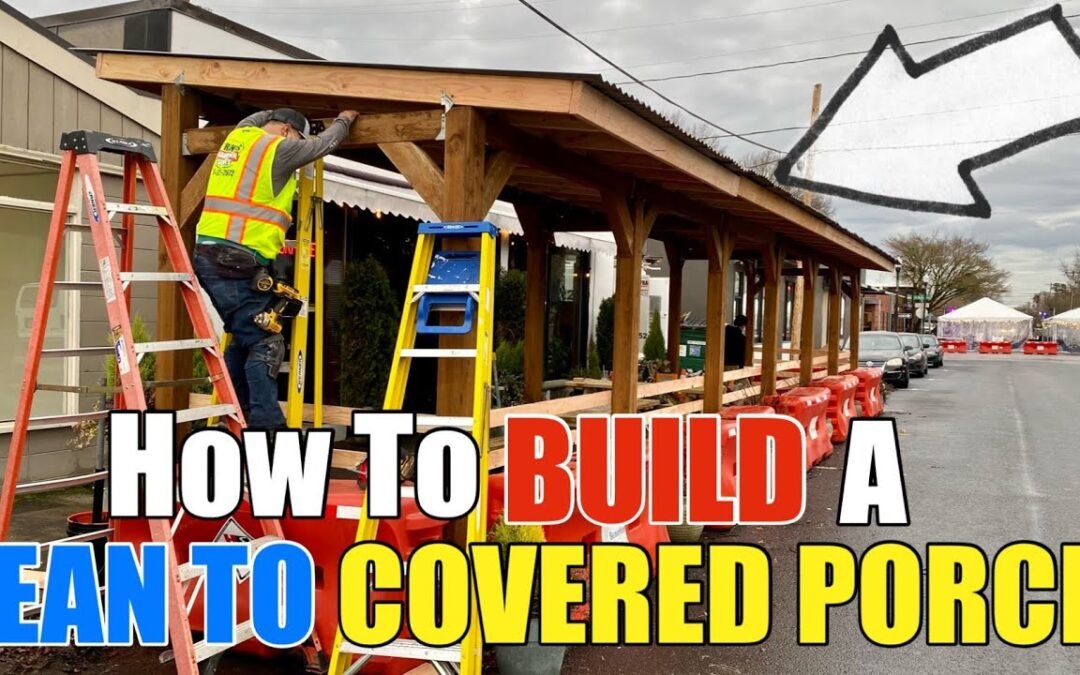
In today’s world, offering outdoor seating at restaurants is more important than ever. Adding a well-constructed covered patio can provide customers with a comfortable outdoor dining experience while extending your restaurant’s seating capacity. In this guide, we’ll show you how we built a beautiful outdoor covered patio at a local restaurant, adding both function and style. This step-by-step project was designed to be durable and weather-resistant, perfect for year-round use.
Here’s a detailed look at how we did it:
1. Laying the Foundation
To begin, we needed to establish a solid foundation for the structure. We used pressure-treated wood to create a base that would last through years of wear and tear. Pressure-treated boards were placed along the perimeter, and 6×6 vertical posts were secured to the bottom using brackets. This ensured the structure was sturdy and well-supported.
2. Building the Frame
The framework involved installing 4×6 beams along the top perimeter of the structure. Using metal brackets for reinforcement, we ensured that the posts were securely connected to the beams. These cross beams provided additional stability and set the foundation for the roof and railings.
Simultaneously, we began constructing the railing around the seating area. A string line was used to keep everything level, and angled cuts were made to ensure a clean, flush fit at each connection point. This not only added safety but also contributed to the overall aesthetics of the space.
3. Installing the Roof Structure
Once the outer framework was in place, we moved on to building the roof. The roof slopes downwards, ensuring that rainwater drains off toward the street. We attached 2×6 boards across the top of the structure, spaced 24 inches apart to support the roof.
4. Adding the Roof
For the roof, we opted for lightweight laminate panels, which are durable, flexible, and resistant to the elements. These panels were secured to the 2×6 beams with nails, ensuring they were properly aligned and snugly fit. We trimmed each panel to the exact size, ensuring a uniform look while keeping the patio protected from rain and snow.
5. Reinforcing the Structure
To add extra stability and a more polished look, we included angled braces at various corners of the structure. These were cut to size and manually nailed in place, ensuring the entire structure was well-reinforced. While not strictly necessary, these braces added both strength and a decorative element.
6. Finishing Touches
The final steps involved adjusting the placement of the roof panels to ensure everything aligned perfectly. Once the roof was securely in place, the homeowner planned to add string lights for ambiance, creating a cozy and inviting atmosphere for diners.
This covered patio provided the restaurant with additional seating while ensuring patrons stayed dry and comfortable in various weather conditions. The structure was built to withstand wind, rain, and even light snow, making it a practical investment for any restaurant looking to expand its seating area.
Video Walkthrough:
Watch the full video to see how we built this stunning outdoor covered patio step-by-step:

