
Follow our detailed guide to assembling and using this all-in-one workstation for your laundry needs.
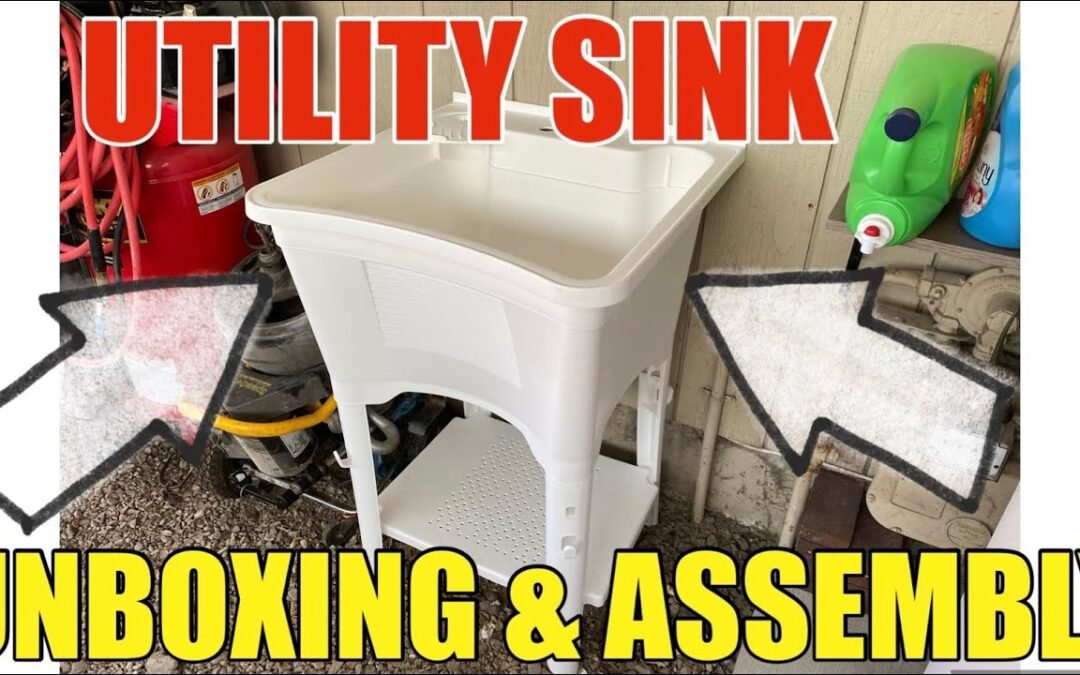
At Frank's Handyman Service, we understand the importance of efficient, high-quality solutions for your home. Today, we bring you an unboxing and step-by-step assembly guide for the Glacier Bay All In One Laundry Work Center, perfect for organizing and facilitating your laundry chores.
Video Incorporation

Watch our video to see how Frank and his team unpack and assemble this versatile laundry workstation. Discover each feature and tip to maximize its utility in your home.
Content Development
The Glacier Bay All In One Laundry Work Center includes everything needed for installation, from legs to the faucet. The assembly is straightforward:
- Step 1: Start by installing the two back legs, which directly insert into the back of the unit.
- Step 2: Next, install the front legs, ensuring the crossbar fits correctly to add stability.
- Step 3: Optionally, you can add soap dispensers using a drill and a hole saw, thanks to predefined hole markers.
Highlights
- Surprising Quality: Despite its affordable price, the unit is sturdy and high quality, ideal for continuous use in a laundry area.
- Additional Functionality: Includes a shelf that can be placed both at the top and the bottom of the unit, providing extra storage space or a drying area for objects.
Call to Action
Are you ready to transform your laundry area with the Glacier Bay All In One Laundry Work Center? Call Frank's Handyman Service today at (503) 522-2672 for professional installation or advice on how to enhance your home.
Conclusion
With Frank's Handyman Service, you get not only expert service but a company that values quality and commitment to each customer. Our Christian faith and family values guide us in every project, ensuring your complete satisfaction.
Master Your Utility Sink Setup with Our Expert Plumbing Tips and Detailed Installation Guide
At Frank's Handyman Service, we're dedicated to helping homeowners enhance their utility spaces with functional and reliable solutions. In this guide, we'll take you through a detailed step-by-step process to install and connect the plumbing for the Glacier Bay All in One Utility Sink, ensuring you get professional results even for DIY projects.
Video Incorporation
Watch our comprehensive video to see the full installation process of the Glacier Bay utility sink plumbing. This visual guide complements the step-by-step instructions provided in this article.

Detailed Step-by-Step Instructions
1. Preparing the Installation Area:
- Identify where the plumbing lines will enter and prepare the space by digging a small hole if necessary to accommodate the new piping.
2. Assembling the Plumbing Parts:
- Start by connecting the faucet, hoses, and all necessary plumbing fittings as shown in the kit.
- Measure and cut the pipes to fit your specific setup, ensuring a snug fit for efficient water flow and drainage.
3. Installing Pipes and Fittings:
- Install the pipes using rough measurements to position them correctly. Begin with the main drain pipes and then set up the supply lines using CPVC pipes for durability and ease of maintenance.
- Attach fittings such as 45-degree and 90-degree elbows as needed to navigate corners or join different sections of the plumbing.
4. Setting Up the P-Trap and Drain Lines:
- Connect the P-trap to the sink's drain outlet, ensuring it is properly aligned to prevent leaks.
- Continue by connecting the sink to the main drainage system, securing all joints and connections to ensure a tight seal.
5. Final Adjustments and Testing:
- Install water supply valves and make final adjustments to all connections.
- Turn the water main back on and check for any leaks. Test both hot and cold water lines to ensure everything is functioning correctly.
Pro Tips for Successful Installation
- Turn Off the Water: Always start by turning off the main water supply to avoid any mishaps during installation.
- Check Fittings Regularly: Ensure that all connections are tight and secure, but be careful not to overtighten, especially with plastic fittings.
- Use the Right Materials: Match the type of glue and fittings to the type of pipes you are using (CPVC in this case) to ensure a durable setup.
Conclusion
Installing new plumbing for a utility sink might seem daunting, but with the right tools and guidance, it’s an achievable project. At Frank's Handyman Service, we aim to provide you with all the knowledge and tips you need to tackle home improvement projects with confidence.
Call to Action
Need professional help or have questions about your plumbing project? Call Frank's Handyman Service at (503) 522-2672—our experts are here to help with all your home improvement needs.
