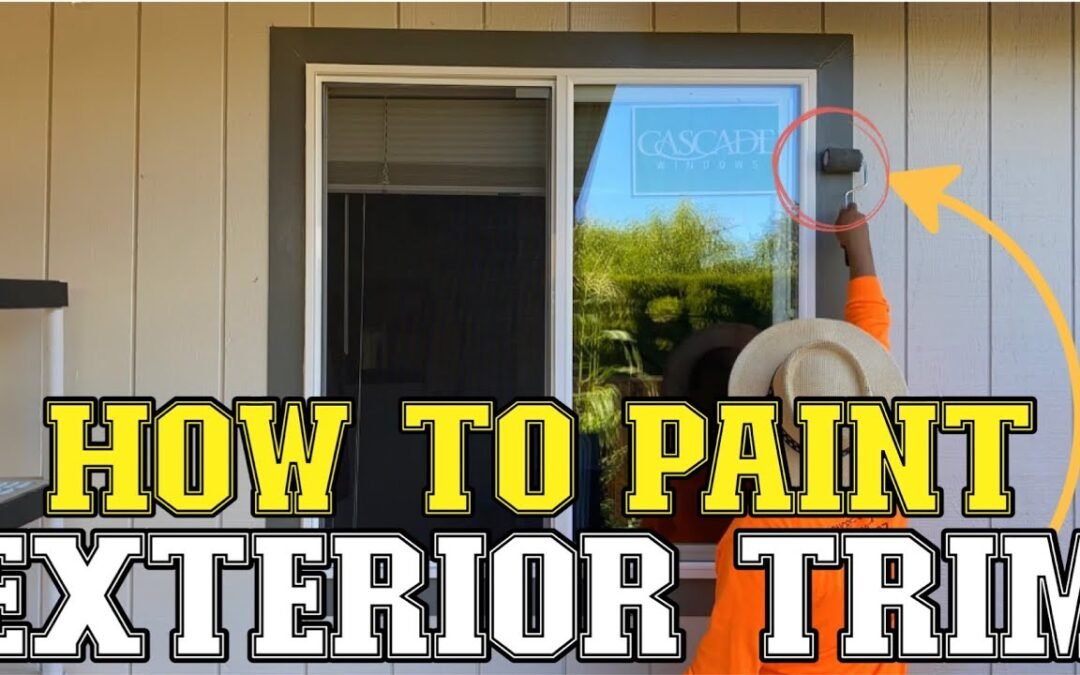
Painting the exterior trim around your windows, doors, and garage door can significantly enhance your home’s curb appeal. With the right tools and technique, you can achieve professional-looking results without the need to hire a painter. In this guide, we’ll show you how to paint exterior trim step by step to ensure clean lines and even coverage.
Materials and Tools Needed:
- High-quality exterior paint
- Painter’s tape
- Paintbrush (angled for cutting in)
- 3-inch wide roller
- Metal shield or trim guide tool
- Damp cloth or rag (for quick clean-ups)
- Ladder (if needed for high areas)
Step 1: Preparing the Area
Before you start painting, remove any protective plastic or painter’s tape from the windows and doors. If you masked the windows before painting the house, make sure the trim is clean and free of dust or debris before starting.
Step 2: Cutting in the Trim
Begin by cutting in the edges around the windows and doors with a high-quality angled paintbrush. This allows you to paint close to the edges where a roller can’t reach. In some areas, such as where the window sticks out, take your time to ensure clean lines. It’s always a good idea to have a damp rag handy for any quick clean-ups if paint gets on the siding.
Step 3: Using a Roller for Smooth Coverage
For larger areas of the trim, use a 3-inch wide roller. This size is perfect for trim as it covers more area without overshooting onto the siding. Apply even pressure to ensure a smooth, consistent coat of paint. Be sure to reload the roller with paint frequently to maintain even coverage.
Step 4: Using a Trim Guide for Clean Lines
For faster painting and straighter lines, use a metal shield or trim guide. Place it along the edges of the trim to protect adjacent surfaces, such as the siding, while you paint right up to the edge. This helps you achieve professional-level lines quickly and easily.
Step 5: Painting Tight Spaces and Final Touches
In tight spaces, such as around door frames, you may need to use a smaller brush to carefully cut in the edges. Take your time here, as the goal is to avoid the need for touch-ups. Once you’ve painted all the trim around windows, doors, and garage doors, inspect the area for any missed spots or uneven coverage, and touch up as necessary.
Step 6: Enjoy the Final Results
Once the paint has dried, step back and admire the fresh new look of your home’s exterior. In the video, the house was painted in a light gray with a dark gray trim, creating a beautiful contrast that adds character and depth to the exterior. With just a few hours of work, you can achieve similar results and enhance your home’s curb appeal.
Conclusion:
Painting exterior trim around windows, doors, and garage doors is a great DIY project that can save you money and give your home a polished look. By following these simple steps, you can achieve professional results in just one afternoon. For more DIY home improvement tips, be sure to check out our other videos and guides!

