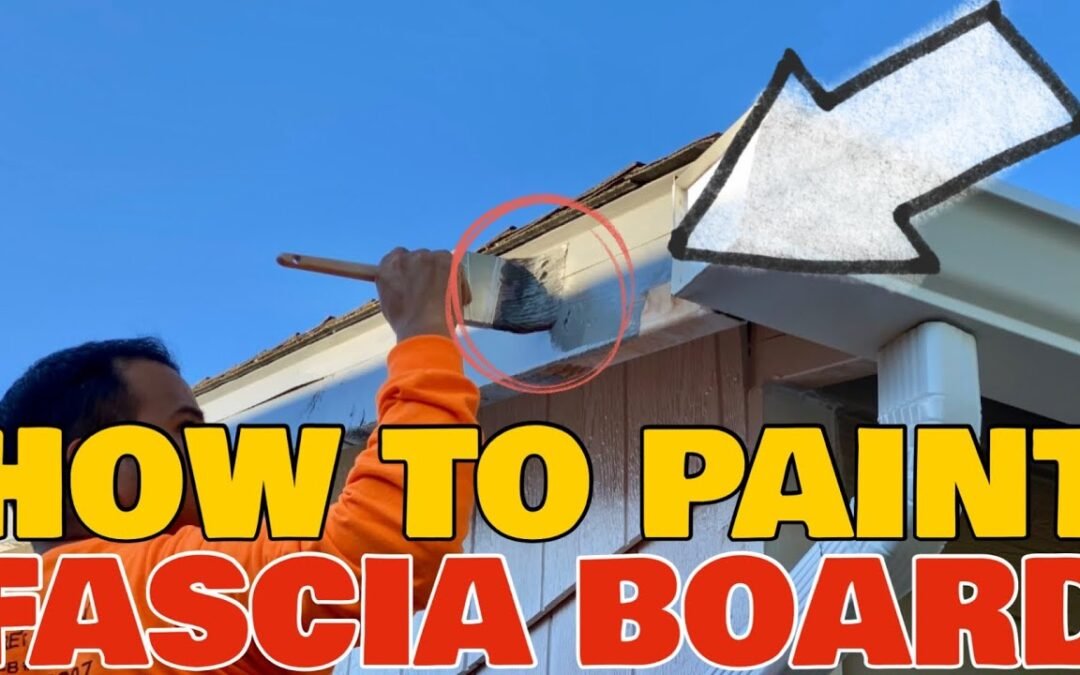
When it comes to home maintenance, one often overlooked area is the fascia board—the wooden trim along the roof that protects your house from the elements. If left unpainted or exposed for too long, it can rot and cause further damage to your home. In this DIY guide, we’ll show you how to paint fascia boards quickly and efficiently using just basic hand tools. By following these simple steps, you can protect your home’s exterior while also giving it a fresh, clean look.
Materials and Tools Needed:
- Ladder (tall enough to reach the highest points)
- 3-inch wide paintbrush
- 3-inch wide roller
- Paint tray
- Exterior paint suitable for wood and metal flashing
Step 1: Set Up Your Ladder
Safety first! Make sure your ladder is positioned securely, especially when reaching the highest parts of the fascia board. You’ll want to work your way from one side to the other, moving the ladder as needed. Don’t try to stretch too far while on the ladder—it’s better to move it more frequently to ensure safety.
Step 2: Begin with the Paintbrush
Start by using your 3-inch wide paintbrush. Begin at the top of the fascia board and work your way down, ensuring you cover both the wood and any metal flashing that is attached. Painting the metal flashing at the same time helps protect it from rust and blends it with the wood for a uniform look. Be sure to get underneath the flashing as well for full coverage.
Step 3: Use a Roller for Large Areas
After you’ve done the detailed cutting with your brush, switch to the roller for the larger sections of the fascia board. The roller will allow you to cover more area quickly, ensuring an even coat. Roll from top to bottom, working in smooth, consistent strokes to ensure no streaks are left behind.
Step 4: Take Your Time on the Hard-to-Reach Areas
The highest points of the fascia board may be tricky to reach, but as long as you take your time and move the ladder carefully, you can complete the job safely. If you have sections of fascia board that are particularly high or hard to reach, break the job up into smaller sections and don’t rush.
Step 5: Inspect for Missed Spots
Once you’ve finished painting, take a step back and inspect the fascia board for any missed spots. Check along the edges and underneath the metal flashing. You may want to go over any areas that need a second coat to ensure everything is well-protected.
Why It’s Important to Paint Fascia Boards
Exposed wood is vulnerable to moisture, rot, and pest damage over time. Painting the fascia boards not only improves the curb appeal of your home but also protects the structure by sealing the wood. This simple task can help prevent long-term damage and costly repairs.
Final Results
This quick project took just about an hour to complete, and the results are fantastic! The fascia board now has a clean, polished look, and the wood is fully protected. It’s a simple task that anyone can do with the right tools and a bit of patience.
Conclusion
Painting your fascia boards is an easy DIY project that makes a big difference in both the appearance and protection of your home. With just a paintbrush, a roller, and some basic tools, you can complete this job in a single morning. Make sure to subscribe to our YouTube channel for more home maintenance tips and DIY projects. May God bless you, and happy painting!

