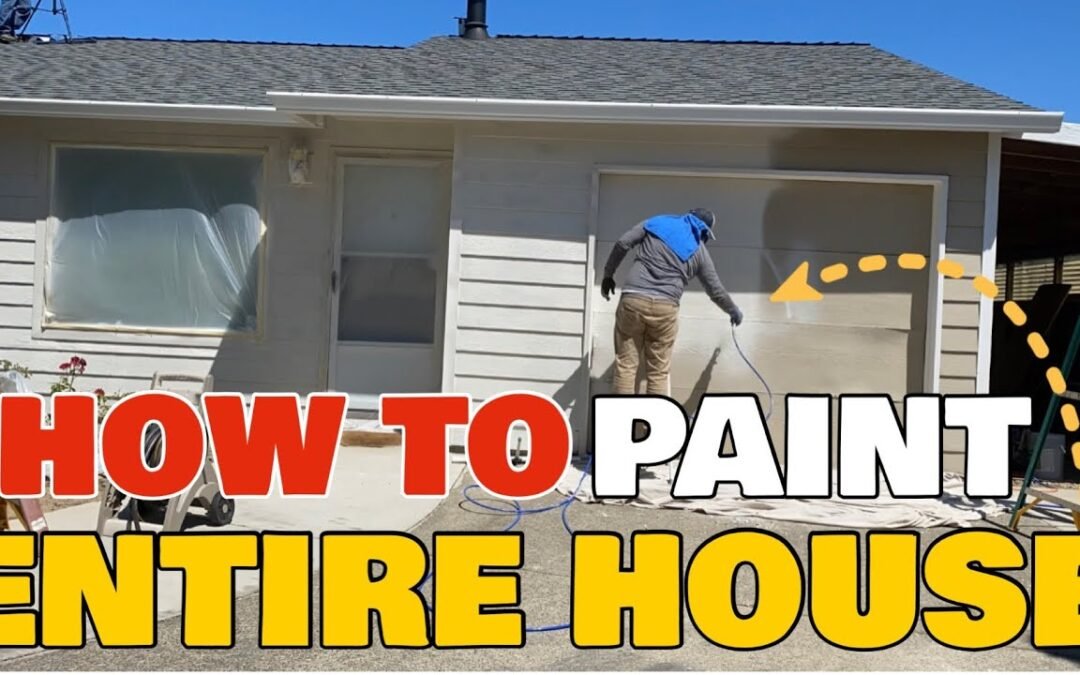
Painting the exterior of your home can be a daunting task, but with the right tools, it becomes much more manageable. In this step-by-step guide, we’ll walk you through how to paint the exterior of a house using the Graco X5 airless paint sprayer. This tool not only speeds up the process but also provides an even, professional finish. Follow along to learn how you can achieve great results while saving both time and money.
Materials and Tools Needed:
- Graco X5 Airless Paint Sprayer
- 5-gallon buckets of exterior paint (2 buckets used in this project)
- Plastic sheeting and painter’s tape (for masking windows and doors)
- Extension pole (18 inches recommended)
- Paint strainer
- Utility knife (for cutting plastic sheeting)
- Ladder
- Masking tool for edges
Step 1: Preparing the Area
Before you begin painting, it’s essential to prep the area by moving objects out of the way and masking off windows, doors, and trim. Use plastic sheeting and painter’s tape to cover surfaces that you don’t want to get painted. If you’re new to masking, check out our separate video on how to properly cover windows and doors before painting.
Step 2: Setting Up the Graco X5 Sprayer
The Graco X5 airless paint sprayer is easy to set up. Start by connecting the 25-foot hose to the sprayer, then attach the spray gun. Place the intake hose directly into your 5-gallon bucket of paint. Set the machine to medium pressure, which provides smooth and even coverage. It’s recommended to spray a sample area on a piece of cardboard first to test the pressure and coverage.
Step 3: Spraying with the Extension Pole
For easier access to hard-to-reach areas like eaves and high walls, we recommend using an 18-inch extension pole. This attachment makes it much easier to spray those tricky areas without needing to climb up and down a ladder repeatedly. It also helps you maintain a safe distance from the surface for more even coverage.
Step 4: Painting the Exterior
Start by painting the vertical seams of the siding (in this case, T111 siding). This ensures that all the grooves and lines are properly covered. Once you’ve completed the vertical areas, move on to horizontal spraying for uniform coverage. Work in smooth, overlapping strokes, making sure not to leave any gaps.
Step 5: Minimizing Overspray
To avoid overspray, use a metal shield tool along the edges of the walls, roof, or ground. This helps block areas that shouldn’t be painted and reduces the amount of cleanup required later.
Step 6: Final Inspection and Cleanup
After completing the painting, allow the surface to dry and inspect it for any missed spots or uneven coverage. If needed, touch up those areas. Clean your Graco X5 sprayer according to the manufacturer’s instructions so it’s ready for your next project.
Conclusion:
Using the Graco X5 airless paint sprayer is an efficient way to paint the entire exterior of a house. This project took just two afternoons to complete, and the results speak for themselves. The sprayer provided even coverage, and the entire process cost around $600, making it a cost-effective solution compared to hiring professional painters. Not only does this sprayer save time, but it’s also a tool you can reuse for future painting and sealing projects.
For more DIY tips and tutorials, be sure to subscribe to our YouTube channel for upcoming projects!

