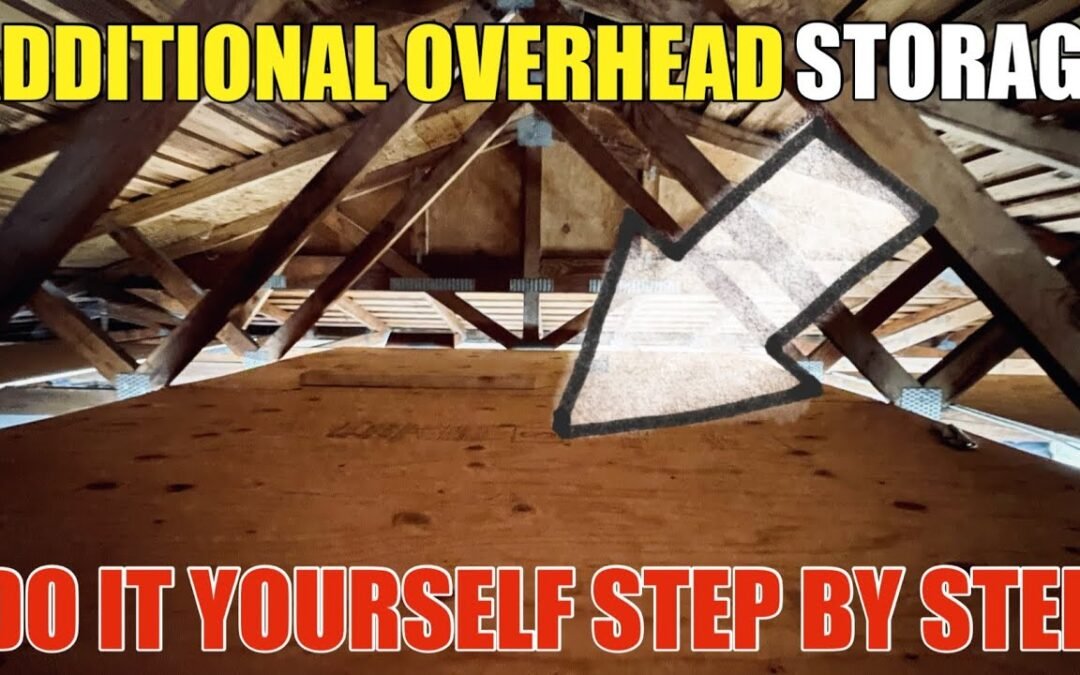
Creating additional storage in your garage attic can maximize your home’s space without requiring extra square footage. This guide walks you through the step-by-step process of installing overhead storage with plywood sheets, transforming unused attic space into an organized storage solution. Follow along to discover how you can save on monthly storage fees and keep your garage clutter-free with this easy DIY.
Tools and Materials Needed
For this project, you’ll need the following:
- Tools: Drill, circular saw, measuring tape, hammer, crowbar, ladder, and safety glasses.
- Materials: Plywood sheets (measure your attic space to determine the quantity), wood screws, and 2×4 lumber for framing adjustments as needed.
Step 1: Clear Out and Prepare the Attic Space
- Assess the Space: Before adding plywood, check the attic framing. Clear any old boards, debris, or obstructions that could interfere with the installation.
- Adjust Existing Framing: If any boards run across the framing, use a hammer and crowbar to remove them carefully. These boards can later serve as reference cuts for the new plywood sheets.
Step 2: Manage Electrical Wires
- Plan for Electrical Wires: If wiring runs along the attic floor, drill holes in the joists to accommodate the wires safely. This way, wires will be neatly placed between the plywood flooring and potential future ceiling drywall.
- Feed Wires Through Joists: Carefully thread the wiring through the drilled holes. Doing this now ensures your storage platform is safe and up to code.
Step 3: Measure and Position Plywood Sheets
- Measure the Plywood Layout: Measure your garage attic space to determine how many full sheets you can fit without cutting. Mark areas where smaller, triangular pieces may be needed to fit the attic’s shape.
- Position Full Sheets First: Slide full plywood sheets into the attic, aligning them along the joists for a secure foundation. Attach each sheet to the 2×4 joists with wood screws, ensuring stability.
Step 4: Cut and Fit Custom Pieces
- Measure Smaller Areas: For triangular or narrow sections, measure carefully and cut the plywood to fit snugly within the space.
- Secure Each Section: Use wood screws to fasten custom-cut pieces alongside full sheets, creating a continuous and sturdy floor across the attic.
Step 5: Install Support Beams if Needed
For large attic areas or where additional support may be necessary:
- Add Cross Supports: Attach 2×4 cross supports between joists if additional stability is needed. This reinforcement will ensure that the floor can hold heavier storage loads.
- Anchor the Supports: Securely fasten these supports with screws to the main framing.
Step 6: Test the Load Capacity
- Inspect for Stability: Walk carefully across the plywood to check for any soft spots or movement. Add extra screws if needed to secure each plywood sheet fully.
- Assess Storage Potential: With a sturdy floor, you can now assess how much storage space is available, including central areas for larger boxes and smaller triangular spaces for compact items.
Optional: Install an Attic Ladder
For easy access, consider installing an attic ladder. This will allow you to reach the storage area conveniently and safely, especially if frequently storing and retrieving items.
Conclusion
Adding overhead storage in your garage attic can drastically increase storage capacity while keeping your garage organized. This setup is ideal for seasonal items, holiday decorations, and other belongings you don’t need daily. Plus, you’ll add value to your home with this practical, cost-effective project!
Video Walkthrough
For a visual guide, check out our YouTube video below, which covers each step in detail:

