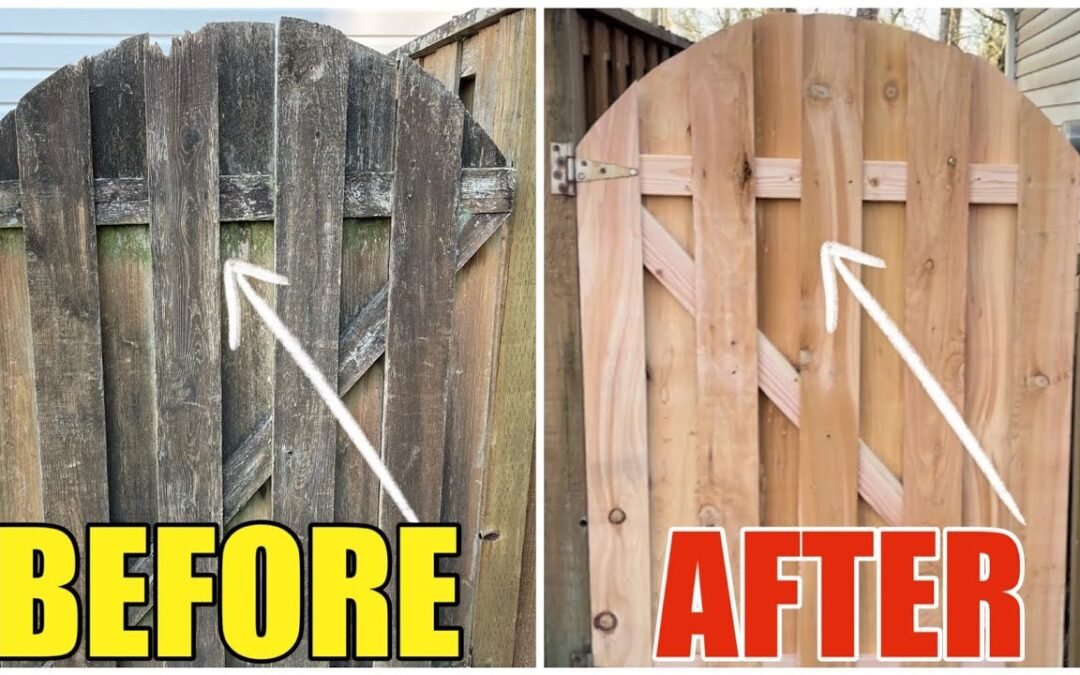
Over time, fence gates endure significant wear from weather, repeated use, and other factors that can cause sagging, rotting, or overall instability. Rebuilding a wooden fence gate is a practical and rewarding DIY project that can restore the gate’s function and enhance the look of your fence. In this guide, we’ll walk through each step needed to reconstruct a sturdy and attractive fence gate using basic tools.
Tools and Materials Needed
To rebuild your wooden fence gate, you’ll need the following items:
- Basic Tools: Circular saw, drill, crowbar, small sledgehammer, square, and measuring tape.
- Materials: Pressure-treated 2x4s, wood screws, new fence boards, and waterproof wood stain (optional).
By ensuring you have all necessary tools and materials ready, you’ll make the process smoother and quicker.
Step 1: Deconstruct the Existing Gate
Start by removing the old fence boards with a crowbar and small sledgehammer. The goal here is to reveal the internal structure or “skeleton” of the gate. Pay attention to how the previous structure was built, as it can be useful when replicating the frame. Once disassembled, set aside any hardware like hinges or screws that are still in good condition.
Step 2: Build the Gate Frame
The typical gate frame uses a Z-shape for structural support, which helps prevent sagging over time. Follow these steps:
- Measure and Cut the 2x4s: Use the previous frame dimensions as a guide and cut the new 2x4s to size.
- Assemble the Frame: Arrange the 2x4s in a Z pattern, then secure them with wood screws.
- Double-Check Measurements: Before moving forward, ensure the frame fits within the gate opening. Minor adjustments can be made before attaching the panels.
Step 3: Attach the Fence Boards
Once the frame is ready, it’s time to attach the fence boards, which will give the gate its finished look.
- Align and Position Boards: Place each fence board against the frame, ensuring they are evenly spaced and aligned. Typically, it’s best to position the bottom edge of the boards first.
- Secure the Boards: Attach each board to the frame with wood screws, starting with one side and working your way across. If your design calls for a double-sided finish, install boards on the back as well, offsetting them for added privacy.
- Trim Excess Wood: After attaching all boards, use a circular saw to trim the tops of the boards to achieve a uniform, curved, or angled look as desired.
Step 4: Install the Gate
Now that the gate is constructed, it’s time to install it onto the fence posts:
- Position the Gate: With the help of another person, lift the gate into position and align it with the hinges on the fence post.
- Attach Hinges: Secure the hinges to the gate, ensuring the gate opens and closes smoothly.
- Adjust for Clearance: Test the gate’s movement and check for any areas where it might scrape against the ground. If necessary, trim the bottom edges of the boards for proper clearance.
Step 5: Install Locking Hardware
Finally, add any necessary hardware to lock and secure the gate:
- Position the Latch: Align the latch mechanism and secure it to the frame with screws.
- Test the Lock: Open and close the gate to ensure the latch functions smoothly and secures the gate when closed.
Optional: Stain and Seal the Gate
For extra protection, apply a weatherproof stain or sealant to the wood, which will help preserve the appearance and durability of the gate.
Conclusion
Rebuilding a wooden fence gate is a manageable DIY project that enhances both functionality and curb appeal. By following these steps, you can achieve professional-looking results with basic tools and materials. Whether it’s for security, privacy, or simply to replace a worn-out gate, this project is a worthwhile investment that can last for years to come.
Video Walkthrough
For a full visual guide, check out the video below:

