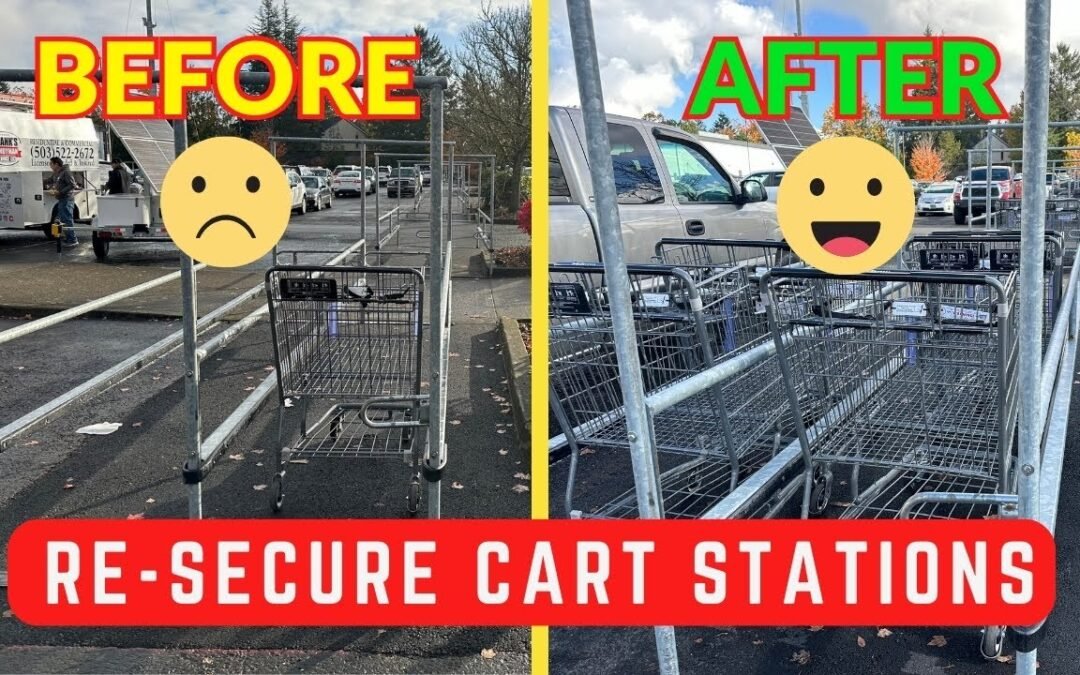
Ensuring shopping cart stations are secure and neatly aligned in parking lots is essential for both safety and aesthetics. In this guide, we’ll walk through the step-by-step process of leveling, aligning, and securing the cart brackets in place to create a safe and visually pleasing parking area. This method can be applied to any setting where shopping cart organization and anchoring is required.
Tools and Materials Needed
- Tools: Hammer, drill with masonry drill bits, concrete nails or anchors, level, measuring tape, and a pry bar.
- Materials: Replacement concrete nails or anchors for securing brackets.
- Safety Gear: Protective gloves, safety glasses, and ear protection when using power tools.
Step 1: Measure and Mark the Layout
- Determine Alignment: Start by measuring the distance from the edge of the sidewalk or any predefined boundary to ensure each cart bracket is the same distance away. This will keep them uniformly aligned throughout the parking lot.
- Mark Positions: Use chalk or marker to mark where each bracket will be placed along the parking lot, maintaining an even spacing for a clean, orderly look.
Step 2: Remove Old Nails and Expose Original Holes
- Extract Old Nails: Using a hammer and pry bar, carefully remove any nails securing old brackets. Be sure to lift the nail out fully to avoid damaging the concrete.
- Prepare Holes for New Anchors: If reusing old anchor points, clear out debris from the previous nail holes. This ensures a snug, secure fit for the new concrete anchors.
Step 3: Drill New Holes in Concrete
- Choose the Right Drill Bit: Select a masonry drill bit compatible with the size of your concrete anchors. A ¼ inch or ½ inch bit typically works for standard cart station anchors.
- Drill to Correct Depth: Drill holes approximately 2-3 inches deep, enough to securely hold the anchor or concrete nail. Make sure the depth aligns with the length of the new anchor.
- Clear Out Dust: After drilling, remove any dust or debris to ensure a strong bond when securing the anchors.
Step 4: Insert New Anchors and Secure Brackets
- Place Brackets: Set each bracket in place, aligning it with your marked layout and ensuring it is level.
- Insert Concrete Anchors: Carefully place each anchor into the pre-drilled hole, positioning it through the bracket.
- Hammer Anchors Securely: Using a hammer, drive the anchors down into the concrete until they are flush with the bracket, securing it firmly in place. Repeat this process for each anchor point on the bracket.
Step 5: Check and Adjust Alignment
- Assess Alignment and Level: As you progress, use a level to ensure each bracket is positioned evenly and does not tilt. Any misalignment can be corrected by adjusting the anchor tension or repositioning the bracket.
- Straighten Bent Brackets: For brackets that have become bent over time, position a wooden board beneath them, then apply gentle pressure with a hammer to flatten and restore them. This process will help maintain a uniform look.
Step 6: Repeat the Process for Remaining Brackets
- Continue to Each Marked Spot: Repeat the process of aligning, drilling, and securing each bracket, following your measured guidelines.
- Final Adjustments: Once all brackets are in place, do a final check to ensure they are all even and level across the parking lot. Adjust any that are out of alignment to maintain uniformity.
Step 7: Inspect Final Alignment and Secure Anchors
- Final Walkthrough: Inspect all cart brackets to confirm they are securely anchored and positioned consistently along the parking lot.
- Complete Last Section: For large parking lots, work in sections. For this video project, we completed one row to demonstrate the process and finished up by securing the last few anchors.
Video Walkthrough
To see this project in action, watch the full video for a visual guide on leveling, aligning, and securing each bracket:
Conclusion
Securing shopping cart stations in a parking lot is a straightforward process that can significantly improve the lot’s organization and safety. By following these steps, you can ensure that each station is sturdy, aligned, and durable against daily use. This project is suitable for DIY enthusiasts or anyone managing property maintenance.


