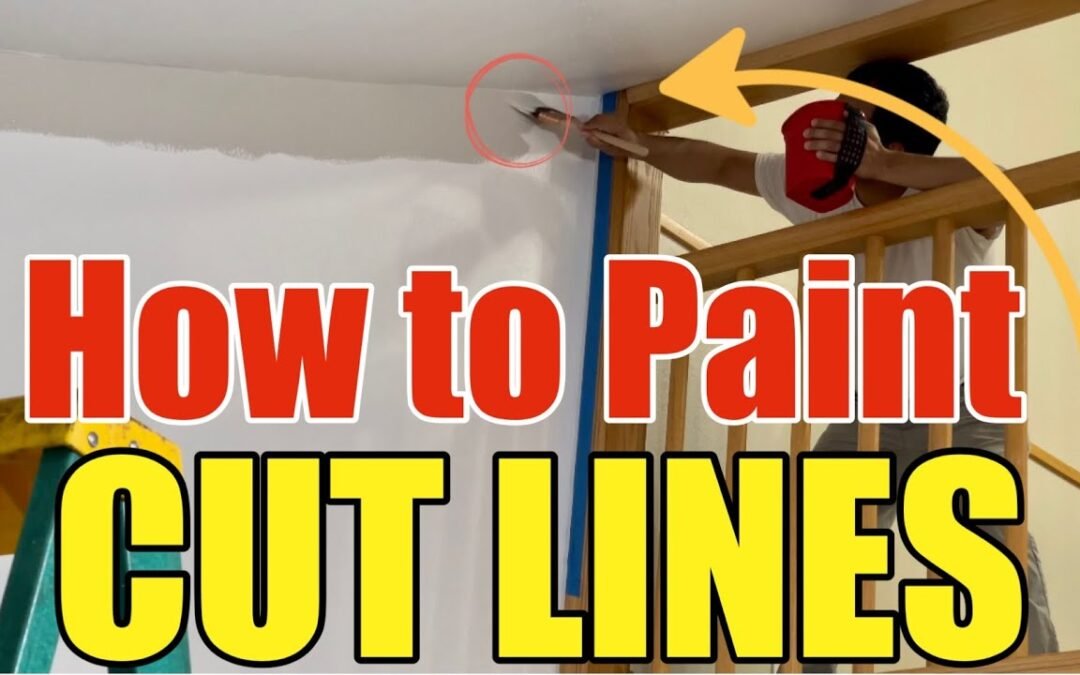
Painting cut lines between the ceiling and walls can be tricky, but with the right techniques and tools, you can achieve professional results. In this post, we’ll walk you through how to paint straight cut lines like a pro, even if your walls aren’t perfectly straight.
Whether you’re working on a fresh renovation or touching up your home, learning this technique will ensure clean, crisp lines and an excellent finish. Here’s how we do it at Frank’s Handyman Service!
Step 1: Use a Quality Paint Brush
One of the most important tools for painting precise cut lines is a high-quality paintbrush. We recommend the Purdy XL 3-inch brush. This brush provides great control and makes cutting in around edges much easier.
- Tip: As you paint, aim to cover about 3-5 inches below the edge. This will allow you to comfortably roll the walls later without bumping into the ceiling.
Step 2: Applying Painter’s Tape
Before cutting in, apply painter’s tape to any areas you want to protect. For example, apply tape around wooden railings, fireplaces, and baseboards to avoid unwanted paint marks. In this project, I taped around the railing after I started painting to prevent mistakes, and it worked great.
- Tip: Although it’s ideal to prep before starting, taping as you go also works fine if you’re eager to get started!
Step 3: Cutting in the Edges
When you begin painting the cut lines, start by focusing on areas like the ceiling edge or around windows and doors. If you notice that the wall isn’t perfectly straight, follow the contour of the wall as best as you can while ensuring you don’t accidentally paint onto the ceiling.
- Pro Tip: Move slowly and with steady strokes. A good brush will make this process smoother, allowing you to maintain clean, straight lines.
Step 4: Use a Ladder for Hard-to-Reach Areas
When painting high ceilings or tricky angles, a ladder is essential. In this project, I used an 8-foot ladder, but the ceiling was about 13-14 feet high. With my dad’s help holding the ladder, I safely reached the upper areas.
- Safety Tip: Always have someone help stabilize the ladder when working at high heights.
Step 5: Work Around Fixtures
If you encounter light fixtures or other obstacles, it’s usually easier to leave them hanging and paint around them rather than removing them entirely. Afterward, simply reinstall the fixtures once the paint is dry.
Step 6: Patch and Prep
In our case, there were a few areas with holes from an old TV mount. Be sure to patch any holes or imperfections before painting. You can also apply painter’s tape around kitchen cabinets, outlets, or baseboards to ensure clean lines around these areas.
Step 7: Final Touches and Cleanup
Once you’ve cut in all the edges, you’re ready to start rolling the rest of the walls. Before you do that, step back and inspect your lines to make sure everything is smooth and clean.
Video Tutorial:
Watch our full video tutorial to see how we achieved these professional results when painting cut lines:

