
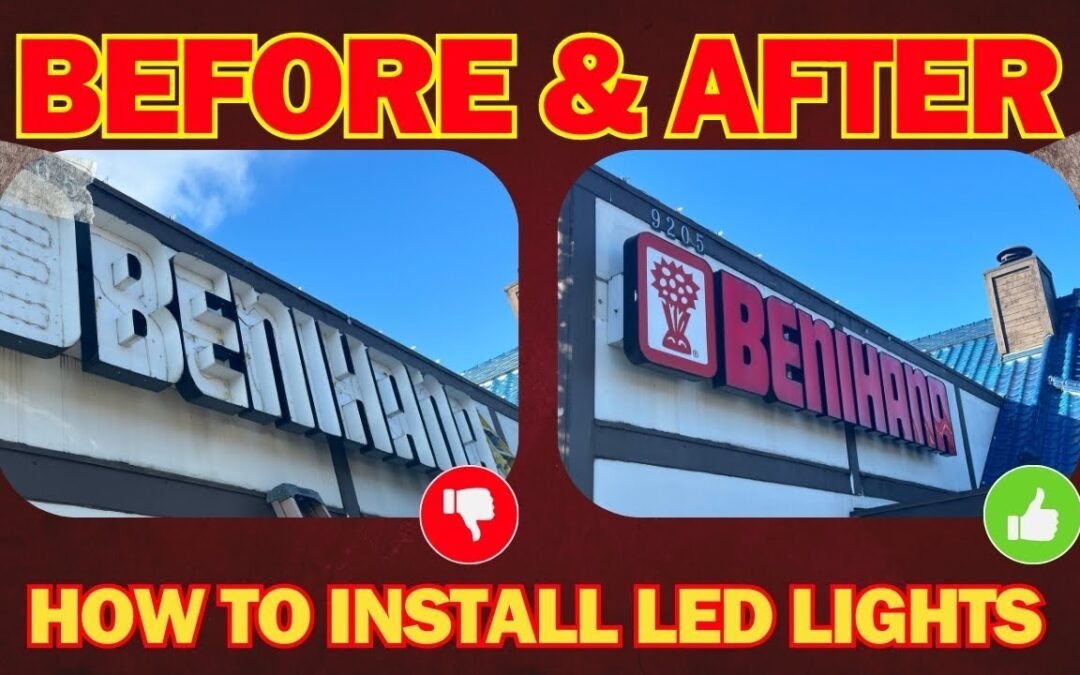
Replacing burned-out LED lights behind a sign can restore its brightness and make it more visually appealing. In this project by Frank's Handyman Service, we’ll show you how to replace old LED strips with new ones, ensuring proper installation and adhesion for a professional finish. Whether you're tackling this project yourself or just curious about the process, this guide breaks it down step by step.
For a visual walkthrough, watch our video below:
💡 How to Install LED Lights Behind a Sign | Lighting Project - YouTube
Materials Needed
- LED light strips (suitable for signage)
- Silicone adhesive or double-sided tape
- Screwdriver or drill
- Replacement screws (if needed)
- Wire connectors or soldering kit (if splicing wires)
- Safety gloves
- Ladder (if working on elevated signs)
Step-by-Step Process
1. Remove the Sign Covers
Begin by removing the covers of the sign letters. Use a screwdriver or drill to unscrew each cover carefully, placing the screws in a secure spot for reassembly. Work methodically to avoid losing small components.
2. Remove the Old LED Strips
Once the covers are off, inspect the burned-out LED strips. Detach the old lights, carefully removing any adhesive residue or fasteners holding them in place.
3. Install the New LED Strips
Measure the interior of each letter to cut the LED strips to the appropriate length. Follow the manufacturer’s instructions for cutting LED strips, ensuring you don’t damage the circuits.
- Apply Adhesive: Use silicone adhesive or double-sided tape to secure the new LED strips inside the letters. Silicone is a durable option that ensures the lights stay in place.
- Connect the Wires: Attach the LED strips to the power source, using connectors or soldering wires securely. Test each strip to confirm it lights up before proceeding to the next.
4. Repeat for All Letters
Repeat the process for each letter, ensuring the new LEDs are evenly spaced and securely attached. This will ensure consistent brightness and a professional appearance.
5. Reassemble the Sign
Once all LED strips are installed and tested, screw the letter covers back on. Ensure each cover is tightly secured to protect the LED strips from dust and moisture.
Pro Tips
- Test the LEDs: Before securing the covers, test all the LED strips to ensure proper functionality.
- Use durable adhesive: Silicone provides a strong, long-lasting hold for outdoor signs.
- Work safely: If the sign is elevated, use a ladder securely placed on stable ground and wear safety gloves.
- Handle wires carefully: Ensure all electrical connections are insulated to avoid short circuits.
Video Walkthrough
For a visual demonstration, watch our video below to see the step-by-step process:

Conclusion
Installing LED lights behind a sign is a straightforward process that can significantly enhance the sign’s visibility and appeal. With proper preparation and tools, you can achieve professional results. For expert assistance with signage or lighting projects, Frank's Handyman Service is here to help.
Call us at (503) 522-2672 for a free estimate or visit our website to learn more about our services.
