
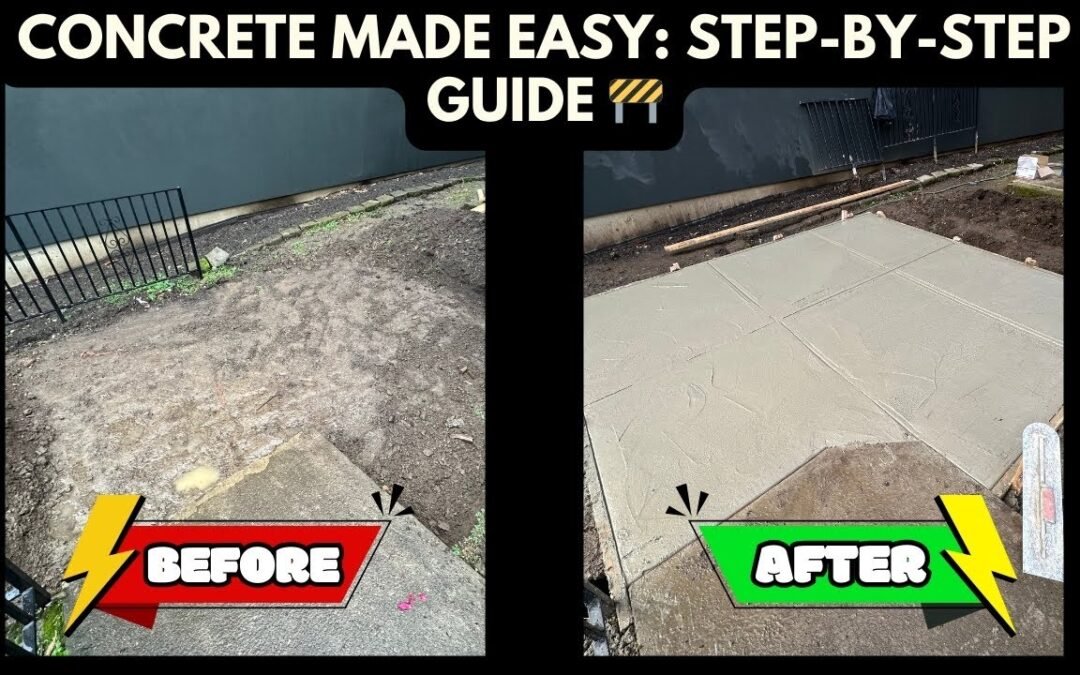
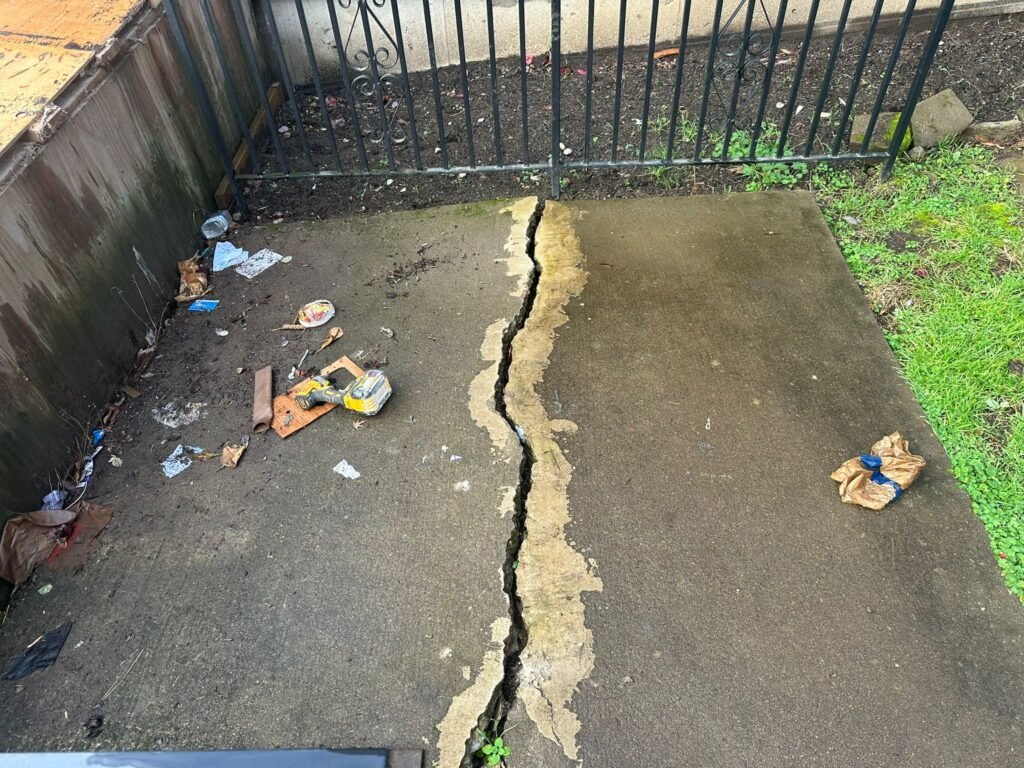
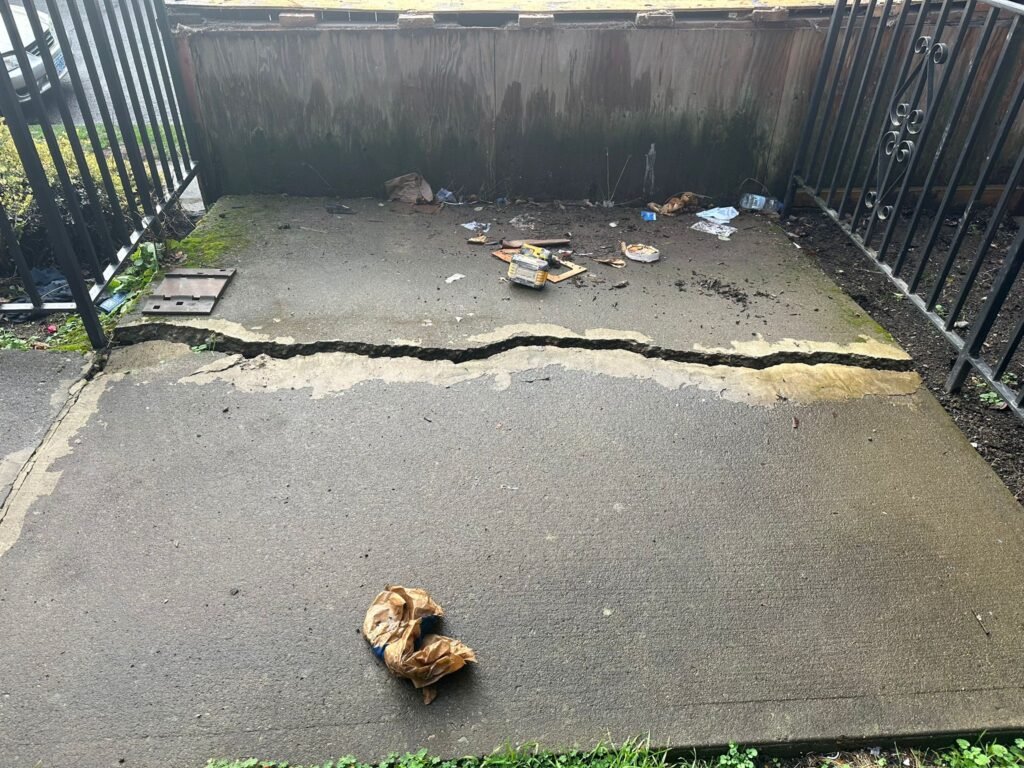
Pouring concrete can transform outdoor spaces, repair damaged areas, and create sturdy foundations. In this guide, we’ll show you the process of preparing and pouring concrete step by step. Whether you’re building a driveway, a patio, or fixing a small section, these instructions will help you achieve professional results.
Tools and Materials Needed
Tools:
- Shovels
- Buckets
- Level
- Concrete mixer (optional)
- Trowels (for smoothing)
- Screed board
- Wire cutters (for rebar or wire mesh)
- Safety gear (gloves, goggles, mask, sturdy boots)
Materials:
- Wooden boards for framing
- Stakes and screws
- Gravel
- Wire mesh or rebar
- Concrete mix
- Water

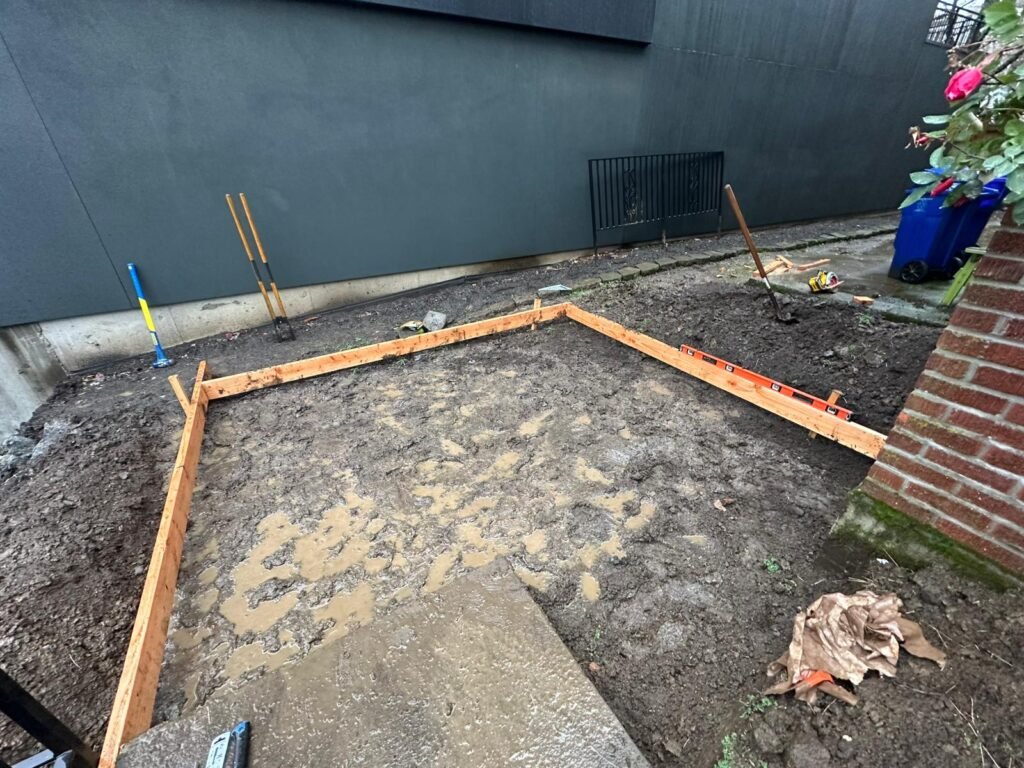
Step 1: Preparing the Area
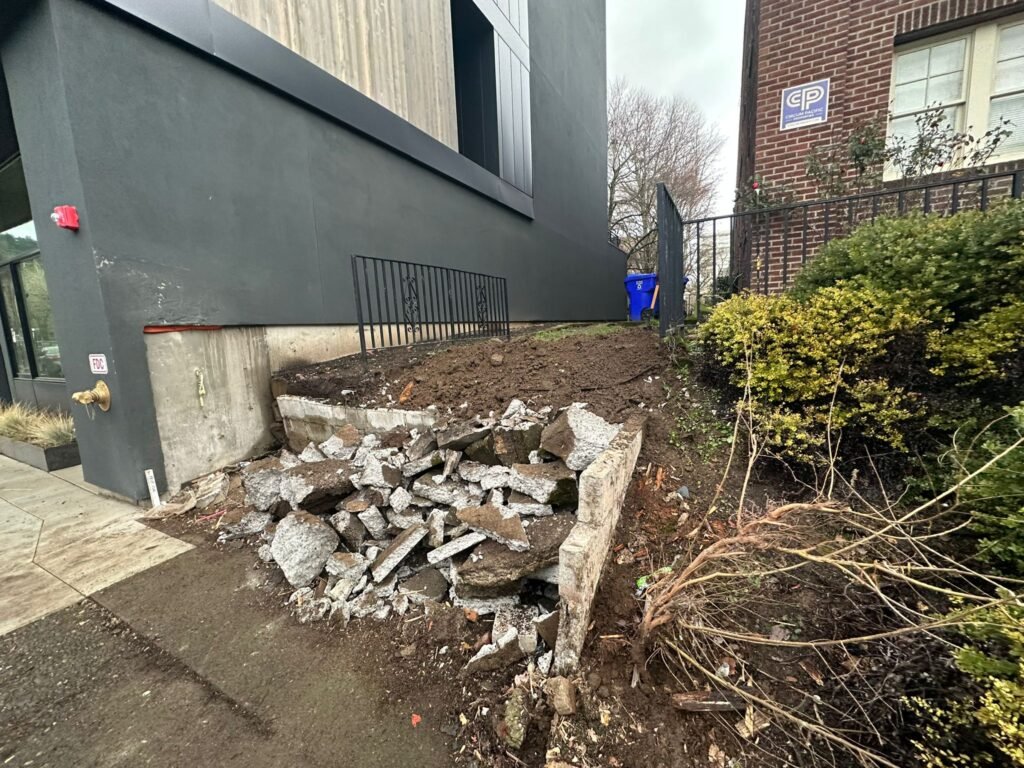
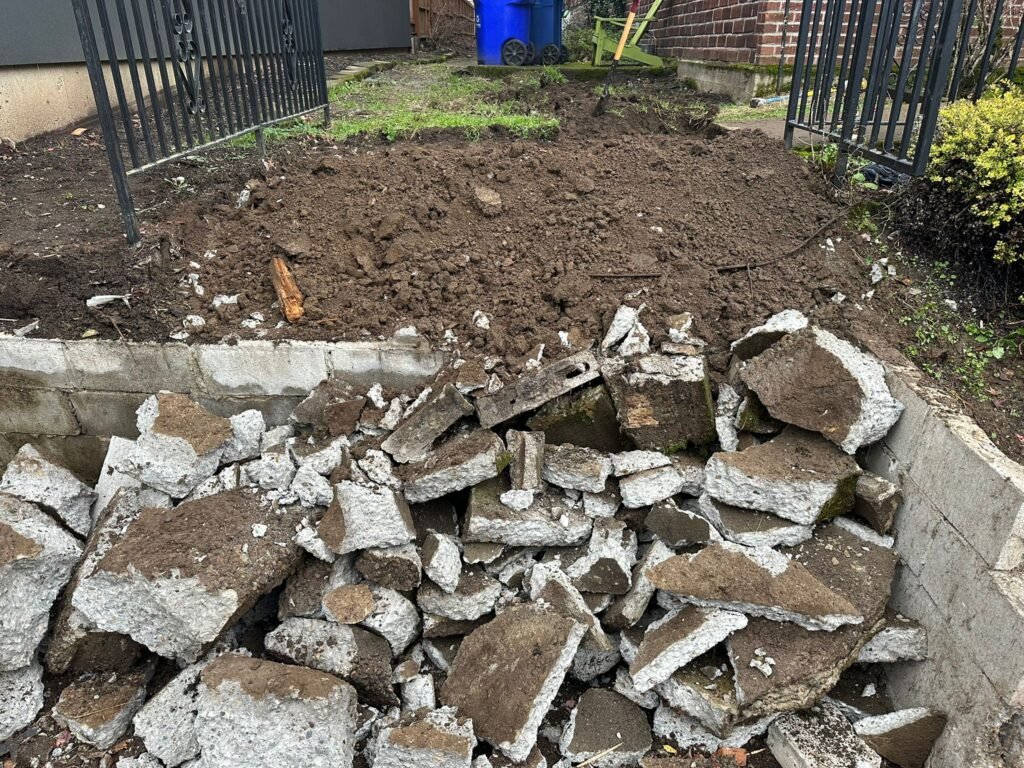
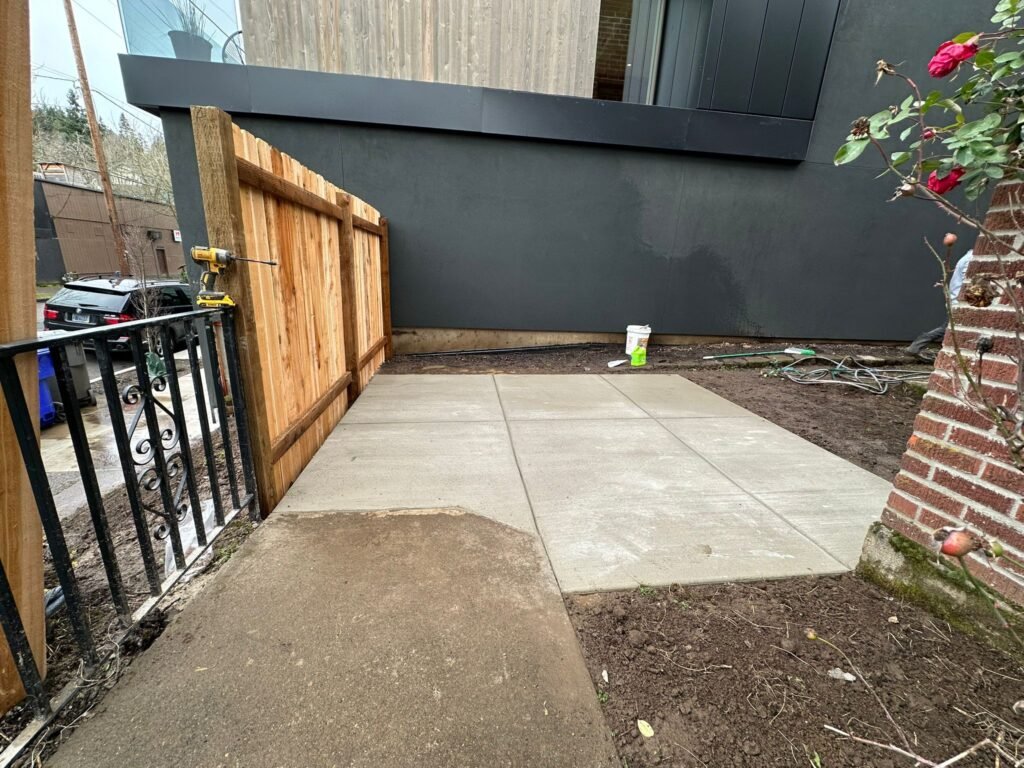
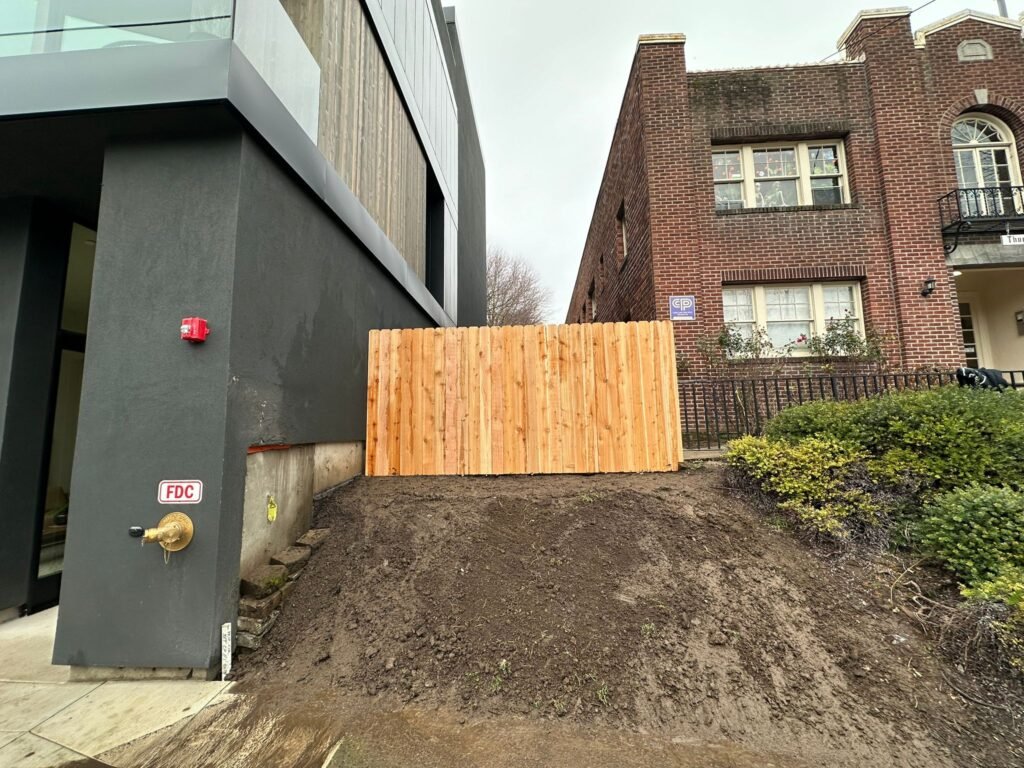
- Clear the Space: Remove any old debris or damaged concrete from the area. Ensure the ground is clear and level.
- Build the Frame:
- Cut the wooden boards to size based on your project’s dimensions.
- Secure the boards together to form a box using screws and stakes.
- Use a level to make sure the frame is even on all sides.
- Add Gravel:
- Spread a layer of gravel evenly across the area within the frame.
- Compact the gravel to create a stable base for the concrete.
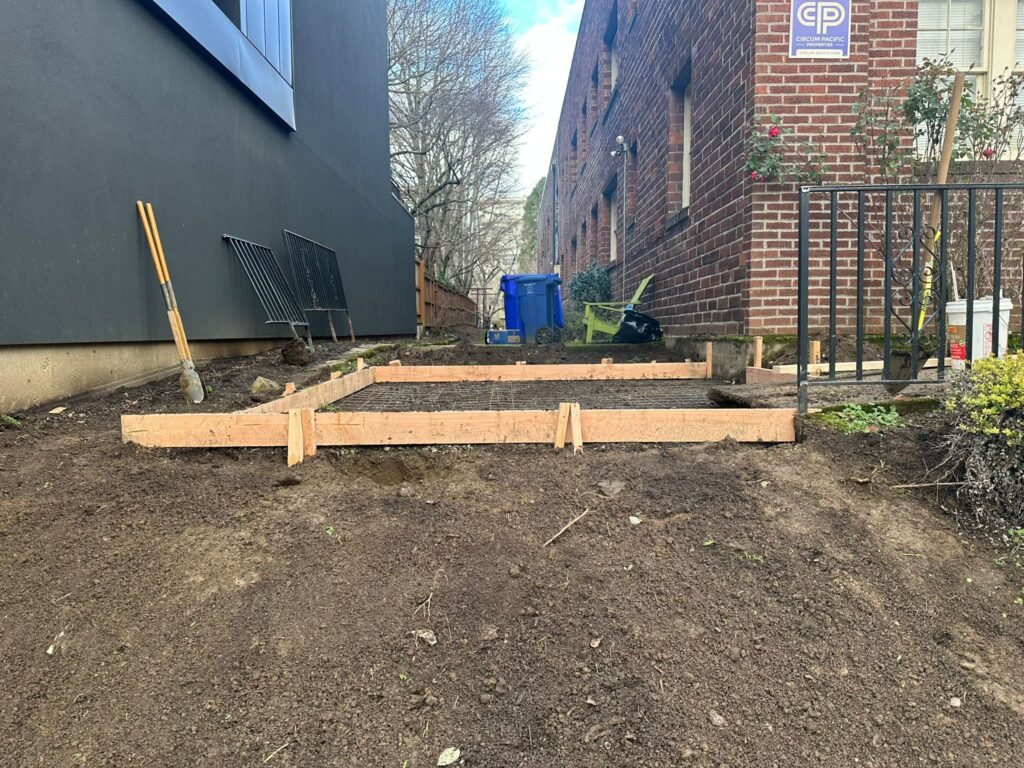
Step 2: Reinforcing the Concrete
- Install Wire Mesh or Rebar:
- Lay wire mesh or rebar across the gravel to provide structural support for the concrete.
- Tie the sections together with wire to ensure they stay in place.
- Keep the mesh or rebar slightly elevated off the gravel using small blocks or spacers.
Step 3: Pouring the Concrete
- Mix the Concrete: If using a concrete mixer, follow the manufacturer’s instructions to mix the concrete and water in the correct ratio.
- Pour the Concrete:
- Start at one corner and pour the concrete evenly across the frame.
- Use buckets or a wheelbarrow to transport the concrete if the site has limited access, as we did in this project.
- Spread the Concrete:
- Use a screed board to level the surface by moving it back and forth in a sawing motion.
- Fill in low spots as needed.
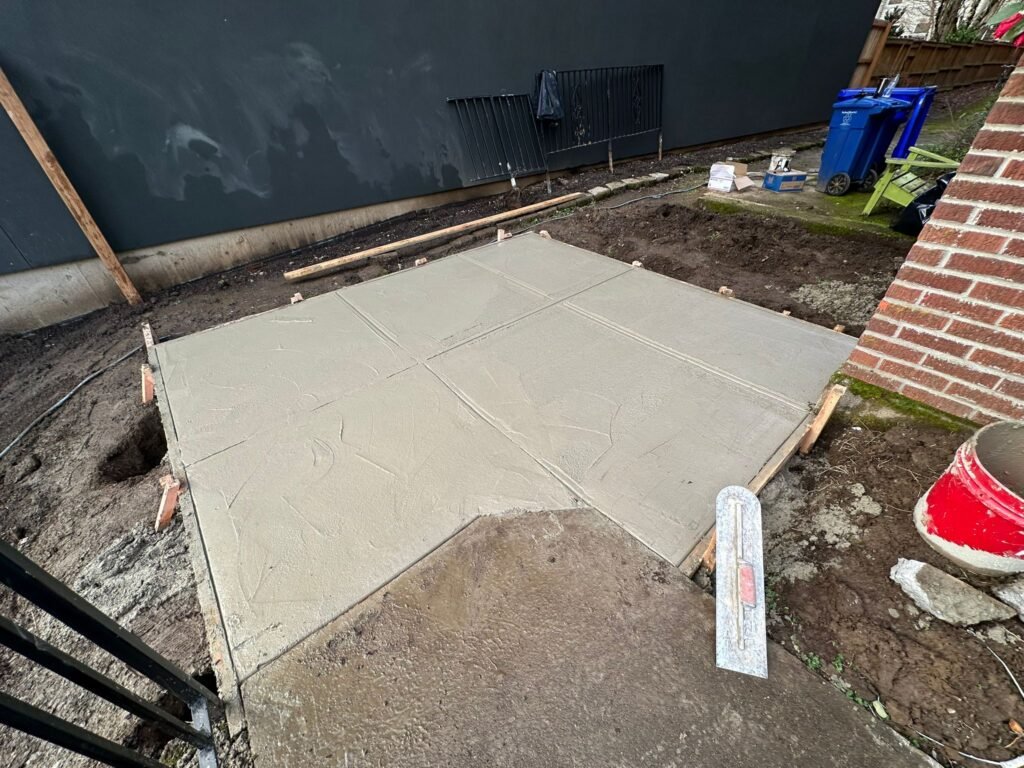
Step 4: Finishing the Surface
- Smooth the Surface:
- Use trowels to smooth and refine the concrete surface.
- Pay attention to edges and corners for a clean finish.
- Add Texture (Optional): For a non-slip surface, drag a broom across the surface once it begins to set.
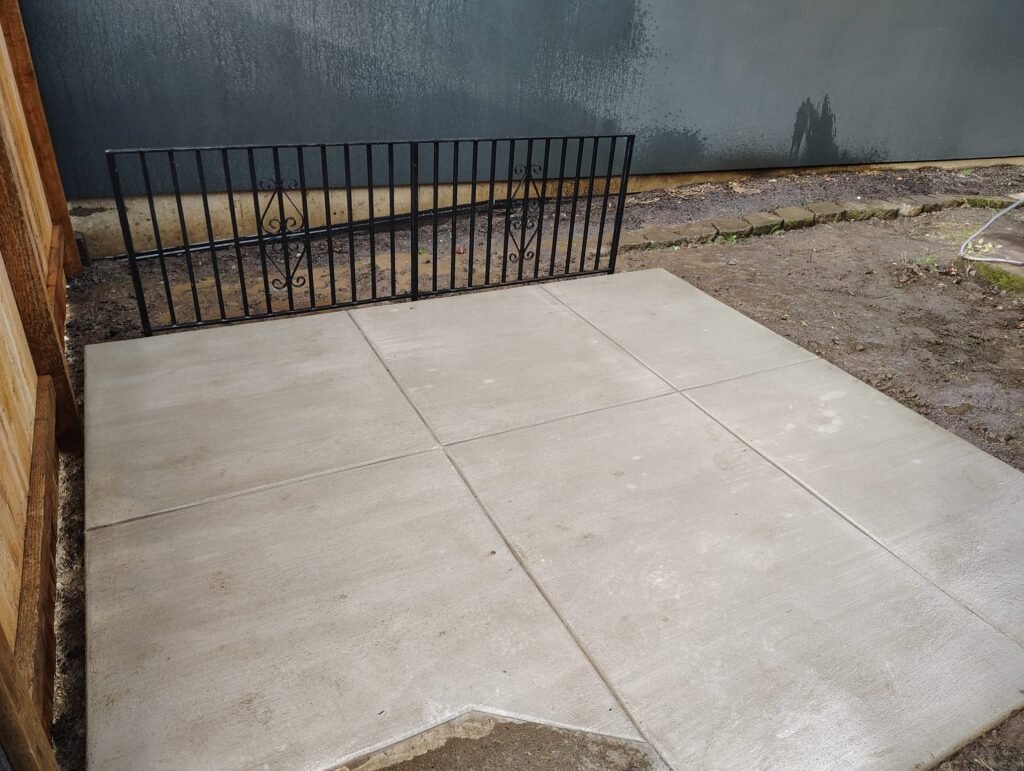
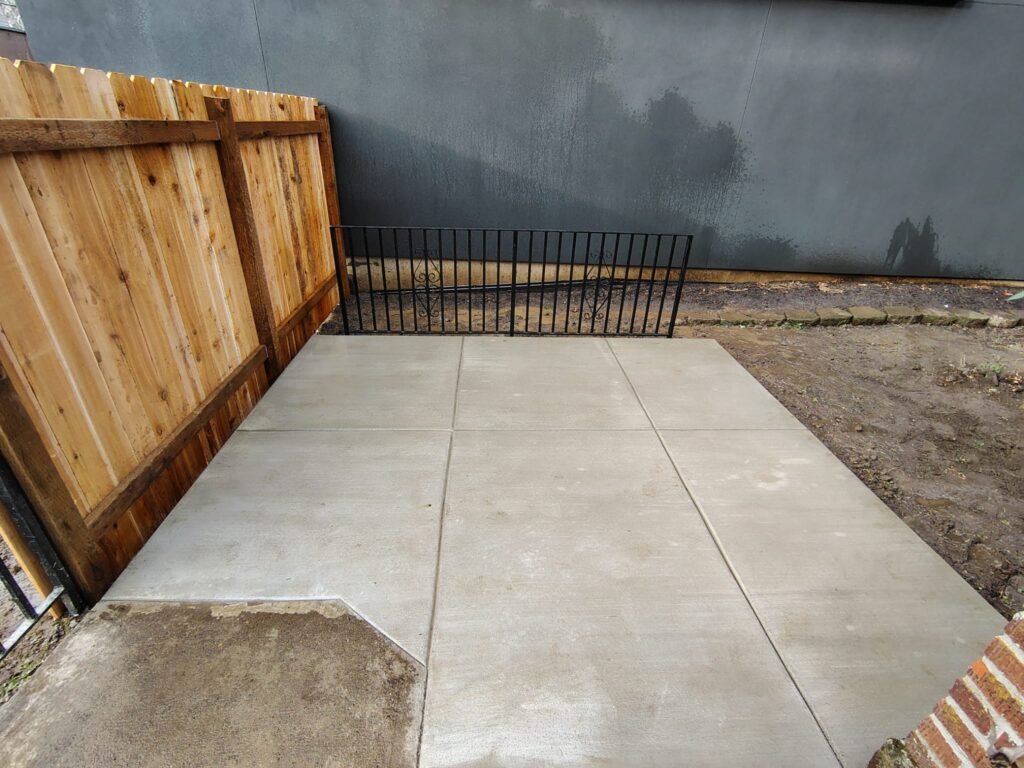
- Let It Cure: Allow the concrete to cure for at least 24 hours before walking on it and up to 7 days for full strength.
Video Walkthrough
For a detailed visual guide, watch our video showing the entire process, including how we tackled specific challenges:

Conclusion
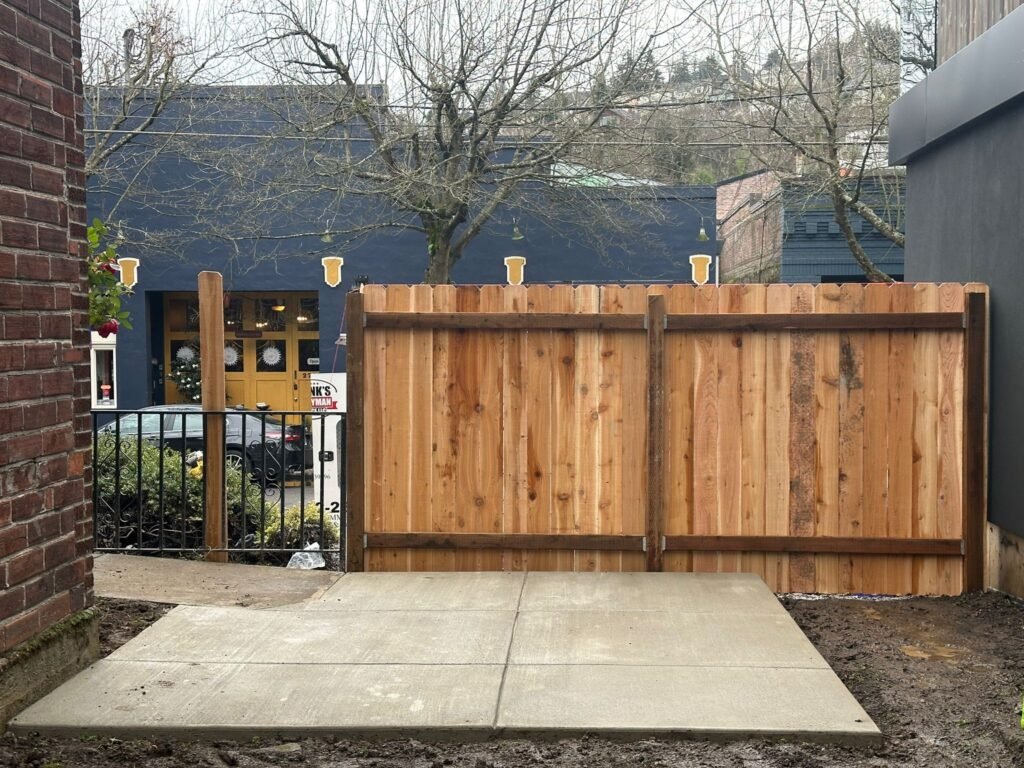
Pouring concrete is a labor-intensive but rewarding project. With the proper preparation and attention to detail, you can achieve a durable and visually appealing result. Follow these steps to create a strong foundation for your next project. Stay tuned for more DIY guides, including how to add fencing to complement your new concrete space.
