
Installing ceiling hanging lights can be a great way to add a stylish touch to any room while providing better lighting. In this timelapse, we walk you through the basic steps to safely and efficiently install hanging lights in your home. Whether you're updating a kitchen, living room, or any other space, this guide will help you get the job done.
Materials and Tools Needed:
Before starting the installation, gather the following materials and tools:
- Ceiling hanging light fixture
- Electrical wiring tools
- Voltage tester
- Ladder
- Screwdriver or drill
- Wire connectors
- Light bulb
Step 1: Turn Off the Power
Safety is always a priority when working with electricity. Before starting, turn off the power at the circuit breaker to avoid any electrical accidents. Use a voltage tester to confirm the power is completely off at the light fixture.
Step 2: Remove the Old Fixture
If you’re replacing an old fixture, begin by removing it. Carefully unscrew the old light and disconnect the wires. Be sure to keep track of the black (hot), white (neutral), and green or copper (ground) wires.
Step 3: Install the New Mounting Bracket
Most ceiling hanging light kits come with a mounting bracket. Install this bracket where the old fixture was, securing it with screws to ensure it is stable. This will be the foundation for your new hanging light.
Step 4: Wire the New Light Fixture
Next, connect the wires from your new hanging light fixture to the wires in your ceiling.
- Black to black (hot wire)
- White to white (neutral wire)
- Green or copper to ground wire
Use wire connectors to secure these connections and make sure they are tightly twisted to prevent any issues.
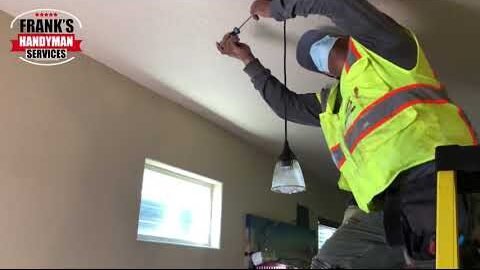
Step 5: Attach the Hanging Light
Once the wiring is complete, attach the hanging light to the mounting bracket. Ensure the fixture is securely fastened, using screws provided in the light kit. Double-check that the light hangs evenly and securely.
Step 6: Test the Fixture
Turn the power back on at the circuit breaker and test the new light. If everything is wired correctly, the light should function perfectly. If it doesn’t, double-check your connections.
Final Thoughts:
Installing ceiling hanging lights can transform a room and brighten up your home. This process, as seen in the timelapse, is straightforward but requires attention to detail to ensure safety and quality. If you’re ever unsure, feel free to contact Frank’s Handyman Service LLC for professional installation.
