
Flat roofs can struggle with water drainage, often leading to pooling and long-term damage. Adding a slope to a flat roof is an effective way to redirect water and prevent these issues. In this guide, we’ll show you how to remove existing roof sections, add new lumber, and create a slope to improve water runoff. This project by Frank's Handyman Service demonstrates how to ensure your roof is better equipped to handle rain and protect your home.
For a full demonstration, watch our video below:
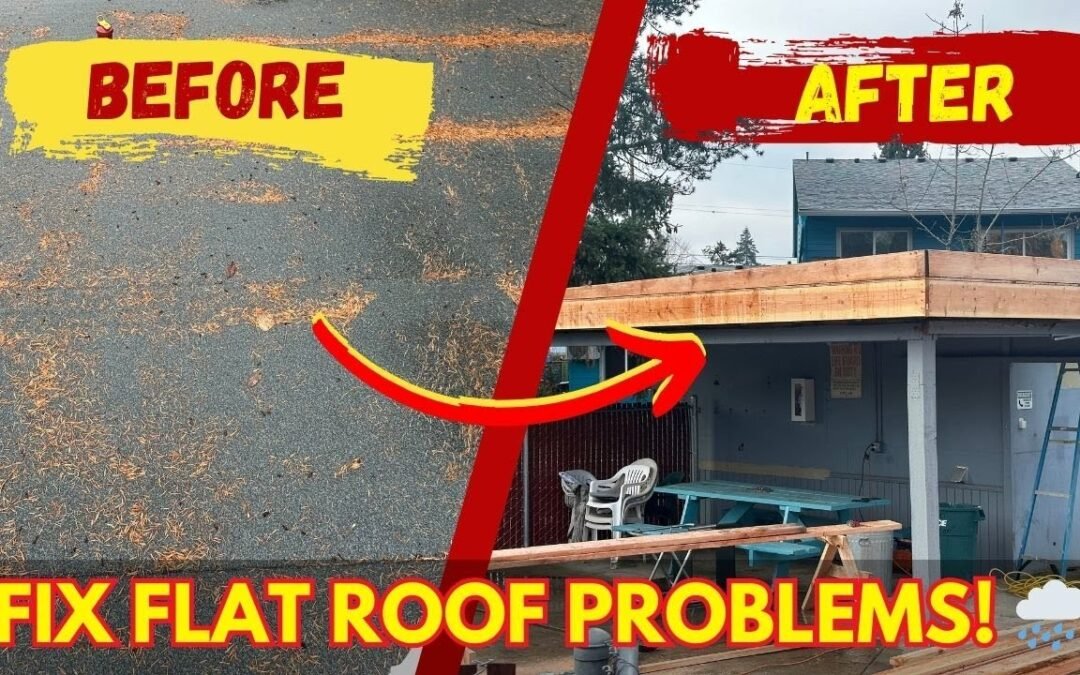
🛠️ How to Add a Slope to a Flat Roof to Prevent Water Damage 🌧️ - YouTube
Materials Needed
- Lumber (sized for your slope design)
- Circular saw or reciprocating saw
- Drill or screwdriver
- Screws or nails
- Level
- Measuring tape
- Roofing materials (e.g., plywood, waterproof membrane, shingles or similar coverings)
- Safety gear (harness, gloves, goggles)
Step-by-Step Process
1. Remove Existing Roof Sections
- Begin by removing the problematic sections of the roof, particularly areas where water pools.
- Use a circular saw or reciprocating saw to cut through the roof edges or other structural elements causing water to accumulate.
- Remove any debris and inspect the structure for damage before proceeding.
2. Plan the Slope Design
- Measure the roof and determine the ideal slope to direct water runoff efficiently.
- The slope should angle toward gutters or a drainage system. A minimum slope of 1/4 inch per foot is recommended for flat roofs.
3. Add Lumber to Create the Slope
- Cut lumber to the appropriate lengths for your slope design.
- Begin attaching the lumber at the edges of the roof, gradually building up the height toward the center or designated high point of the slope.
- Secure the lumber with screws or nails, ensuring it’s firmly attached to the roof structure.
4. Strengthen the Structure
- Add smaller pieces of lumber or braces in between the larger sloped pieces to reinforce the structure.
- Use a level to ensure all pieces are aligned correctly and the slope is consistent.
5. Install New Roofing Materials
- Once the slope framework is complete, cover it with plywood or another appropriate base material.
- Apply a waterproof membrane over the plywood to protect against leaks.
- Finish the roof with your chosen material, such as shingles or another roofing product.
Pro Tips
- Work safely: Use safety gear, including a harness, when working on roofs.
- Measure accurately: Precise measurements are crucial to creating a consistent slope.
- Choose quality materials: Invest in durable lumber and roofing materials to ensure long-term results.
- Inspect for leaks: After installation, test the slope by running water across the roof to confirm proper drainage.
Video Walkthrough
Watch the video below for a detailed look at the process of adding a slope to a flat roof:

Conclusion
Creating a slope on a flat roof is a practical solution for improving water drainage and preventing long-term damage. By following these steps, you can enhance your roof's functionality and protect your home. For professional help with roofing projects, Frank's Handyman Service is here to assist.
Call us at (503) 522-2672 for a free estimate or visit our website to learn more about our services.
