
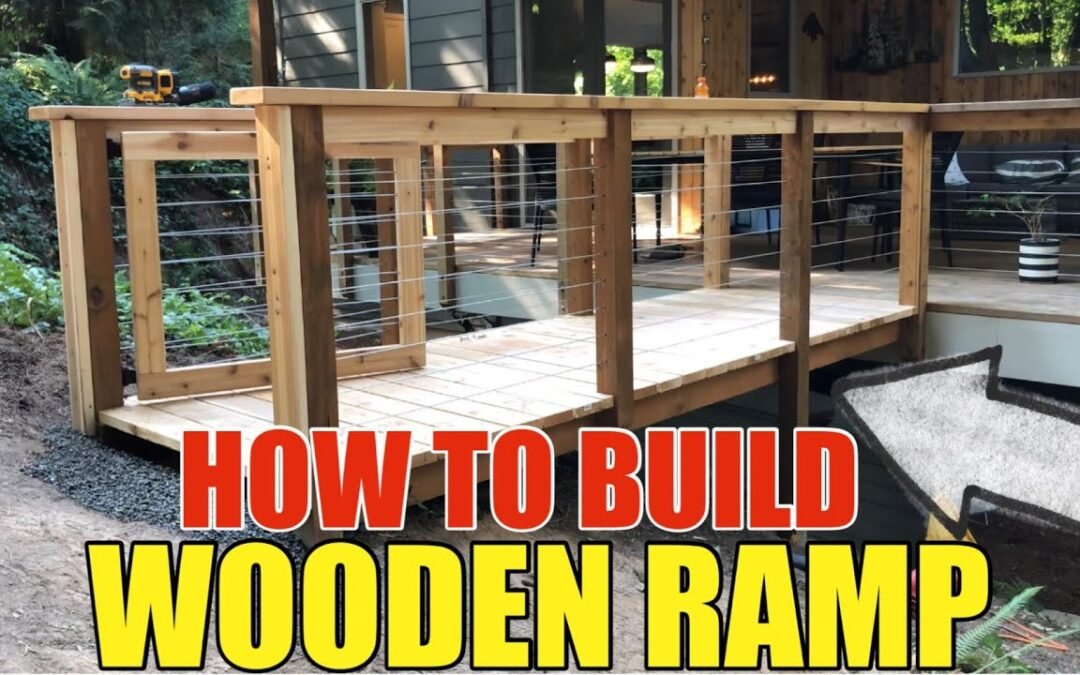
If you have a porch but no easy way to access your backyard, building a wooden access ramp is a practical and attractive solution. In this DIY guide, we’ll walk you through how to build a sturdy wooden ramp, connecting it seamlessly to your existing porch, so you can have convenient access to your backyard. This is a great project to tackle for improved functionality, and with the right materials and instructions, you can do it yourself!
Materials and Tools Needed:
- Pressure-treated wooden boards (2x4s and 4x4s)
- Concrete mix
- Screws and drill
- Measuring tape
- Level and laser level
- Shovel (for digging post holes)
- Hinges (for optional gate)
- Cable railing kit (optional for a modern look)
- Circular saw
Step 1: Plan and Prepare the Ramp Area
Start by identifying the ideal location for your ramp. In our project, we chose a low spot in the backyard to connect the porch to the yard. The ramp needs to be at a slight angle for easy use while maintaining stability. Measure the height of the porch and calculate the length of the ramp to ensure a gentle slope, which is especially important if the ramp is for accessibility.
Step 2: Install Support Posts
We used pressure-treated 4x4 wooden posts to support the ramp structure. Begin by digging four holes, approximately 2 feet deep and 1 foot wide, at equal intervals where your posts will go. These posts should be outside the walking path so they won’t interfere with the ramp itself.
Once the holes are dug, place the posts and check that they are level and plumb. We used a laser level for accuracy. Next, mix the concrete and pour it into the holes, securing the posts in place. Allow the concrete to cure before proceeding.
Step 3: Build the Ramp Frame
With the posts in place, you can begin attaching the main support beams that will hold the ramp’s walking surface. We used two long pressure-treated boards as the base, connecting them to the posts with screws. Make sure the frame is level by using the laser and checking for even alignment along the length of the ramp.
Step 4: Attach the Railing
For added safety and aesthetic appeal, we built a railing system along both sides of the ramp. We followed the design of the existing porch, using 2x4 boards for the railing and ensuring that the top of the railing matched the height of the porch. This provides a seamless and professional look.
If you're aiming for a modern style, you can also add cable railing. We drilled holes in the 4x4 posts and threaded cables through them, following the same spacing as the porch’s original railing.
Step 5: Install the Ramp Decking
Now it’s time to build the ramp’s surface. Cut your decking boards to the proper length (about 3 feet wide) and attach them across the frame. Leave small gaps between the boards for water drainage and a more polished look. Secure the boards with screws, ensuring they’re evenly spaced and aligned.
When you reach the posts, you may need to make special cuts to fit the decking around them. This ensures a smooth and continuous surface along the entire ramp.
Step 6: Add an Optional Gate
To enhance security and keep pets or children from accessing the ramp unsupervised, we built a wooden gate at the bottom of the ramp. The gate was made using the same materials as the ramp and was attached using sturdy hinges. We tested the gate to make sure it opened and closed smoothly, ensuring that it was properly aligned with the ramp.
Step 7: Final Touches and Inspection
After installing the decking and railing, inspect the entire ramp to ensure everything is secure and level. The final result should be a sturdy, visually appealing ramp that flows naturally from the porch to the backyard.
For a long-lasting finish, we recommend sealing the wood to protect it from the elements. This will extend the lifespan of your ramp, keeping it in good shape for years to come.
Conclusion
Building a wooden access ramp is a great DIY project that can significantly improve the functionality of your backyard while adding value to your home. With pressure-treated wood and a solid design, this ramp will provide years of use. Whether you’re looking for easier access or simply want to enhance your outdoor space, this step-by-step guide will help you achieve professional-looking results.
