
Painting a room with numerous windows may seem like a daunting task, but with the right approach, you can achieve professional results without hiring a contractor. In this post, we’ll guide you step-by-step on how to paint a dining room with large windows, including prepping, cutting in edges, and rolling paint like a pro.
Step 1: Prep the Room with Painter’s Tape
One of the most critical steps when painting a room with lots of windows is preparing the room by applying painter's tape around the window frames, baseboards, and any other trim. This will help you avoid painting over surfaces you don’t intend to and will ensure you have crisp, clean lines.
- Tip: Take your time to place the tape carefully. Make sure no wood or trim is visible through the tape so that when you paint, you’ll have a perfect edge.
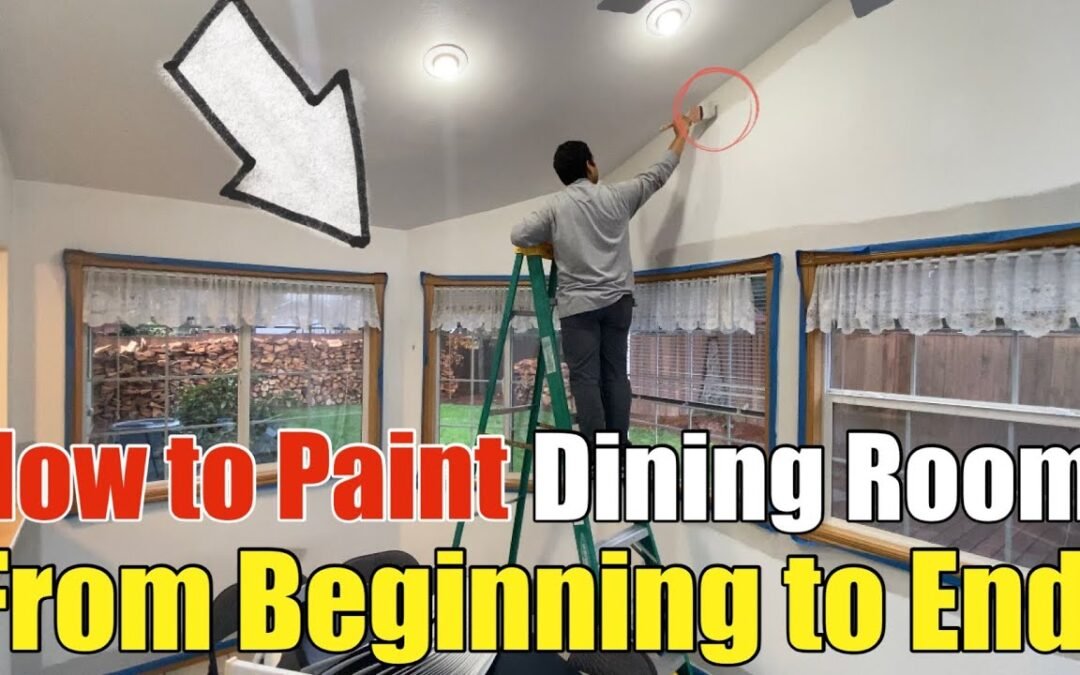
Step 2: Cut in Edges Around Windows
After taping, you can begin cutting in the edges. This involves painting along the edges where the wall meets the window frame, baseboards, or any other obstacles. Use a high-quality paintbrush for this task. We recommend a Purdy XL 3-inch paintbrush, as it delivers smooth, professional lines.
For those tricky corners where windows meet walls, the brush allows you to get close to the edges without needing to rely on tape for accuracy. The Purdy brush’s precision will save you time and give you cleaner results.
Step 3: Use the Right Tools
You don’t need expensive equipment to paint your dining room. A simple painter’s bucket with a magnet to hold your brush can make the process easier. For large sections of the wall, a roller is the ideal tool. The roller helps cover large surfaces quickly and evenly, and for this project, we used a Purdy brand roller.
- Pro Tip: To prevent your arms from getting tired, use a smaller painter’s bucket that’s easy to carry, even when it’s full of paint.
Step 4: Rolling the Paint
Once all the edges are cut in, it’s time to roll the paint onto the walls. Use a medium-thick coat of paint to ensure even coverage without needing a second coat. Start from one corner and work your way across the room, using a zigzag motion to prevent streaks.
We used Valspar Signature paint from Lowe’s, a high-quality paint that offers excellent coverage, especially when transitioning from white walls to a light gray tone, as in our case.
Step 5: Paint Around the Windows
Painting around the windows may be the most time-consuming part of this project, but with the edges already taped and cut in, you can use the roller to cover the larger wall sections quickly. Be sure to take extra care when painting below and above the windows to ensure even coverage.
Step 6: Remove the Painter’s Tape
Once the paint has dried (let it sit for several hours), carefully remove the painter’s tape. Start from the top and slowly peel it downward to avoid disturbing the freshly painted areas. This will reveal sharp, clean lines around the windows and baseboards.
Final Results:
This project can transform your dining room, giving it a modern, clean look. Painting your own space can save you up to $1,500 in labor costs, and it’s a rewarding DIY project that’s both satisfying and cost-effective.
Whether you’re working with a dining room full of windows or a smaller space, the process is the same: prep carefully, use quality tools, and apply an even coat of paint. You’ll be amazed by the results!
Video Tutorial:
Watch our step-by-step video to see how we achieved a fresh, modern look in our dining room:
