
Refreshing the interior of your home with a fresh coat of paint can dramatically transform your space. In this first part of our two-part series, we’ll walk you through the process of preparing and applying the first coat of paint to a house’s interior walls. This step is essential to creating a smooth, even finish and setting the stage for the final results.
For a full walkthrough, watch our video below:
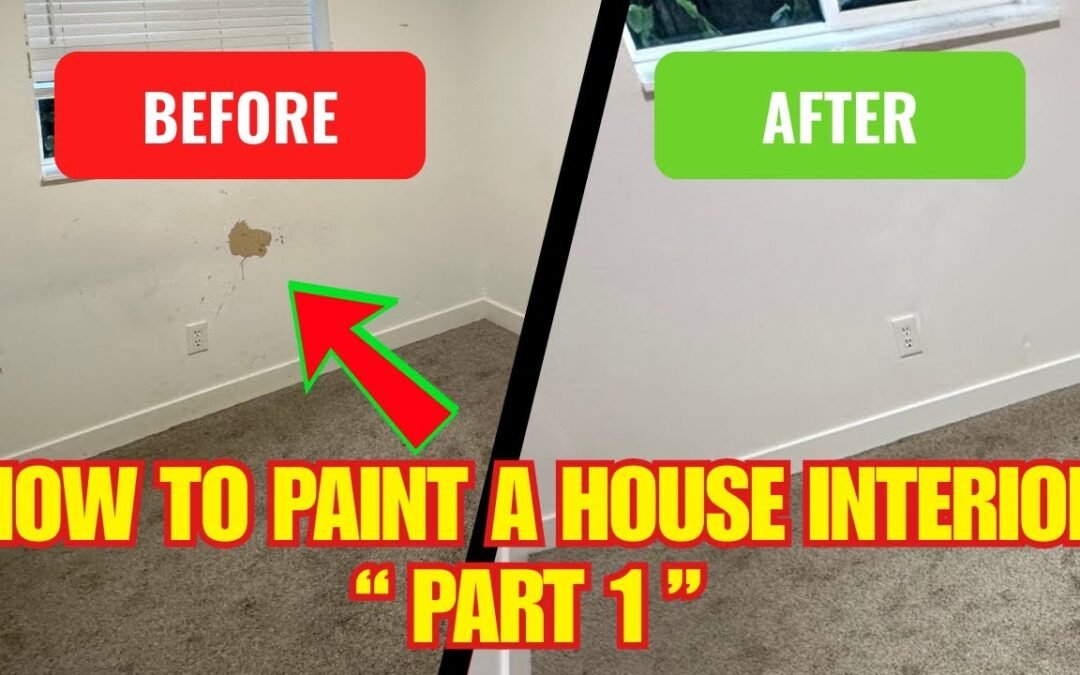
🎨 How to Paint a House Interior: Part 1 - YouTube
Materials Needed
- Interior paint (white or your desired color)
- Paint rollers and brushes
- Paint tray
- Painter’s tape
- Drop cloths or plastic sheeting
- Sandpaper or sanding block
- Ladder
- Damp cloth or sponge (for cleaning walls)
Step-by-Step Process
1. Prepare the Room
Before painting, remove furniture or cover it with drop cloths to protect against drips. Lay plastic sheeting or drop cloths on the floor to keep it clean. Use painter’s tape to mask off trim, ceilings, outlets, and any areas you don’t want to paint.
2. Clean and Repair the Walls
Inspect the walls for any damage or dirt. Use sandpaper to smooth out rough patches and repair holes or cracks with spackling compound. Wipe the walls with a damp cloth to remove dust or grime, ensuring the paint adheres evenly.
3. Gather Your Tools
Have your paint, rollers, brushes, and tray ready to go. Mix the paint thoroughly before pouring it into the tray. This ensures the color is consistent throughout the application.
4. Start with the Edges
Using a brush, start by painting the edges and corners of the walls, where a roller can’t reach. This process is known as “cutting in” and provides a clean, polished look once the roller is used.
5. Roll the Paint
After cutting in, use a roller to apply paint to the larger wall areas. Begin at the top of the wall and work your way down using long, even strokes. Reload the roller regularly to maintain consistent coverage, but avoid overloading it to prevent drips.
6. Allow the First Coat to Dry
Once the first coat is applied, let it dry completely before deciding if a second coat is necessary. Drying time can vary depending on the type of paint and room conditions, but most paints require at least 4-6 hours.
Pro Tips
- Use quality painter’s tape: It ensures clean lines and protects surfaces you don’t want painted.
- Work in sections: This helps maintain a wet edge, reducing visible roller marks.
- Ventilate the room: Open windows or use fans to improve airflow and speed up drying time.
- Inspect the first coat: Look for thin areas or missed spots before moving on to the next coat.
Video Walkthrough
For a detailed look at our painting process, watch the video below:

Stay Tuned for Part 2
In Part 2, we’ll show you how to finish the painting process and stretch carpets to complete the transformation. Don’t miss it—subscribe to our channel for updates!

Conclusion
Painting your home’s interior is a rewarding project that brings new life to your space. By following these steps, you’ll ensure a smooth and professional-looking first coat. If you’d prefer to leave the job to professionals, Frank's Handyman Service is here to help.
Call us at (503) 522-2672 for a free estimate or visit our website to learn more about our services.
