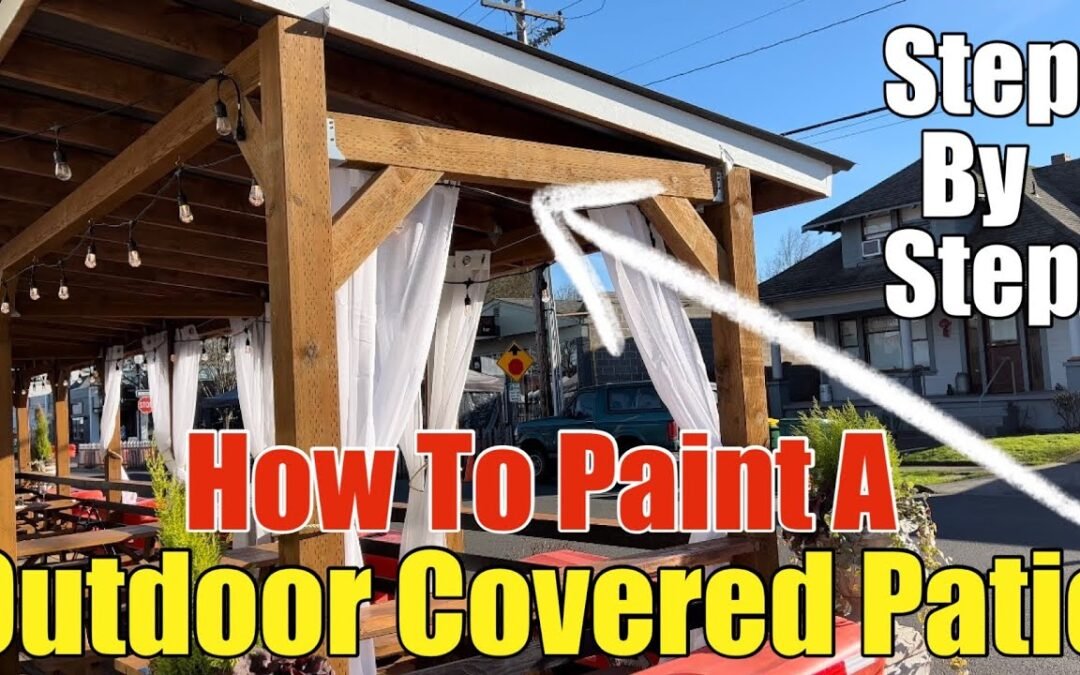
Are you looking to revitalize your outdoor patio with a modern touch? In this guide, we’ll walk you through the process of painting and staining an outdoor covered patio to achieve professional results. This project, completed by Frank’s Handyman Service, showcases how a few design elements and careful application of paint and stain can completely transform a space. Whether you’re a DIY enthusiast or just curious about the process, we’ll break down each step to help you achieve a stunning finish.
For a visual guide, check out the video below, where we show each step in detail:
How to Paint an Outdoor Covered Patio – YouTube
Materials Needed
- Exterior White Paint (for trim)
- Black Paint (for railings) – Behr Ultra Stain-Blocking Paint & Primer
- Chocolate-Colored Stain with Sealant (for wood benches and beams)
- 3-inch angled Purdy brush
- 3-inch roller (special for exterior and rough surfaces)
- Paint bucket
- Ladder
- Drop cloths
- Damp rag (for cleaning any drips)
- Sponge or brush for stain application
Step-by-Step Process
1. Preparing the Surface
Before starting any paint job, ensure all surfaces are clean and free from dust or debris. For this project, we were working on a wooden porch with railings, benches, and upper two-by-sixes. Make sure to have your tools organized and nearby for easy access.
2. Painting the Exterior Trim
The first step was to paint the upper exterior trim white, which required careful work due to the laminate material on top. Using a 3-inch angled brush, we applied the white paint along the edges, ensuring to avoid overlapping onto the laminate. It’s important to take your time here, as a smooth, clean cut line will result in a polished, professional look.
3. Painting the Railings
Next, we moved on to the black railings. We started with a 3-inch roller to cover large areas quickly, followed by a paintbrush to cut in around posts and detailed sections. It’s crucial to maintain consistent strokes to avoid uneven thickness and drips. We recommend using the roller first, followed by the brush, to speed up the process while keeping control of the finer details.
4. Staining the Wooden Beams and Benches
After the painting was done, it was time to apply stain to the wooden benches and the two-by-sixes supporting the structure. We used a chocolate-colored stain with built-in sealant to create a rich, warm look. Staining requires a bit more patience, as you need to apply it evenly across all surfaces, including the support beams under the benches. Use a special stain brush or a sponge to ensure smooth, consistent application without runs or streaks.
5. Final Touches and Cleanup
Once all areas were painted and stained, we allowed everything to dry and touched up any imperfections. It’s important to keep a damp rag handy throughout the process to wipe off any accidental drips. After completing the project, the owner added white curtains to the porch, giving the space a finished, modern look.
Pro Tips
- Cut in carefully: Using an angled brush is key for achieving straight, professional lines, especially when painting around laminate or other delicate materials.
- Work in sections: To ensure even coverage, work in small, manageable sections, especially when painting railings or large surfaces.
- Use a drop cloth: This will protect the ground from paint drips and make cleanup much easier.
- Clean your brushes regularly: Between steps or color changes, rinse your brushes to keep them in top condition for the next stage.
Video Walkthrough
For a visual guide, check out the video below, where we show each step in detail:
Conclusion
This outdoor covered patio renovation transformed a simple space into a modern, inviting area perfect for relaxation or dining. The combination of white trim, black railings, and stained wooden beams created a balanced, professional finish. With the right tools and patience, you can achieve similar results in your own home.
Need help with your next home project? Contact Frank’s Handyman Service today for a free estimate! We specialize in home repairs, renovations, and painting services in the Portland, Oregon area.
Call us at (503) 522-2672 or visit our website to schedule your appointment.

