
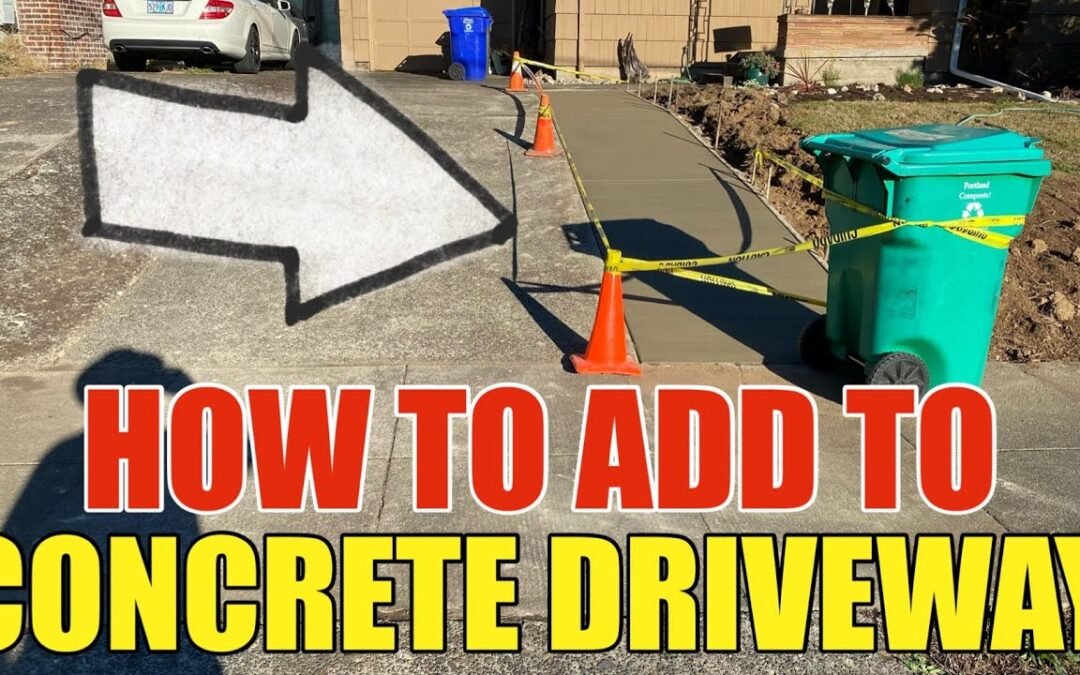
If you're thinking about expanding your driveway for extra space and convenience, pouring a concrete extension is a great DIY project that can significantly enhance your home's value. In this post, we’ll walk you through how to pour a concrete driveway extension and apply a broom finish to ensure a durable, non-slip surface. Follow along for the details, or check out the video for a full demonstration.
Materials and Tools You’ll Need:
- Concrete mix
- Wheelbarrow
- Bull float
- Screed board
- Trowel
- Edging tool
- Broom for finishing
- Concrete joiner
- Measuring tape and level
Step 1: Prepare the Area
Before starting the pour, ensure that the area is properly excavated and the forms are securely in place. If you haven’t yet set up the forms, refer to our previous blog post on how to prepare a driveway extension for pouring concrete.
Step 2: Pour the Concrete
For this project, we worked on a 20-foot-long, 4-foot-wide section. The easiest way to get the concrete into the forms is by using a wheelbarrow. Start at one end and work your way along the length of the extension, pouring evenly to avoid any gaps or uneven spots. Spread the concrete out as you pour, using the shovel to ensure it fills every corner.
Step 3: Screed the Concrete
Once the concrete is poured, it’s time to level the surface. Use a screed board that’s slightly longer than the width of the area to drag across the top of the wet concrete. The screed board should rest on the existing concrete on one side and the form board on the other, helping you create a level surface. Make sure to remove any excess concrete during this process.
Step 4: Bull Float the Surface
Immediately after screeding, run a bull float over the surface to smooth out any rough areas. The bull float helps to push the aggregate down and brings the "cream" (the smoother concrete mixture) to the surface, creating an even finish. Work from one end to the other, making long, sweeping motions to avoid creating dips or bumps.
Step 5: Edge and Joint the Concrete
Using an edging tool, go along the perimeter where the concrete meets the existing driveway or form boards. This will give the edges a clean, professional look. Next, use a joiner to cut control joints into the concrete, matching any existing joints in the adjacent driveway. These joints allow for expansion and prevent random cracks from forming.
- Tip: Be sure to work the edges multiple times as the concrete dries. This will keep the edges looking neat and consistent.
Step 6: Apply the Trowel Finish
After edging and jointing, run a trowel over the surface. This further smooths the concrete, sealing it and preparing it for the final finish. Go over any low spots, filling them in, and making sure the surface is uniform.
Step 7: Broom Finish for Traction
Once the concrete has firmed up (but is still wet enough to work with), it’s time to apply the broom finish. Take a large concrete broom and pull it evenly across the surface from one end to the other. This texture provides added traction, which is especially useful for sloped driveways.
- Pro Tip: When brooming, aim to make long, continuous passes without stopping halfway. This will give you a clean, consistent finish across the entire surface.
Step 8: Final Touches
After the broom finish is complete, go over the edges once again with the edging tool to ensure that the texture along the edges matches the rest of the surface. Once the concrete has set enough, protect your work by putting up caution tape to keep people (and pets) from stepping on the fresh concrete.
Step 9: Let It Cure
Concrete needs time to cure, so allow it to set undisturbed for at least 24-48 hours. After it has fully cured, you can remove the forms, clean up the area, and enjoy your new driveway extension!
Benefits of a Broom Finish
Applying a broom finish to your driveway extension offers several advantages:
- Traction: The rough texture provides grip, reducing the risk of slipping, especially in wet conditions.
- Durability: It helps prevent wear and tear, ensuring that the driveway stays in good condition for years.
- Aesthetic Appeal: The even broom lines give the driveway a neat, professional look.

