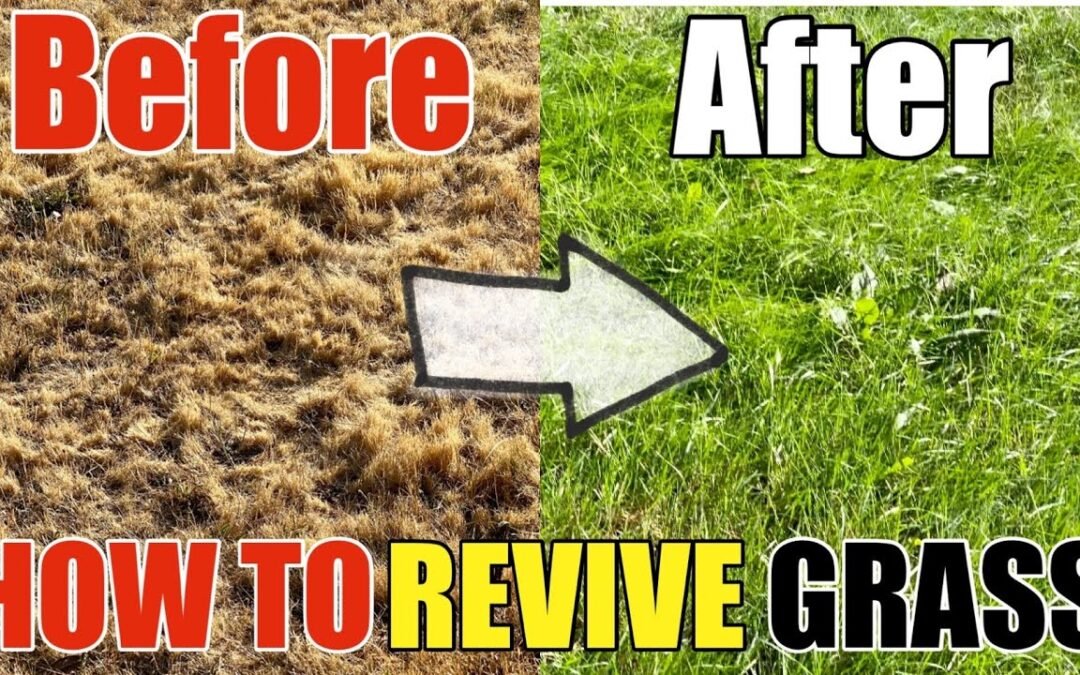
A dead, dry lawn can be discouraging, but with the right approach, you can bring it back to life and enjoy a lush, green landscape again. In this step-by-step guide, we’ll show you how to revive your dead grass lawn using simple techniques that anyone can follow. From adding water to loosening the soil and applying seeds, you’ll see how easy it is to go from a brown lawn to a vibrant green one.
Materials and Tools Needed:
- Lawn Aerator (spike or manual)
- Pickaxe (for tough soil)
- Rake
- Lawn Mower
- Scotts Spreader (for seed and fertilizer)
- Grass Seed (for sun and shade)
- Fertilizer (long-lasting, 3-month feed recommended)
- Topsoil (to cover seeds)
- Garden Hose or Sprinkler
Step 1: Water Your Lawn
The first and most crucial step in reviving a dead lawn is adding water. The reason most grass turns dry and brown is simply due to a lack of consistent moisture. Start watering your lawn every day for a few weeks to begin the recovery process. You’ll want to ensure the lawn gets plenty of water, especially in the areas where the grass is most dry and brittle.
Step 2: Loosen the Soil
Using a lawn aerator, loosen the compacted soil. This tool breaks up the ground and creates space for water, nutrients, and air to reach the grass roots. For harder soil, you may need to use a pickaxe to break up tougher areas. Loosening the soil also helps prepare the ground for planting new grass seeds.
Step 3: Remove Rocks and Debris
Once the soil is loosened, rake away any rocks, dead grass, and debris. These obstacles can prevent grass seeds from taking root and growing properly. Clearing the area gives your lawn the best chance for recovery by ensuring that the grass seeds will contact the soil directly.
Step 4: Mow the Lawn
If your grass has begun growing again from the added water, mow it down to an even height. This step prepares the lawn for overseeding and ensures that new grass will grow uniformly throughout the yard.
Step 5: Apply Grass Seed
Now that the lawn is prepped, it’s time to apply the grass seed. Use a Scotts spreader for even distribution of seeds across the entire lawn, focusing on areas where the grass is especially thin or dead. This process is known as overseeding and helps to fill in patches and revitalize the entire yard.
Step 6: Add Fertilizer
After applying the seed, use your spreader to apply lawn fertilizer. Choose a fertilizer that provides long-lasting nutrients, feeding the lawn for up to three months. This step will help the seeds germinate faster and promote healthy growth for both existing and new grass.
Step 7: Top with Light Soil
Cover the seeded areas with a thin layer of topsoil to help the seeds take root and protect them from being blown away. Topsoil also holds moisture, which is essential for seed germination. Spread the soil evenly over any dead spots and areas where you applied seed.
Step 8: Water Consistently
Water the lawn thoroughly after applying the seed and topsoil. Set up a consistent watering schedule, aiming for about 20 minutes of watering per day. This will keep the soil moist and encourage the new seeds to grow quickly. After a week of watering, you should start to see new grass sprouting in the dry patches.
Step 9: Monitor Results
Within a week or two, you’ll begin to see the results. The brown, dead spots in your lawn will start to fill in with fresh green grass. Keep up with your watering routine and continue monitoring the lawn as the seeds grow and the grass becomes fuller.
Conclusion:
Reviving a dead grass lawn is a simple and rewarding DIY project. With just a few tools and consistent watering, you can transform your dry, patchy yard into a beautiful, green oasis. By loosening the soil, applying grass seed, and using fertilizer, you’ll see significant results in just a few weeks. Stay tuned for an update video to see the final results after a few more weeks of watering and maintenance!

