
Preparing the base and setting up wood forms for a concrete public sidewalk may seem daunting, but with the right tools and approach, it can be done efficiently. Whether you're working on your own property or in a public space, these steps will guide you through the entire process. Here's how we tackled a 30-foot section of public sidewalk in the Pacific Northwest.
Step 1: Clearing the Area
Before starting any form-setting work, it's crucial to clear the area. We removed any loose soil, leaves, pine needles, wood debris, and any other materials that could interfere with a smooth base. For areas with loose soil that were more than eight inches deep, we excavated by hand to reach firm ground, making sure the foundation would be strong.
Step 2: Installing Metal Stakes and String Lines
Once the area was clear, we installed metal stakes at both ends of the project area and tied a string line from one stake to the other. This string line served two key purposes:
- It gave us a reference for a straight edge, ensuring the sidewalk would be perfectly aligned.
- It helped us achieve the correct slope towards the street, typically 1.5 to 2 percent, as required by local codes.
Step 3: Adding Gravel for a Solid Base
With the string line in place, we spread gravel across the low spots. Using a rake, we leveled it out to create a smooth and consistent base for the concrete. Gravel provides a firm foundation and aids in drainage. After spreading the gravel, we compacted it with a plate compactor to ensure it was solid and ready for the concrete pour.
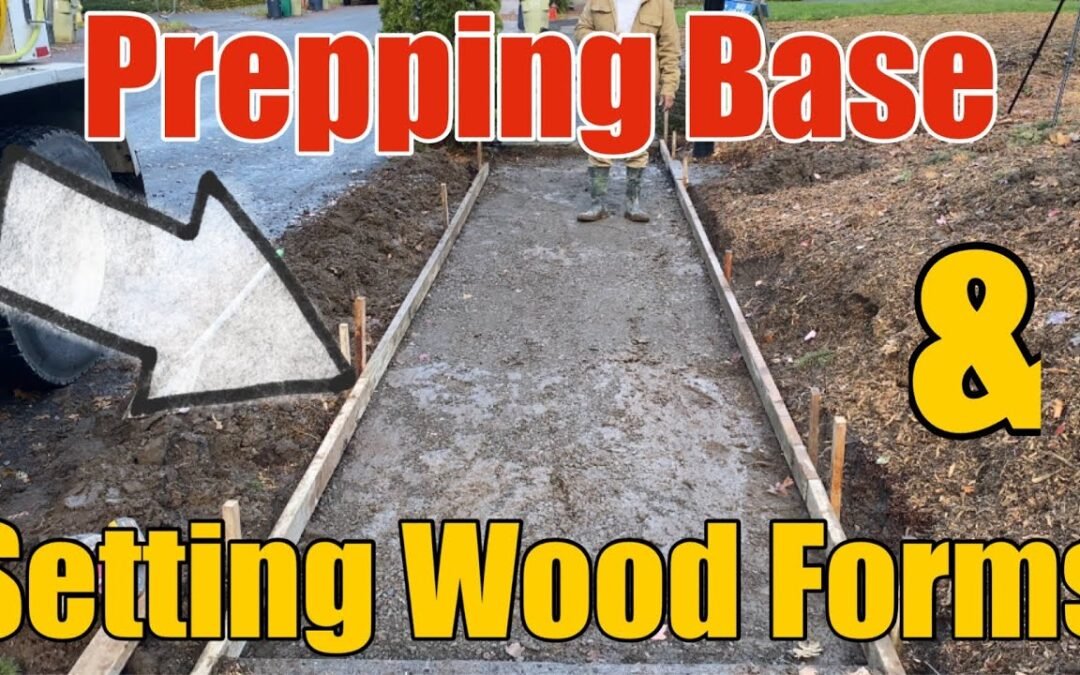
Step 4: Setting the Wooden Forms
We used 2x4 wooden form boards to create the outer frame for the sidewalk. Placing the forms carefully along the string line, we adjusted them to match the slope and secured them with wooden stakes. Each stake was nailed into the form to keep it stable.
In certain areas, such as around utility boxes or tight spaces, we used smaller boards or bender boards, which are flexible and can be adjusted to fit snugly.
Step 5: Final Adjustments and Checks
After setting up the forms, we used a level to check the slope and alignment, ensuring everything matched the string line. We then removed the string line and stakes, as the forms were securely in place. Finally, we made minor adjustments where necessary, ensuring the forms were properly supported and ready for concrete.
Step 6: Compaction and Final Preparations
Before the concrete pour, we did one last run with the compactor over the gravel to make sure the base was as firm as possible. After that, the site was ready for the next step: pouring the concrete.
Video Tutorial:
Watch our detailed step-by-step video on how to prep the base and set wood forms for a concrete sidewalk:
