
Installing a security gate for your restaurant or business can greatly enhance security and provide peace of mind. A well-installed ULINE security gate serves as a reliable barrier and offers flexibility, as it can be adjusted to cover entryways of various widths. This guide provides a comprehensive, step-by-step approach to installing a ULINE double-section security gate, detailing the tools, materials, and process needed to achieve professional results.
Materials Needed
- ULINE double-section security gate
- 2x4 wood pieces (2 pieces, about 1 foot each)
- Drill with ¾-inch drill bit (for concrete)
- Rotor hammer (for drilling into concrete)
- Vacuum (for dust cleanup)
- Screws (appropriate for wall mounting)
- Level
- Pencil (for marking)
- Grinder (optional, for removing any unneeded gate components)
- Protective equipment (gloves, safety glasses)
- Optional: Lock for securing gate
Step-by-Step Process
Step 1: Prepare the Area and Position the First Gate Section
- Set Up the Left Gate Section: Place the first gate section to the left of the entryway, ensuring it’s positioned for easy access.
- Mount 2x4 Support: Securely attach a 2x4 wood section to the wall where the gate will be fastened. Drill pilot holes in the 2x4, then anchor it with screws (two on the top, one on the bottom).
- Secure the Gate to the Ground: Mark the bottom of the gate where it will anchor to the floor, ensuring the gate is level and plumb.
Step 2: Drill and Secure the Floor Mounting
- Drill Floor Hole: Using the rotor hammer and a ¾-inch drill bit, drill a hole a couple of inches deep at your marked location.
- Place the Gate into the Floor Anchor: Insert the gate's bottom post into the drilled hole, ensuring it’s securely fastened and that the washer is in place.
- Attach Gate to the 2x4: Fasten the gate to the mounted 2x4 on the wall, securing it with screws through the gate’s plate and into the wood.
Step 3: Repeat Process on the Opposite Side
- Prepare the Right Side: Cut away any trim as needed to make room for a 2x4 mount on the opposite side. Attach the wood with screws to create a secure point for the gate.
- Anchor the Gate to the Ground: Mark, drill, and secure the bottom post of the second gate section as done previously.
- Attach to the 2x4: Fasten the gate to the 2x4 mount on the right side.
Step 4: Final Adjustments and Optional Modifications
- Check Alignment: Confirm that both gate sections move smoothly and align when closed.
- Remove Any Unnecessary Components: If the gate includes additional hardware that isn’t needed for your installation (such as a floor latch in the middle), use a grinder to carefully remove it.
- Install a Lock for Security: Once aligned, add a padlock or combination lock to the gate for added security.
Pro Tips
- Take Your Time: Ensuring that each gate section is level and plumb will provide a stable and secure result.
- Clean as You Go: Use a vacuum to remove concrete dust from drilling for a cleaner, safer work environment.
- Customization: Every installation will vary based on the entryway’s layout and customer needs, so adjust your setup accordingly.
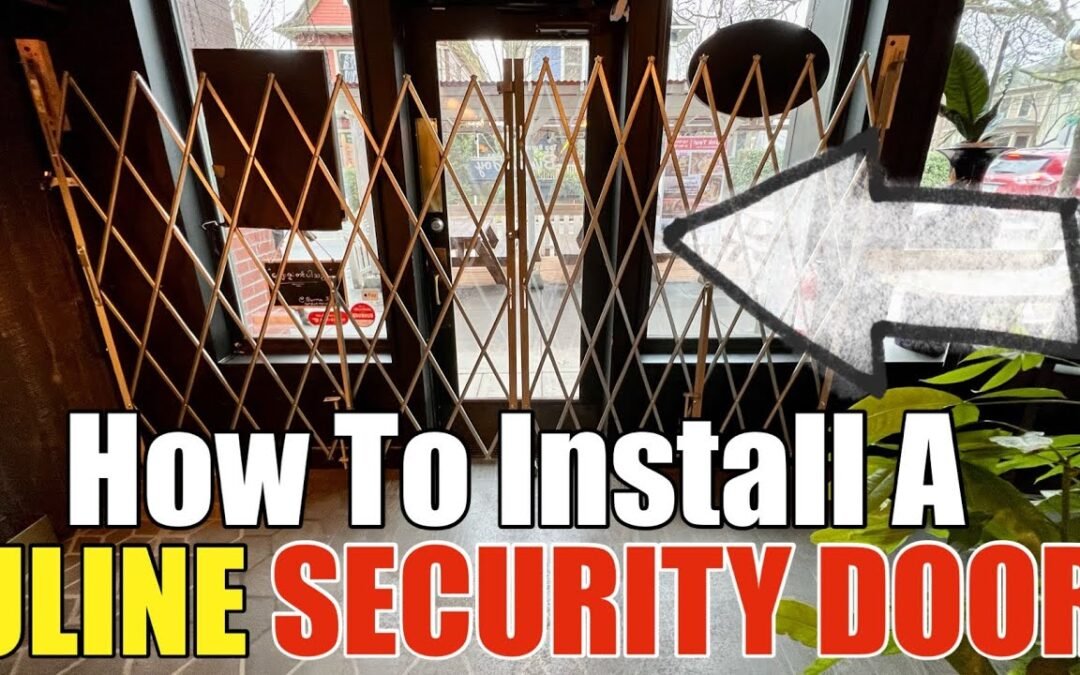
Video Walkthrough
For a visual guide, watch the video below where we demonstrate each step in detail:
Conclusion
Installing a ULINE security gate is a valuable addition for businesses looking to improve security without compromising entryway flexibility. By following this step-by-step guide, you’ll achieve a professional, stable, and visually appealing installation. Contact Frank's Handyman Service for more expert assistance on security installations.
