
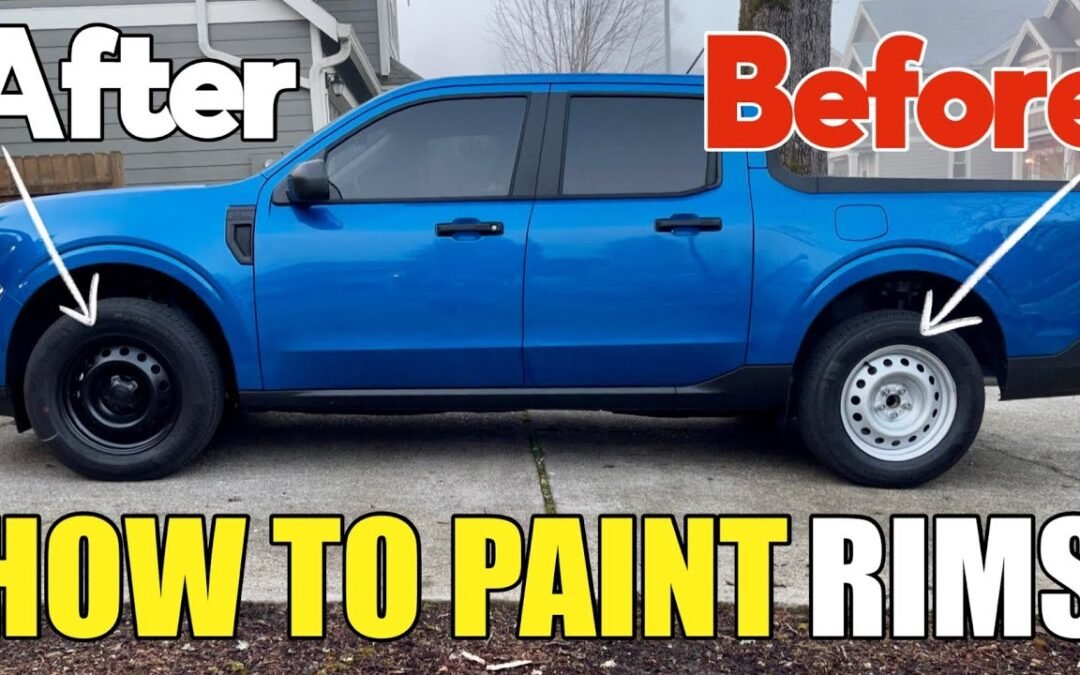
Painting your truck’s rims is a simple and affordable way to elevate its look and make it uniquely yours. In this guide, we’ll walk you through the step-by-step process of transforming the factory steel wheels of a 2022 Ford Maverick into a custom black finish. With just a few supplies, some patience, and careful attention, you’ll have professional-looking rims that give your truck a standout style.
Materials Needed
- Rust-Oleum Painter’s Touch 2x Ultra Cover (Black Paint + Primer combo)
- Matte clear coat spray
- Hydraulic jack and jack stands
- Tire shine (optional)
- Paper or index cards
- Plastic sheeting or cardboard (to mask surrounding areas)
- Bucket with warm water (to warm paint cans)
- Basic tools: lug wrench, utility knife, hair dryer (optional)
Step-by-Step Process
Step 1: Lift and Secure the Truck
- Position the Jack and Stands: Use a hydraulic jack to lift the truck. Place jack stands securely under each side to hold it up while you remove the wheels.
- Loosen Lug Nuts: Before fully lifting, loosen the lug nuts slightly. Once lifted, remove them completely and take the wheel off.
Step 2: Prepare the Rims for Painting
- Protect the Tires: Use paper or index cards around the edge of the rim, tucking them between the tire and rim to shield the tires from overspray.
- Clean the Rims: Wipe down the rims to remove dust, grease, and debris. Since these rims were new, a light cleaning was sufficient.
Step 3: Apply the Paint
- Warm the Paint Cans: Place your paint cans in warm water for a few minutes. This helps ensure even spray application.
- First Coat: Lightly spray the first coat over the entire rim, focusing on even, thin layers. Let it dry for about 5-10 minutes before moving to the second coat.
- Second Coat: Apply a second coat, working at different angles to ensure even coverage over all areas of the rim.
- Third Coat: For a solid, professional look, add a third, slightly thicker coat to cover any remaining gray areas. Allow the paint to dry completely.
Step 4: Apply the Matte Clear Coat
- First Clear Coat: Spray a light coat of matte clear over the rims to protect and seal the paint. Let it dry for about 5 minutes.
- Second and Third Coats: Apply two additional coats, allowing time to dry in between for a long-lasting finish. The clear coat will help the color stay vibrant and resist chips and scratches.
Step 5: Remove Masking Materials
- Carefully Remove Paper: Once the paint is dry, gently remove the paper cards and any other masking materials from the tire.
- Reinstall the Rims: Carefully place the wheels back on the truck. Secure each lug nut and lower the truck once everything is back in place.
Pro Tips
- Use Thin Layers: Light, thin coats will prevent runs or smudges, giving your paint job a clean, professional look.
- Work in a Ventilated Area: Make sure you’re in a well-ventilated area when spraying paint, and consider wearing a mask for safety.
- Add Tire Shine: For a final touch, use tire shine after reinstalling the wheels to give your truck a polished look.
Video Walkthrough
For a visual guide, check out the video below, where we show each step in detail:
Conclusion
Painting your rims is a fantastic way to personalize your truck and add a bold touch to your ride. For a small investment, you can give your vehicle a customized, high-end look that lasts. We hope you found this guide helpful and that it inspires you to try this DIY upgrade on your own vehicle. For more tips and projects, stay tuned to Frank’s Handyman Service!
