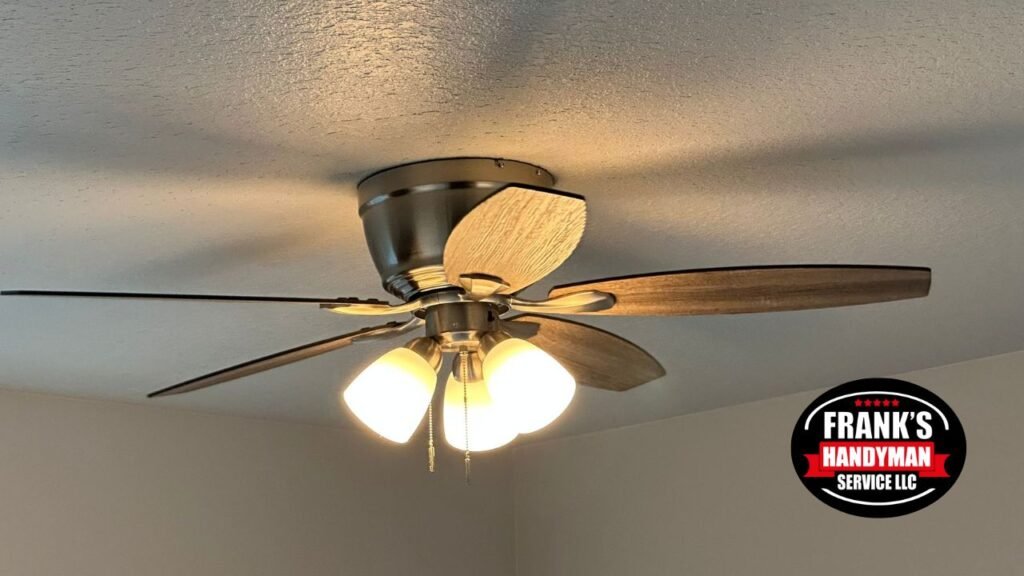
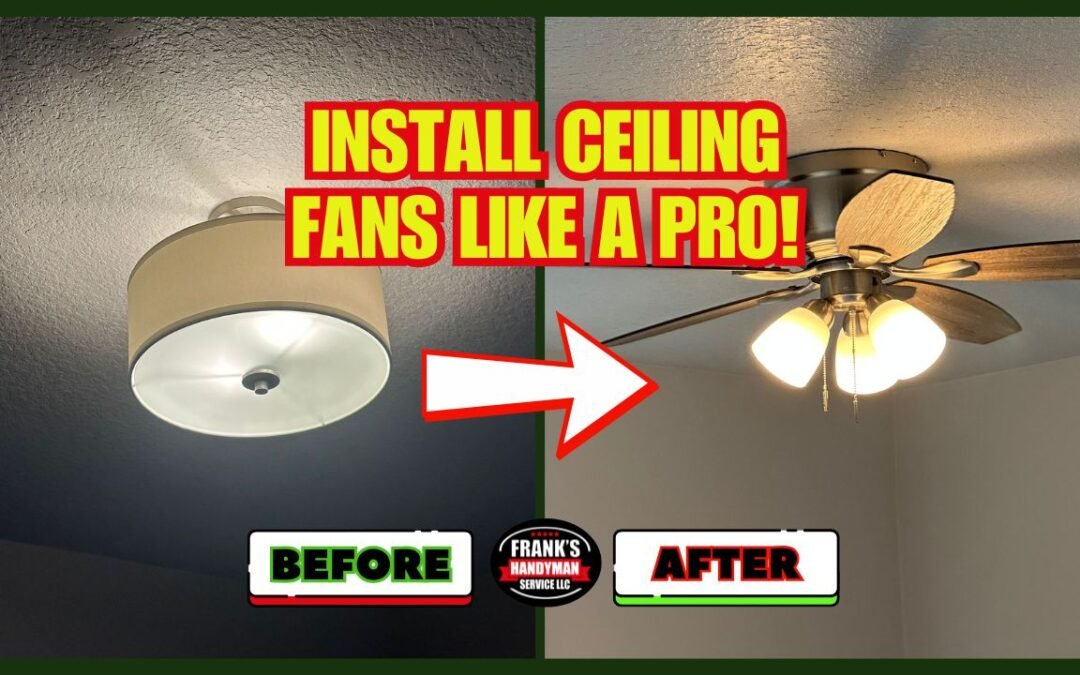
Looking to improve your home’s comfort and style? At Frank’s Handyman Service, we recently completed an impressive project in Aloha, OR, installing five brand-new ceiling fans in a single home. In this article, we’ll guide you through the process, share professional tips, and explain why choosing a skilled handyman can save you time and hassle.

Step-by-Step Project Overview
1. Preparation and Safety First
Before starting, we shut off the electricity at the breaker to ensure safety and covered floors to protect them from dust and debris.
2. Removing the Old Ceiling Fans
We carefully uninstalled the existing ceiling fans, disconnected the wiring, and removed the old mounting hardware.
3. Installing the New Fans
Each new ceiling fan was mounted securely, wired following manufacturer specifications, and tested for smooth performance. Different fan styles were chosen to suit each room’s design.
4. Testing and Final Adjustments
After installation, we balanced the blades, tested light fixtures, and made sure remote controls operated perfectly.
Benefits of Professional Ceiling Fan Installation in Aloha
- Safety: Reduces risk of electrical hazards.
- Efficiency: Properly balanced fans for optimal airflow.
- Aesthetics: Clean installation with a professional finish.
- Customization: Match fans to your home’s décor.


