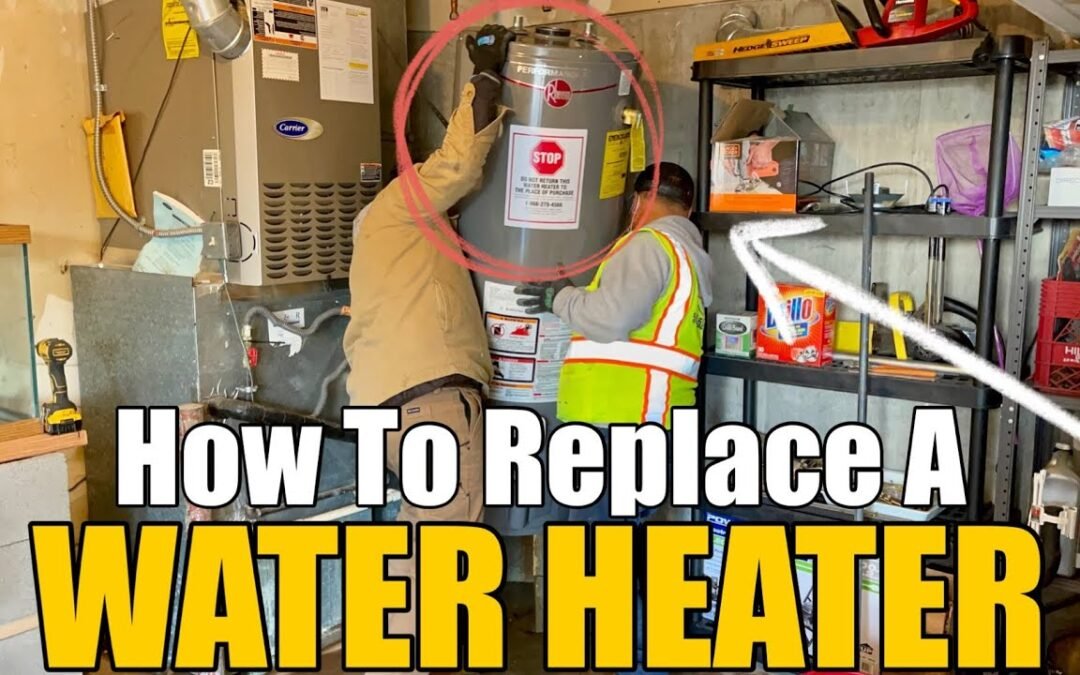
Replacing a gas water heater may seem intimidating, but with the right steps and precautions, it’s a project you can handle. Whether you’re upgrading to a newer model or replacing a worn-out unit, this guide will walk you through each step, from disconnecting the old heater to connecting your new system safely and effectively.
Replacing a gas water heater is a great way to enhance your home’s efficiency and maintain steady hot water, especially during colder months.
Materials Needed
- New gas water heater (50-gallon for this guide)
- Dolly for moving heavy objects
- Pipe cutter
- Teflon tape and pipe sealant
- Adjustable wrench
- Seismic strap
- Insulation material for pipes (optional)
- Venting pipe and screws
- Cinder blocks or mounting base
- Water hose (for draining the old tank)
Step-by-Step Process
Step 1: Prepare the Area and Drain the Old Tank
- Shut Off Utilities: Turn off the water and gas supply to the old water heater.
- Drain the Old Tank: Connect a water hose to the drain valve and direct it to a safe location to avoid spills.
- Disconnect the Gas Line: Carefully remove the gas line from the old water heater, ensuring there is no residual gas leaking.
Step 2: Disconnect the Pipes and Remove the Old Tank
- Remove the Relief Valve: Detach the piping from the relief valve.
- Disconnect Water Supply Lines: Remove both the cold and hot water pipes from the tank.
- Move the Old Tank: Use a dolly to remove the tank, especially if it’s a 50-gallon model.
Step 3: Position and Set Up the New Water Heater
- Prepare the New Heater: Unbox the new water heater carefully. Position it on cinder blocks or a stable base.
- Install New Fittings: Wrap Teflon tape on the fitting threads, being careful not to overtighten.
- Place the Heater: Carefully set the new heater on the blocks or stand in the desired location.
Step 4: Reconnect the Gas and Water Lines
- Attach Water Lines: Connect the hot and cold water lines. Adjust the heater’s position as needed for an optimal fit.
- Reconnect Gas Line: Attach the gas line to the new heater. Use two wrenches to secure the line tightly.
Step 5: Secure the Unit and Test for Leaks
- Install Seismic Strap: Fasten the seismic strap around the tank for added security.
- Vent Connections: Secure the vent pipe to prevent any exhaust leaks. Use screws to fasten the vent cap and pipe connections.
- Turn on Water Supply: Open the water supply valve and check all connections for potential leaks. Adjust any areas with minor leaks and ensure fittings are secure.
Step 6: Light the Pilot and Test the Unit
- Ignite the Pilot: Follow the instructions on your water heater to ignite the pilot light.
- Set Temperature: Adjust the temperature to the desired setting, typically around 120°F for residential use.
Pro Tips
- Safety First: Always ensure the gas supply is off before disconnecting or reconnecting lines.
- Use Teflon Tape: This can help prevent leaks on threaded pipe connections.
- Regular Maintenance: Schedule periodic checks on your water heater’s pressure relief valve and sediment levels.
Video Walkthrough
For a visual guide, check out the video below, where we show each step in detail:
Conclusion
Replacing a gas water heater yourself is manageable with the right tools, materials, and safety precautions. Following this guide will ensure your new heater is installed safely, efficiently, and in line with professional standards. Remember, regular maintenance can extend the life of your water heater and keep it running smoothly for years to come.
For any questions or to schedule a professional installation, contact Frank’s Handyman Service.

