
In this step-by-step guide, we’ll show you how to install the Sungath lighted house numbers address plaque. This solar-powered sign from Amazon is perfect for making your address visible, especially at night. Follow along as we walk through the installation process, from unboxing to final placement in your yard.
Materials and Tools Required:
Before you begin, make sure you have the following:
- Sungath Lighted House Numbers Address Plaque
- Pole and stake (included)
- Screwdriver
- Shovel for digging
- Concrete (optional for extra stability)
- Rocks for support (optional)
Unboxing and Assembly:
- Unboxing: Start by opening the Sungath address sign box. Inside, you’ll find the LED sign, a pole, a stake, a set of numbers, and screws. The kit includes everything you need to assemble the sign.
- Placing the Numbers: Choose the correct template for your address length (short, medium, or long). For example, if your address has five digits, use the long template. Peel the backing off each number and place them on the sign following the template. Be careful to align them properly for a neat finish.
- Attaching the Pole: Once the numbers are on the sign, insert the pole into the back of the sign. Slide it in securely until it fits snugly.
- Installing the Solar Panel: Attach the solar panel to the top of the sign using the screws provided. Make sure the panel is positioned in a direction that gets plenty of sunlight for optimal performance.
Placement and Installation:
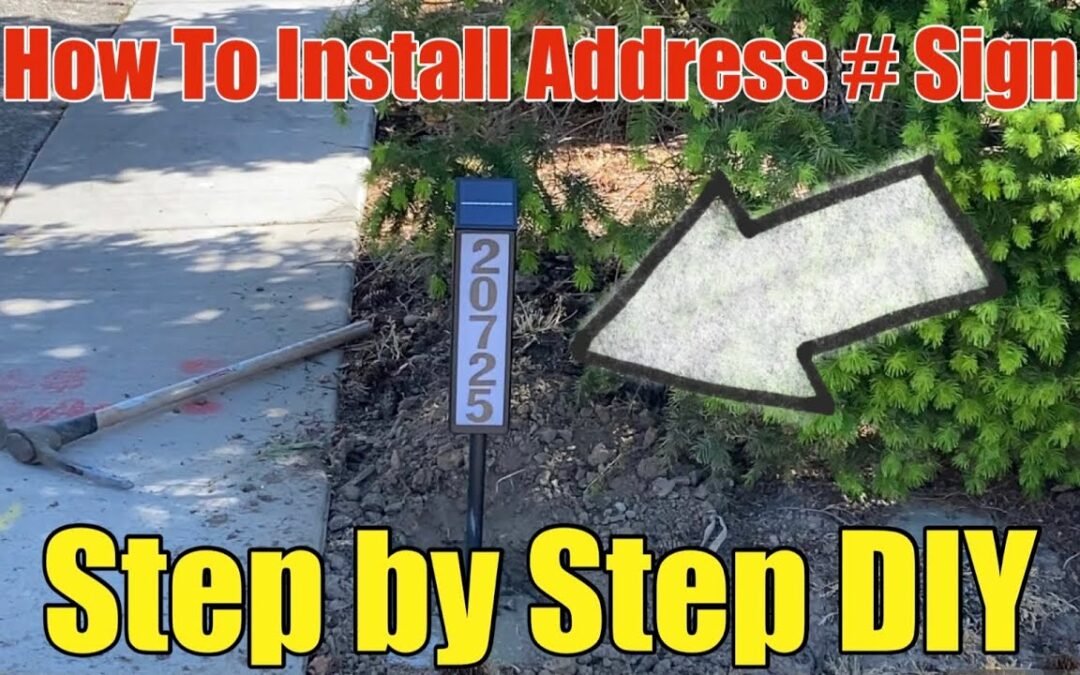
- Choosing a Location: Select a visible spot near your driveway or yard where the sign can be easily seen from the street. Ensure the location gets enough sunlight to keep the solar panel charged.
- Digging a Hole: Instead of placing the stake directly into the ground, dig a hole deep enough to hold the stake. This ensures the sign stays secure. Backfill the hole with dirt or, for added stability, use concrete.
- Optional Concrete Installation: For a stronger hold, mix and pour concrete into the hole before inserting the stake. This will prevent the sign from being knocked over, especially if placed near sidewalks or high-traffic areas.
- Stabilizing the Pole: While the concrete sets, you can use rocks to help stabilize the pole. Push the rocks around the base of the sign to keep it steady until the concrete fully hardens.
Final Touches:
After everything is in place and the concrete has dried, backfill any remaining gaps around the pole with dirt. Test the sign’s visibility from the street and ensure the solar panel is charging properly. Your address sign is now ready, and its solar-powered LED will keep it illuminated at night, making your home easy to find.
Conclusion:
Installing the Sungath lighted address sign is a simple and effective way to improve the visibility of your home’s address, especially for deliveries and guests. Whether you use dirt or concrete, this guide ensures your sign will stay secure and last for years to come.
